No DESIGN button at the top of your Main Toolbar? This is because your conference organizer has disabled this function. They do this in order to standardize the design of each presentation at the event. They want authors and attendees to focus on content, rather than design.
Working with Media
Why isn’t my GIF playing?
If your GIF file is not playing or looping, it might be because the file is too large. If it’s more than 1080 pixels high or 1920 pixels wide, you’ll need to reduce the size.
There are a number of free, online tools of varying sophistication that you can use.
Here’s a simple one that will do the job: http://gifgifs.com/resizer
Here’s a more sophisticated tool with additional functions: https://ezgif.com/
If you have a large (in MB) GIF animation your iPoster can take a very long time to load. If so, you can also use this tool to optimize the image to reduce its size. Try a setting of 100%.
How do I create a slideshow in my iPoster?
Two of the templates contain a built in slideshow content box. If you have chosen one of these templates you can click on the “Upload Image” button to add the images that you want in the slideshow. Just remember that they should be a minimum size of 960×360 pixels and a maximum size of 1920 x1080 pixels.
We recommend inserting images at their biggest possible size up to 1920 x1080 pixels. For some more general tips on adding images to your iPoster see the FAQ: How do I add images to my iPoster? The bigger the image the more space it will fill up on the screen when a conference participant views it. You can add up to 10 images to your slideshow by following these simple steps:
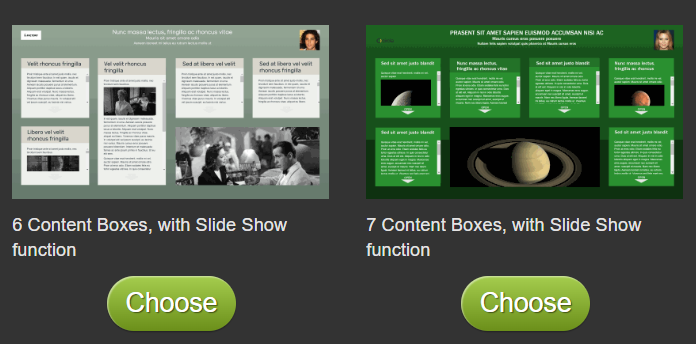
1. Make sure that you have selected a template with a slideshow content box. Here are the two template options
2. On the Slideshow content box choose ‘Image Slider’.

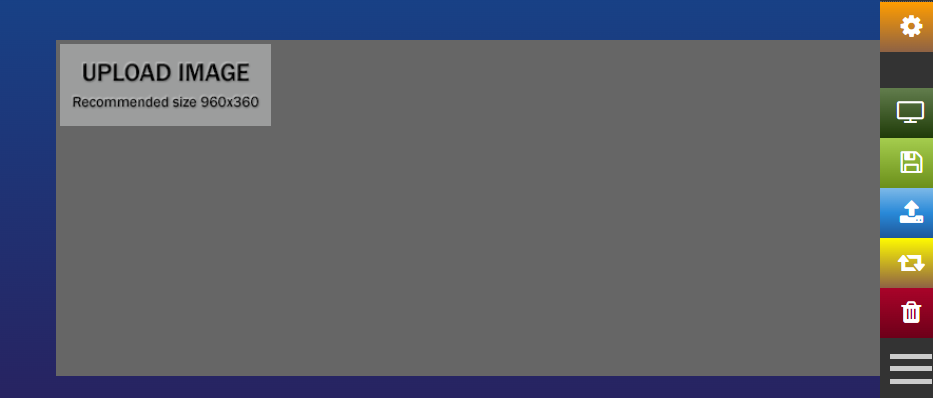
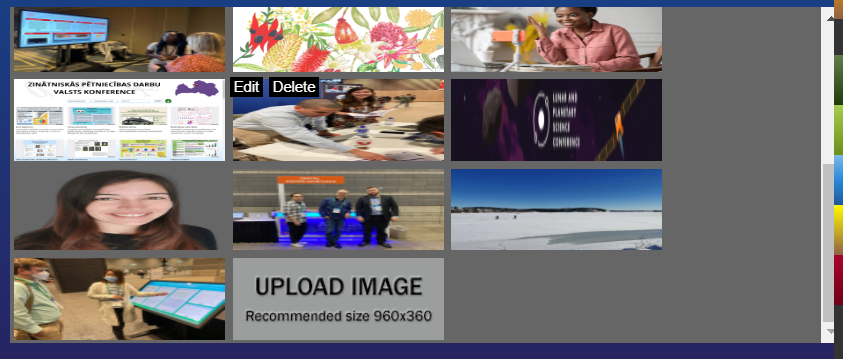
3. The UPLOAD IMAGE button will be visible. Click on this button.
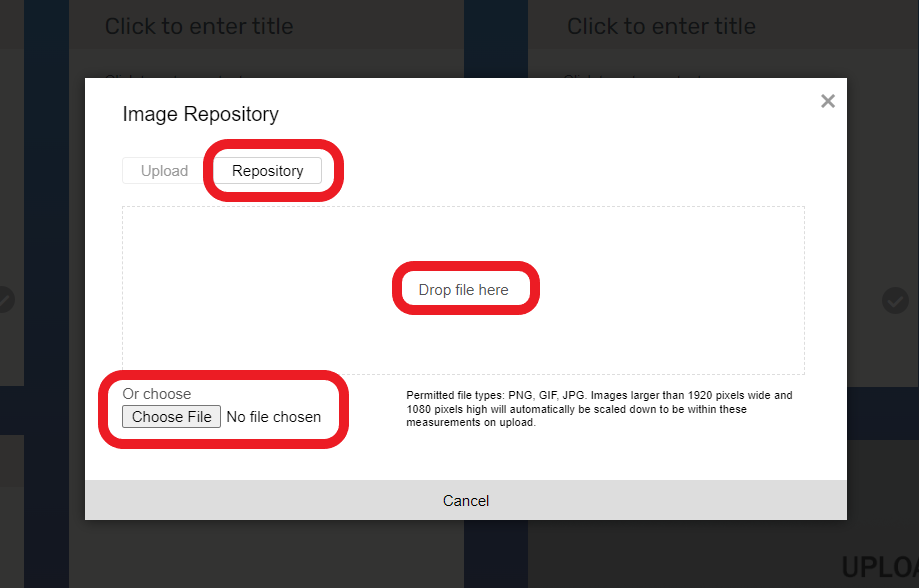
4. The Image Upload tool will open. You can either drag and drop your image or browse through your files to select the image you want to upload. If the image was previously uploaded to your poster you can find by clicking on Image repository. Simply click on the image in the repository that you want to add to the slideshow.
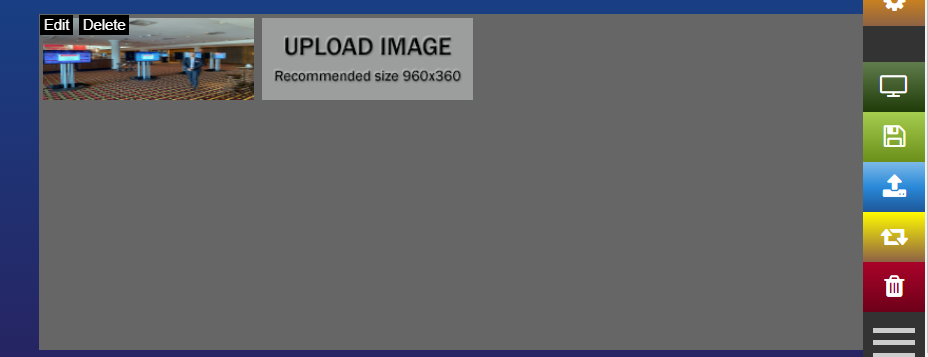
5. The Image you chose will appear in the slider. Click on the UPLOAD IMAGE button again to add a new image into the slider.
6. Repeat the steps above to add more images to your slider.
7. You can drag and drop the images to re-order them.
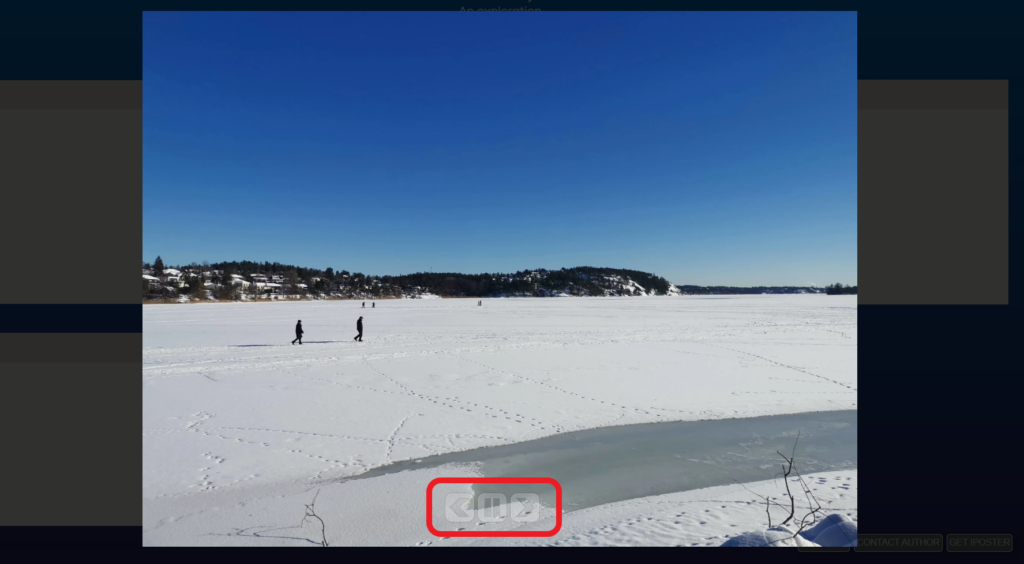
8. Make sure to check how your slideshow will look when viewed by conference participants. Click on the preview button on the main menu, then click on the slideshow box to expand it. You can use the 3 control buttons at the bottom over the slideshow overlay to pause or go forward or back through the images.
Need further assistance? Reach out to our support team; send a support request or email us at [email protected]. Don’t forget to let us know which conference you’re creating a presentation for.
How do I add tables and graphs to my iPoster?
You can add tables and graphs into the content boxes as images. Creating images of your tables and graphs will allow conference visitors to tap or click on them and expand them to their full size for easy reading.
Ensure that your images are as large as possible (up to 1920×1080). See this FAQ for more information on adding images to your iPoster: How do I add images to an iPoster?
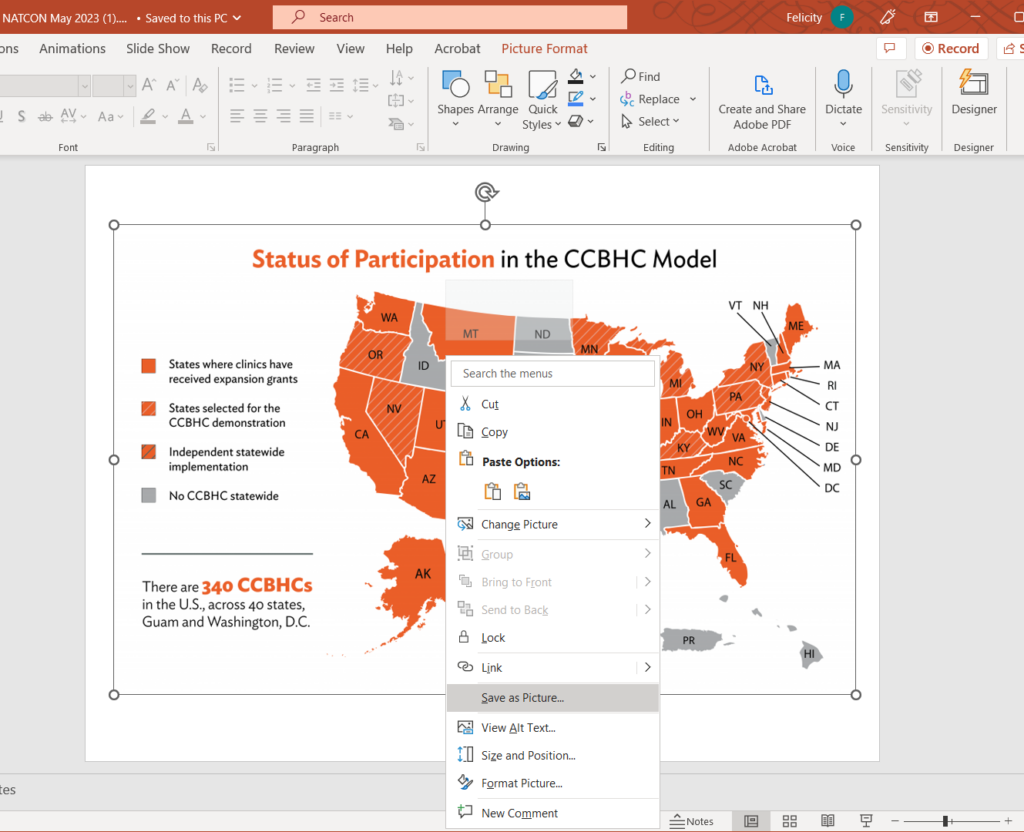
1. To make an image of your table or graph: firstly create your table or graph in a spreadsheet, presentation, or word-processing program. Here is an example of an image within a PowerPoint presentation. I’m going to use the Microsoft snipping tool to take a ‘snip’ of this image – this tool is available if you use Microsoft. If you’re on a Macbook use the following keyboard shortcut to take a screenshot: shift+Command+4.

2. Alternatively, right click on the image and save it as a PNG or JPEG. Do not try to copy and paste the image directly from the source into the iPoster editor.
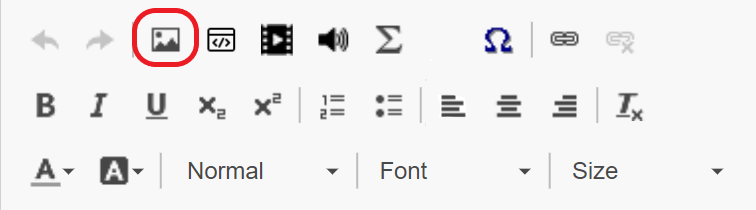
3. Click inside the content box where you want the graph/table to sit. Use the INSERT IMAGE button to upload your image of it. See the FAQ: How do I add images to an iPoster? for more information.
Need further assistance? Reach out to our support team; send a support request or email us at [email protected]. Don’t forget to let us know which conference you’re creating a presentation for.
Why are my images small in preview mode?
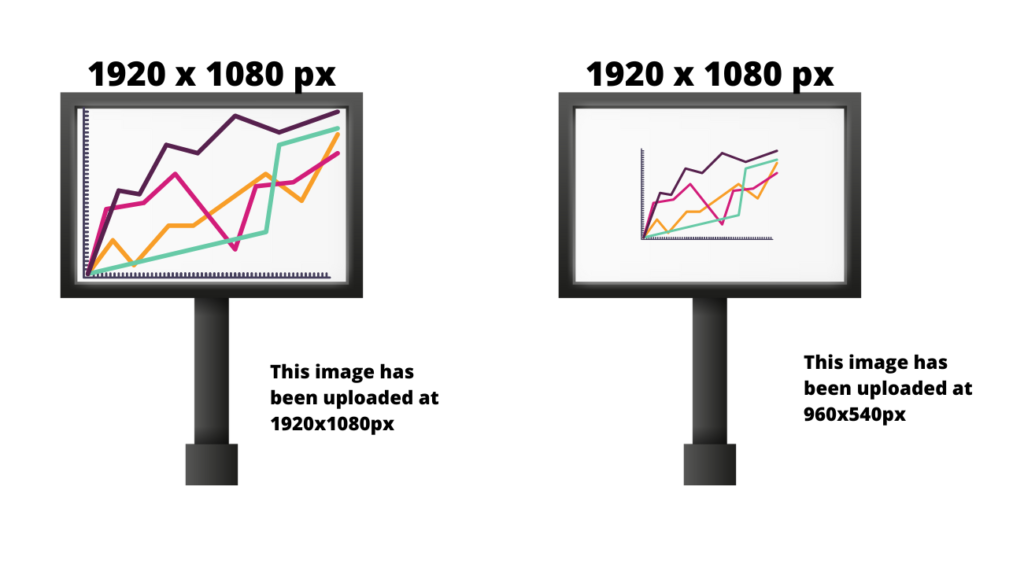
If your images are still small when you click on them in preview mode it’s probably because of their original upload size.
When your images are displayed in preview mode or on the screens at a live event, they will only be as large as the file you have uploaded. The full display screen size is 1920×1080 pixels. Thus, if you want an image to fill the screen, you must insert an image that is 1920×1080 pixels. If your image is only half the width and half the height of the maximum, (e.g. 960×540 pixels) it will fill only a quarter of the screen.
We recommend that your images are at least 600 pixels wide for a better quality viewing experience. However, don’t make your image any bigger than the original. This will only cause it to be blurry and hard to read. Try to find an original image that is larger. When it comes to images, bigger is indeed better. The larger your original image (photograph, table, diagram) the more detail you can show and the better quality your end result will be.
For more information on images, see the FAQ: How do I add images to my iPoster?
Need further assistance? Reach out to our support team; send a support request or email us at [email protected]. Don’t forget to let us know which conference you’re creating a presentation for.