Tag Archives: PDF

How to create an iPoster from a PDF, PowerPoint or other source.


You can copy-paste your text from a PDF, PPT, or other sources directly into the iPoster system. To transfer tables and graphs, save them as image files on your computer, then upload them using the ‘Image Upload’ tool.

Adding text:


1. Copy your text from your PDF, PPT, or other source document. You can either right-click and select ‘Copy’ from the menu or use the keyboard shortcut (Ctrl + C). Then click in the content box where you want the text to be added. Right-click and select ‘Paste’ from the menu or use the keyboard shortcut (Ctrl + V).

2. After clicking ‘Paste’ or using Ctrl + V, a dialogue box will appear. Paste your copied material into this box. This step strips any code from the text, allowing it to be formatted within the iPoster system.

screenshot showing the paste box function

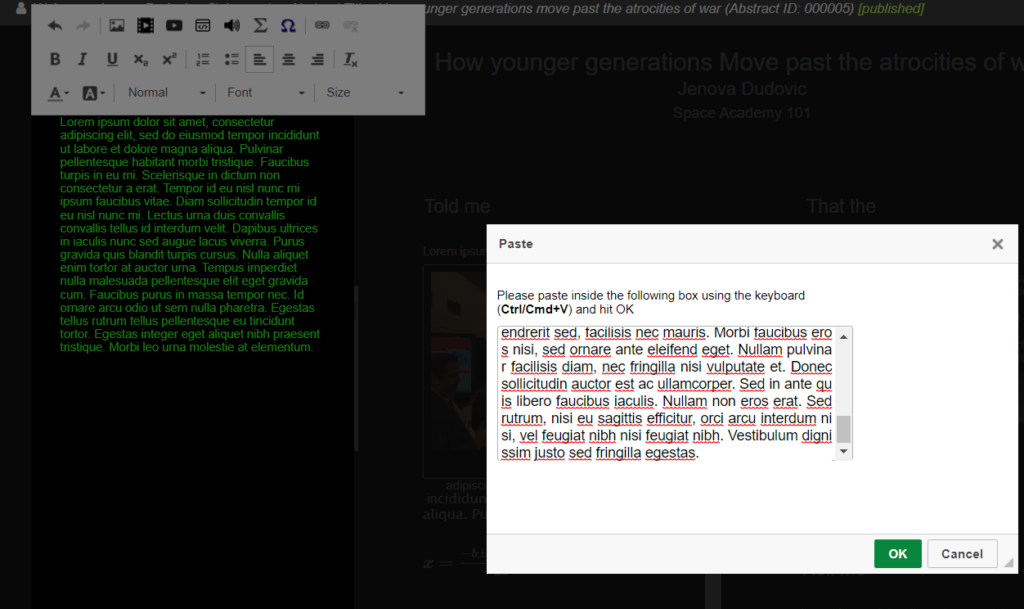
3. Click the ‘OK’ button at the bottom of the pop-up, and your text will appear in the content box.

Adding diagrams, charts, and tables to your iPoster:

Export the charts, diagrams, and tables from your PPT or PDF, or take a screenshot of them and save them to your files. This will enable you to upload the item as an image in the iPoster editor.

Remember that they will expand to their full size when tapped or clicked on by visitors or by you during your presentation. Ensure your images are as large as possible—up to 1920 x 1080 pixels. If available, use the original images for the best quality. If they are not available, take screenshots of your images, but zoom in before you take them so they are as large as possible.


Save an image from a PPT file:
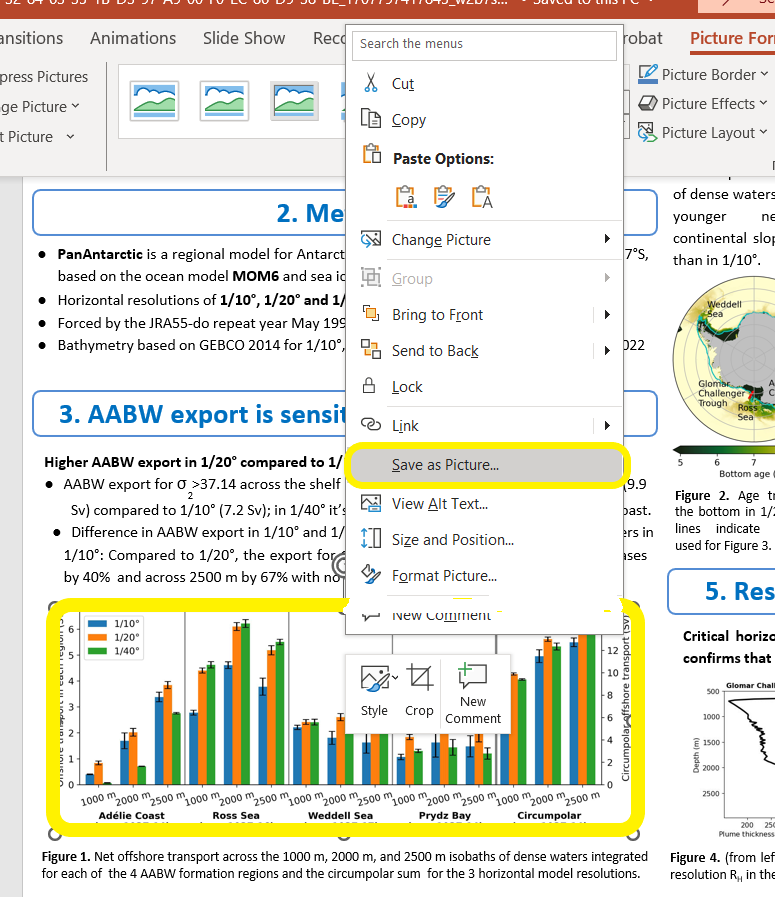
1. Right-click on your PPT image, then click on ‘Save as Picture…’. Save the image to your desktop as either a JPG or PNG.

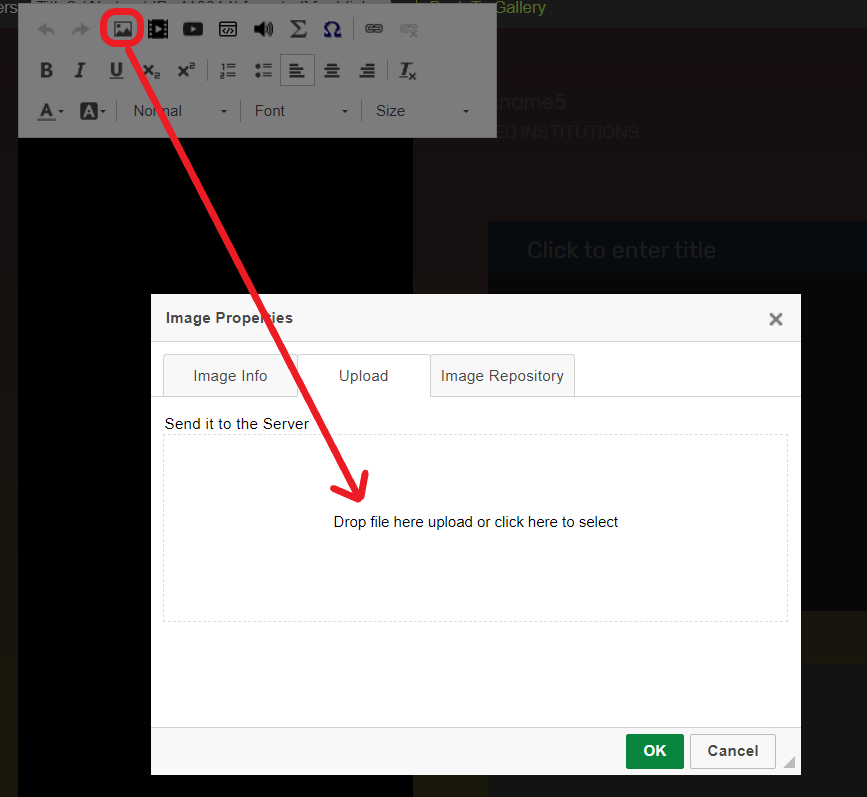
2. Click on the ‘Insert Image’ tool in the iPoster editor and select the saved image from your files.

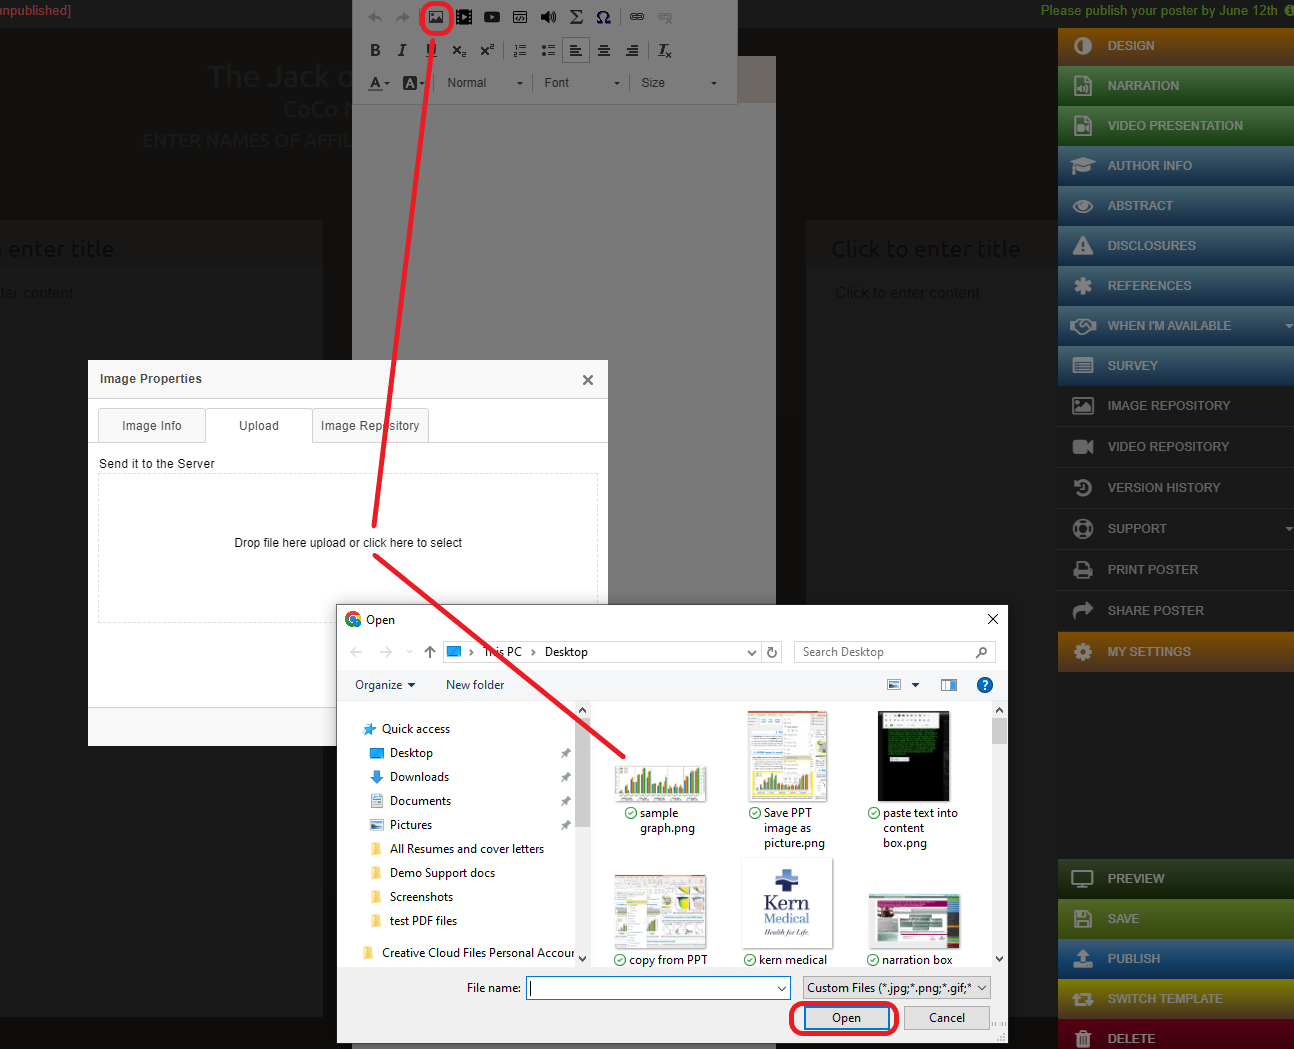
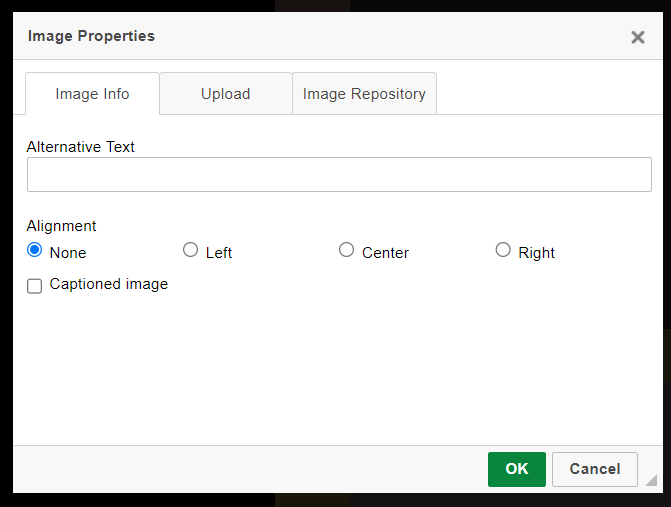
3. Add alternative text and update any settings using the options provided, then click OK.

4. The image is now uploaded in the content box.

Adding full slides to an iPoster:


You can add your PPT slides as images to your iPoster either in a content box or in the image slider box available on two of the interactive templates.

When you or a viewer clicks or taps on the slideshow in preview mode or at the conference, it will open as an overlay and display all images at their full size. There are controls to pause and play as well as to skip back and forth through the slides.

1. Open your PPT and take a screenshot on the largest available screen of each slide you want to include on your iPoster. On a Windows PC, you can use the Snipping Tool. On a Mac, click Cmd + Shift + 4.

2. Click ‘Image Slider’ in one of the iPoster templates with the slideshow box available.

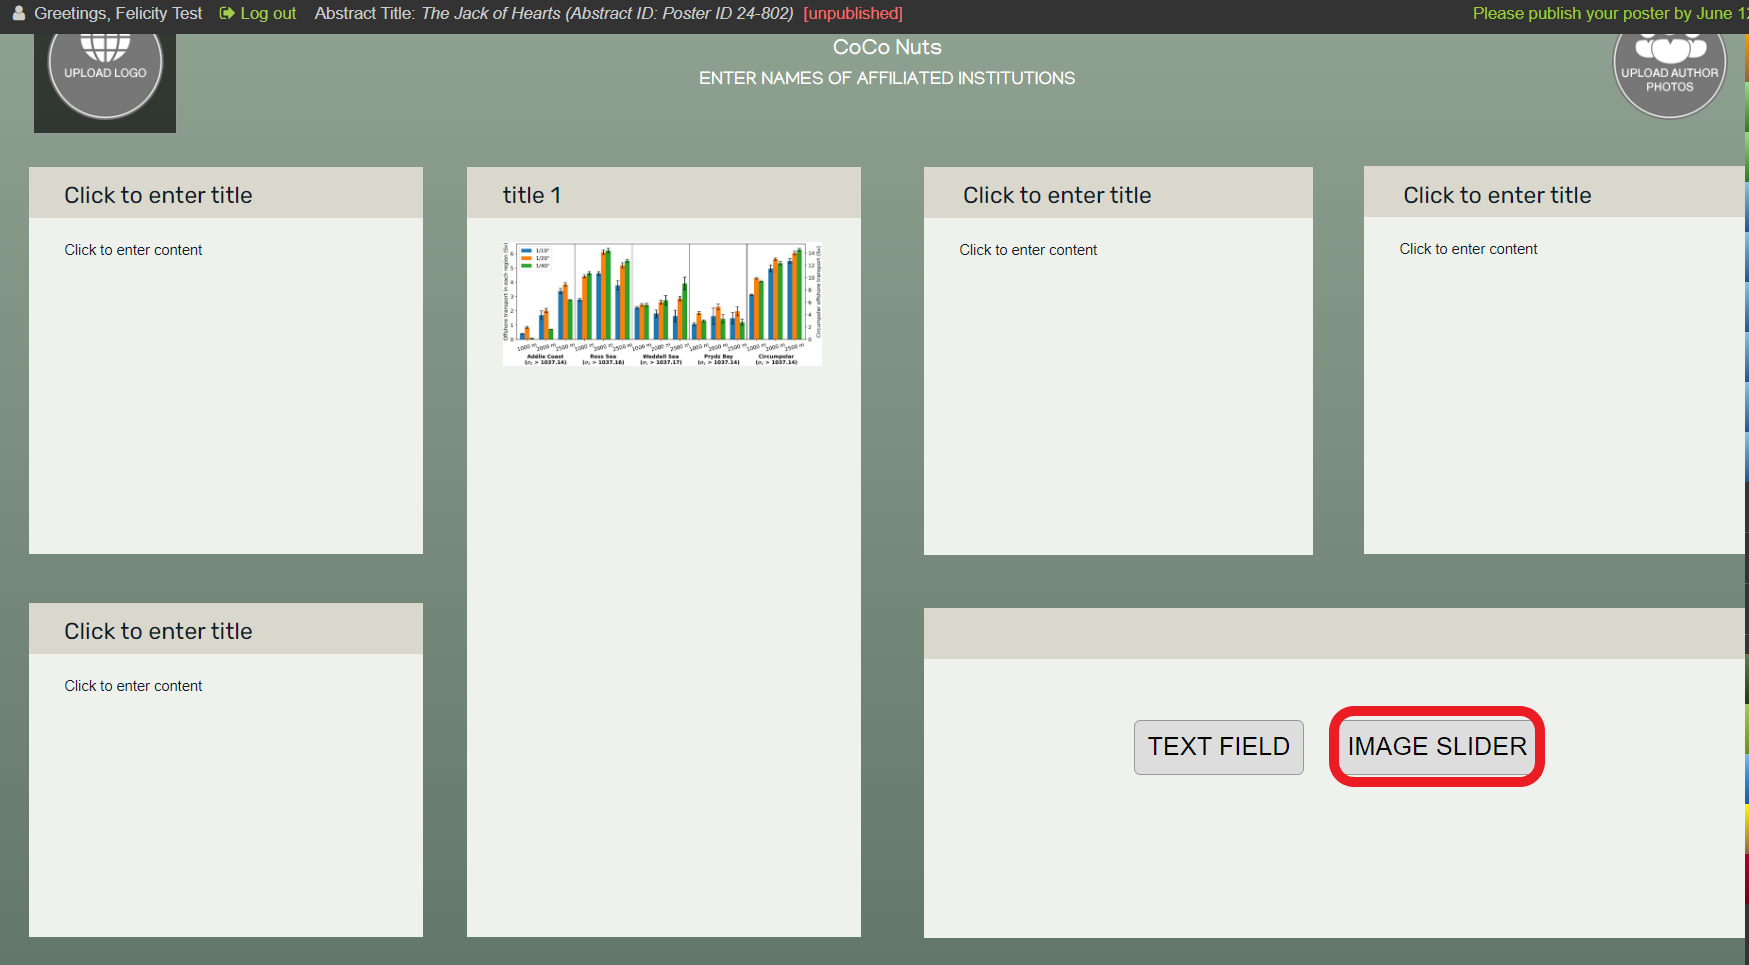
3. Click on the grey box and insert the slideshow screenshots that you have saved. You will need to upload them one at a time.
Open Preview mode from the main menu and click on your slideshow to check that the slides appear as uploaded and that the controls are working.

Be sure to view our tutorials, which will give you a broad overview of the how to create your presentations.

Need further assistance? Reach out to our support team; send a support request or email us at support@ipostersessions.com. Don’t forget to let us know which conference you’re creating a presentation for.

How do I add images to an iPoster?

Add images to an iPoster in a couple of clicks using the Insert Image tool. You will find this tool on the toolbar of each content box as shown below.

The content box toolbar from the iPoster editor. the insert image tool is circled in blue.

General Image tips

The size of your images is important because it will impact the quality of your overall presentation.  Ensure that your images are as large as possible so that they have maximum impact for the end viewer.  

Images must be in JPG, PNG or GIF format. When inserting images, remember that they will expand to their full size when tapped or clicked on by visitors or by you during your presentation. So, make sure your images are as large as possible – up to 1920 x1080 pixels. And if available, use the original images for best quality. If they are not available, take screen shots of your images, but zoom in before you take them so that, again, they are as large as possible.

As you proceed, save your progress then check your work by clicking on the Preview button. You’ll get a close approximation of how your presentation will look on the HD screens, and can test all of the functionality: content boxes and images expand when clicked, videos play correctly, external links connect, etc…

Slideshow Images

The slide show window (available in some templates) has a minimum image size requirement of  960×360 pixels, but  we recommend that you insert images up to 1920×1080 pixels.

When you look at the slide show in the condensed view any images larger than 960×360 will be cropped. However when you or an end viewer click or tap on the slide show in preview mode or at the conference, it will open up as an overlay and show all images at their full size.

Conference participants will then be able to flick through the slideshow as they wish. Having larger images will provide a more enjoyable and better quality viewing experience for them.

Diagrams, charts and tables

Diagrams, charts, tables, etc need to be inserted as images. Either export them from their source program as JPG or PNG, or take a screen shot. Make them as large as possible, and then import them into your content boxes. That way they will expand to make it easy for your visitors to view them.

Remember that an iPoster can contain so much more than an upload of a  PDF or PowerPoint, so try to take advantage of this by including:

  • Videos
  • Sound files
  • Links to dynamic external information (e.g. online data sets, visualizations, etc…)
  • As much content as you feel is necessary to present your research with the detail it deserves. There are no content limits.  As soon as you exceed the apparent physical space of a content box, it will scroll.

Adding an image to an iPoster content box

1. Either drag and drop your image into the upload box or click on the box to choose an image from your files. If you have previously uploaded images click on the ‘Image Repository’ tab to browse and select an existing image.

Iposter editor tool bar. The insert image tool is circled in red and a red arrow points down to an open dialogue box with the words ' Drop file here to upload or click here to select.'

2. After dropping or selecting your image file allow approx. 10 seconds for it to upload. The Image Info tab will be displayed. You can choose to add captions or alternative text to your image or change the alignment using the options in this box. Click ‘Ok’.

3. The image is now inserted into the content box. You can double click on the image to return to the Image Info tab and change/update any of the settings here.

Accessing uploaded images

All uploaded images will be stored in the Image Repository on the main menu. When you click on the insert image tool you may choose to upload the image (as in the process outlined above) or you can insert an image that has already been uploaded. Simply click on the Image Repository tab to view your stored images.

Image Repository button in the editor circled in red. A red arrow points at the opened dialogue box in the center of the screen which shows the images stored in the repository.

Editing images

Images can be edited to some degree within the iPoster system. From the Image Repository click on the green edit button under the relevant image. You can crop, re-size, rotate, or flip the image using the controls in the top menu. The below example shows the cropping tool. You can also zoom in or out on the image to make it easier to see the edits you’re making.

When you’ve completed your edits you can either save the edited image as a new image or replace the original image with the edited one.

Be sure to view our tutorials, which will give you a broad overview of the how to create your presentations.

Need further assistance? Reach out to our support team; send a support request or email us at support@ipostersessions.com. Don’t forget to let us know which conference you’re creating a presentation for.