You can copy-paste your text from a PDF, PPT, or other sources directly into the iPoster system. To transfer tables and graphs, save them as image files on your computer, then upload them using the ‘Image Upload’ tool.
Adding text:
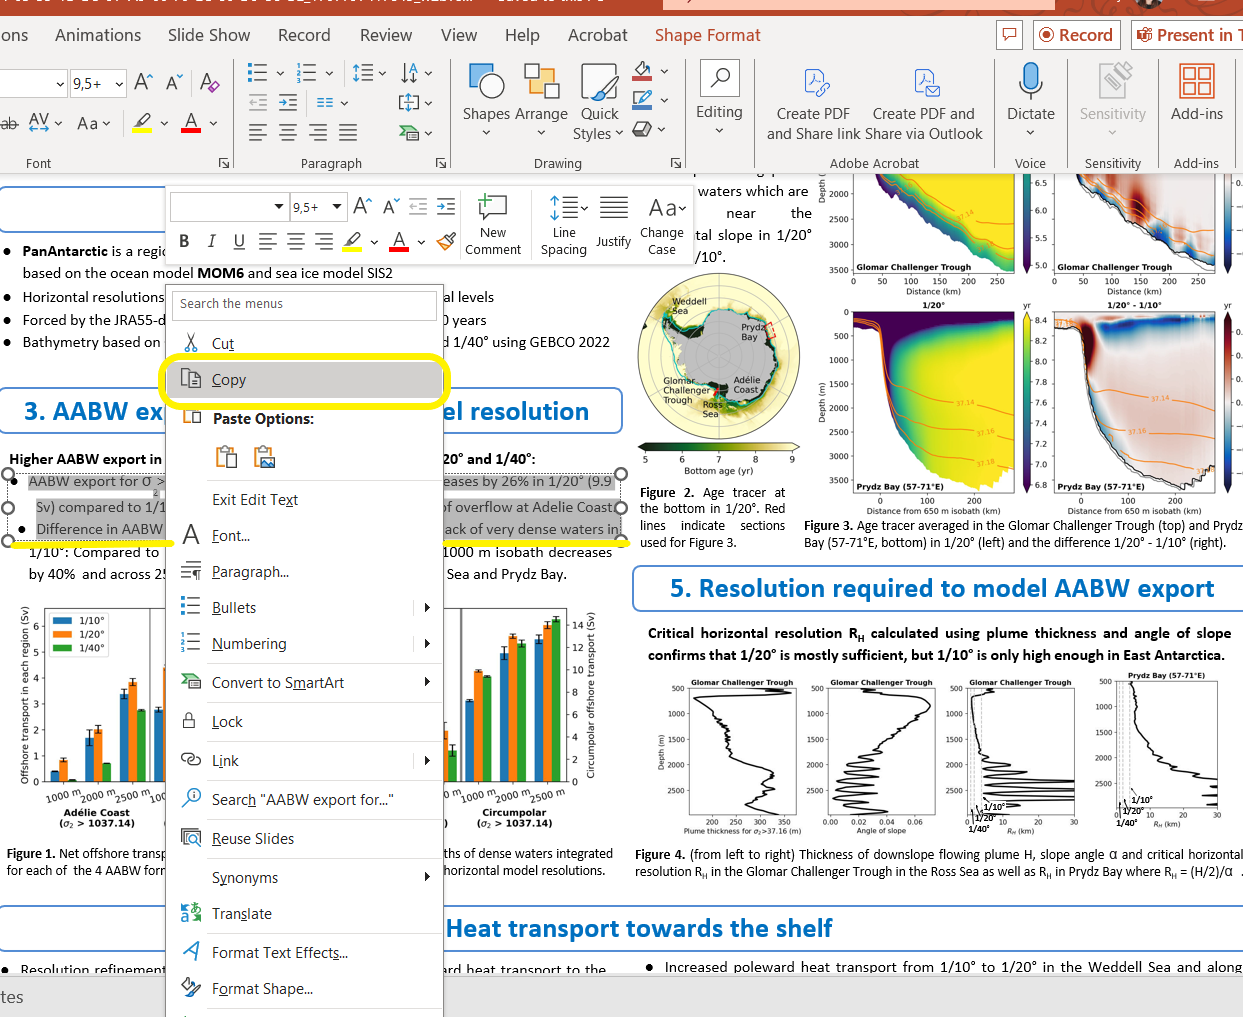
1. Copy your text from your PDF, PPT, or other source document. You can either right-click and select ‘Copy’ from the menu or use the keyboard shortcut (Ctrl + C). Then click in the content box where you want the text to be added. Right-click and select ‘Paste’ from the menu or use the keyboard shortcut (Ctrl + V).
2. After clicking ‘Paste’ or using Ctrl + V, a dialogue box will appear. Paste your copied material into this box. This step strips any code from the text, allowing it to be formatted within the iPoster system.
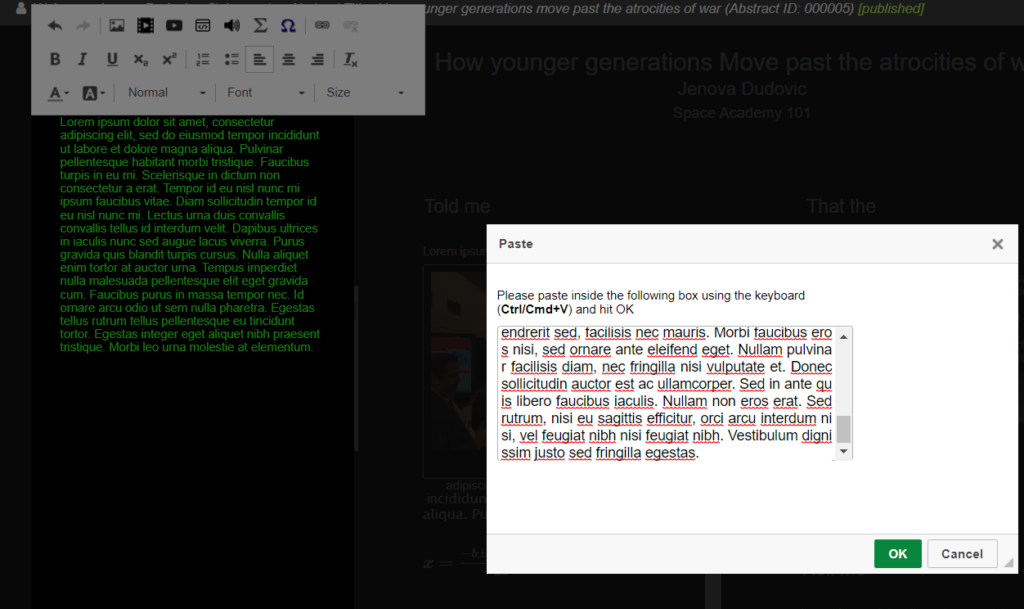
3. Click the ‘OK’ button at the bottom of the pop-up, and your text will appear in the content box.
Adding diagrams, charts, and tables to your iPoster:
Export the charts, diagrams, and tables from your PPT or PDF, or take a screenshot of them and save them to your files. This will enable you to upload the item as an image in the iPoster editor.
Remember that they will expand to their full size when tapped or clicked on by visitors or by you during your presentation. Ensure your images are as large as possible—up to 1920 x 1080 pixels. If available, use the original images for the best quality. If they are not available, take screenshots of your images, but zoom in before you take them so they are as large as possible.
Save an image from a PPT file:
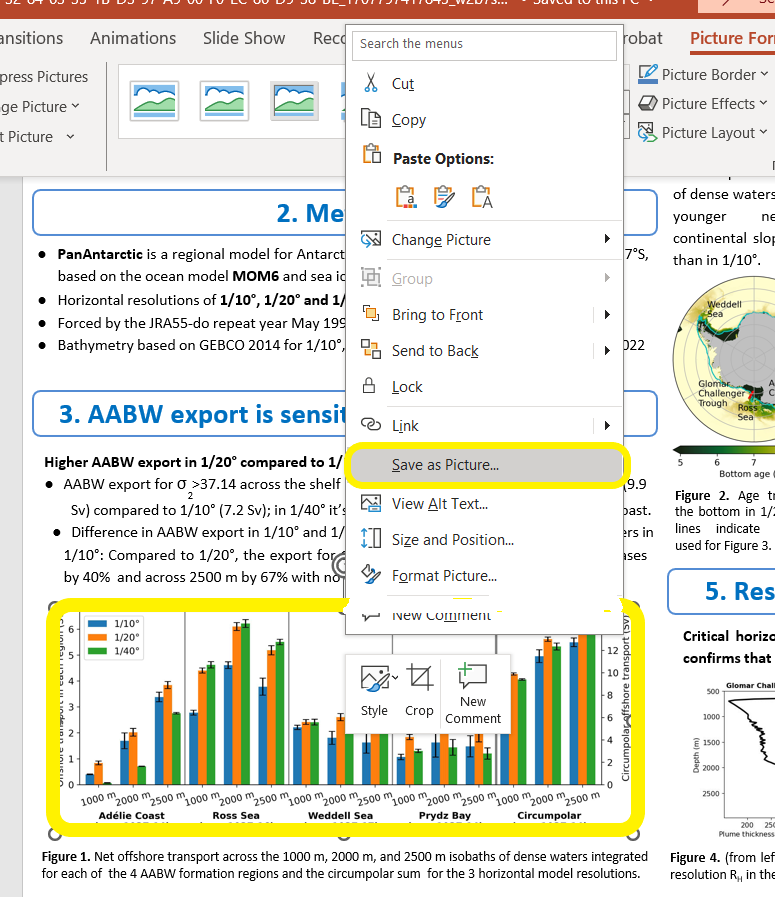
1. Right-click on your PPT image, then click on ‘Save as Picture…’. Save the image to your desktop as either a JPG or PNG.
2. Click on the ‘Insert Image’ tool in the iPoster editor and select the saved image from your files.
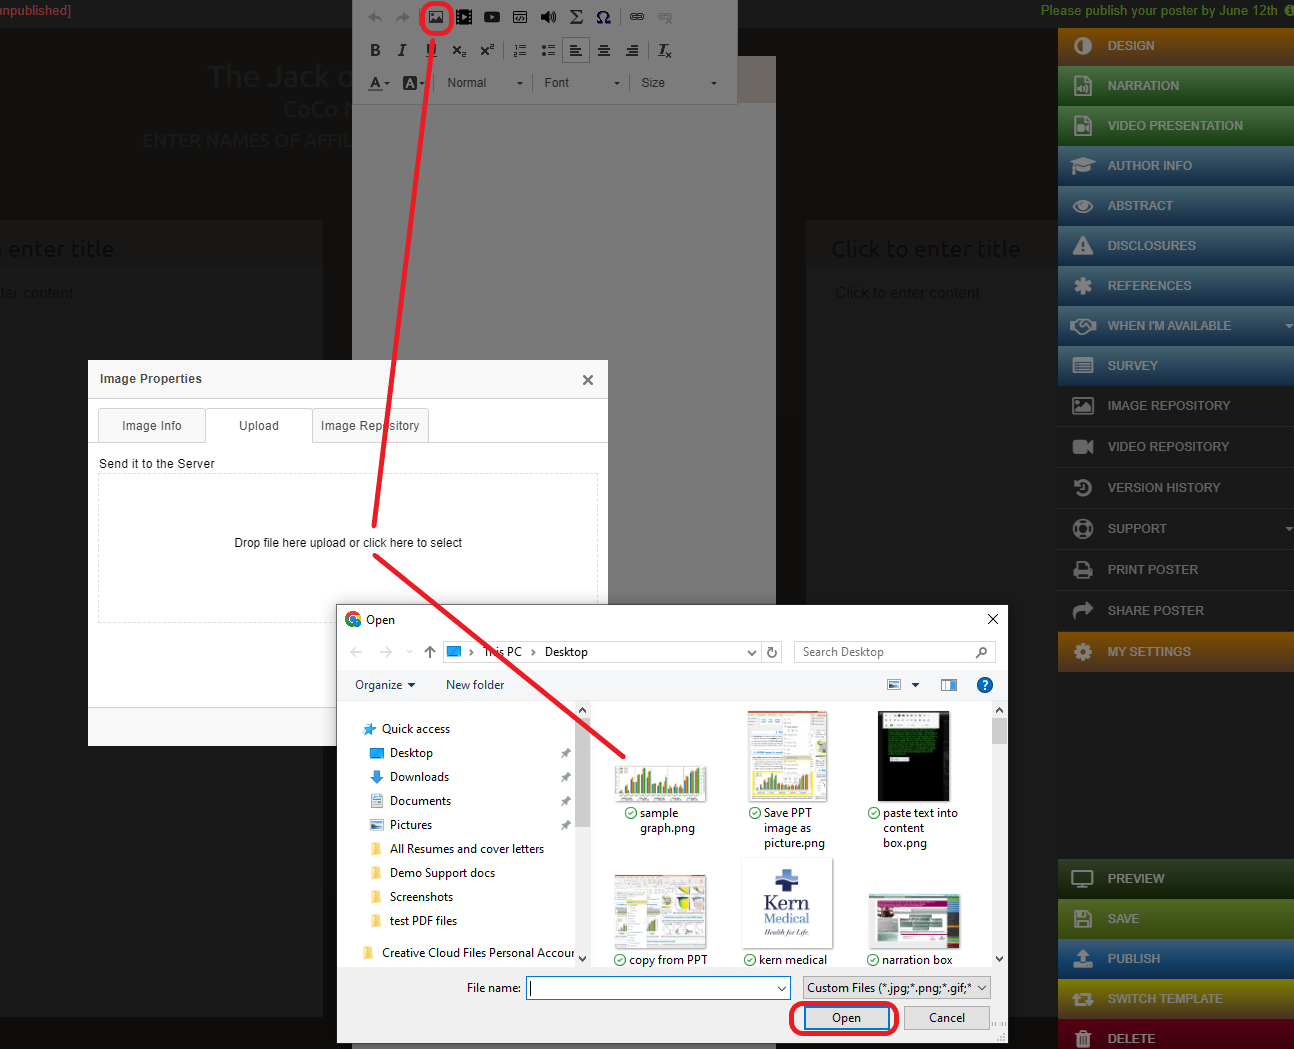
3. Add alternative text and update any settings using the options provided, then click OK.
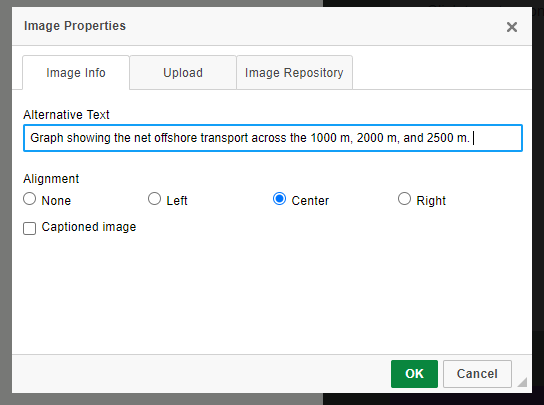
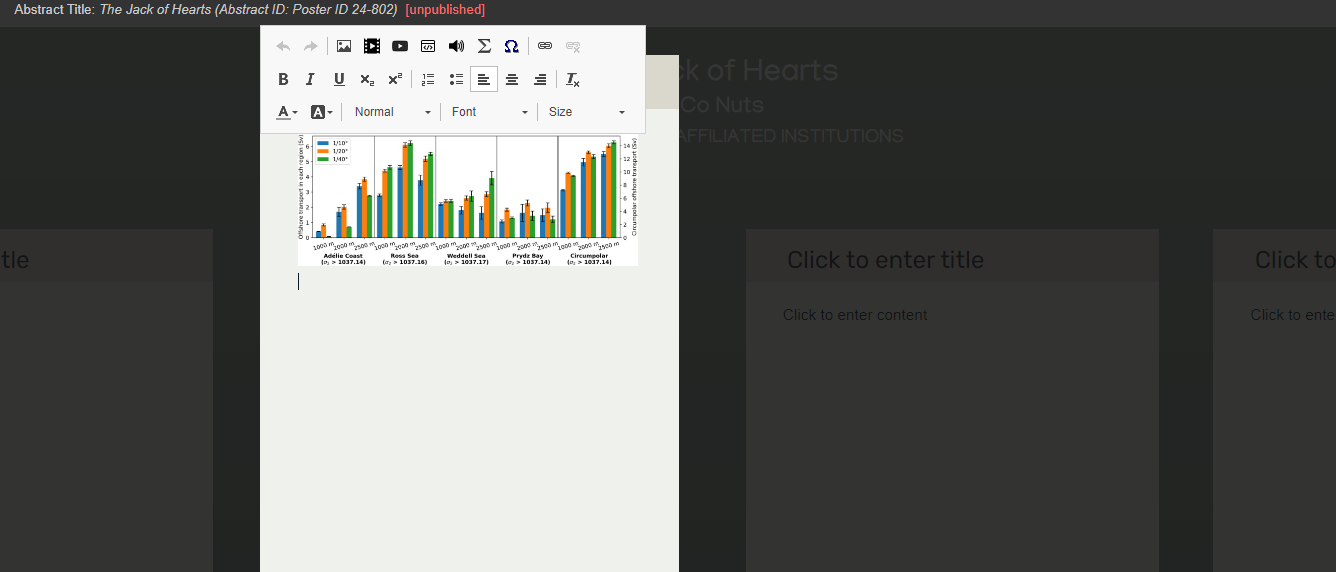
4. The image is now uploaded in the content box.
Adding full slides to an iPoster:
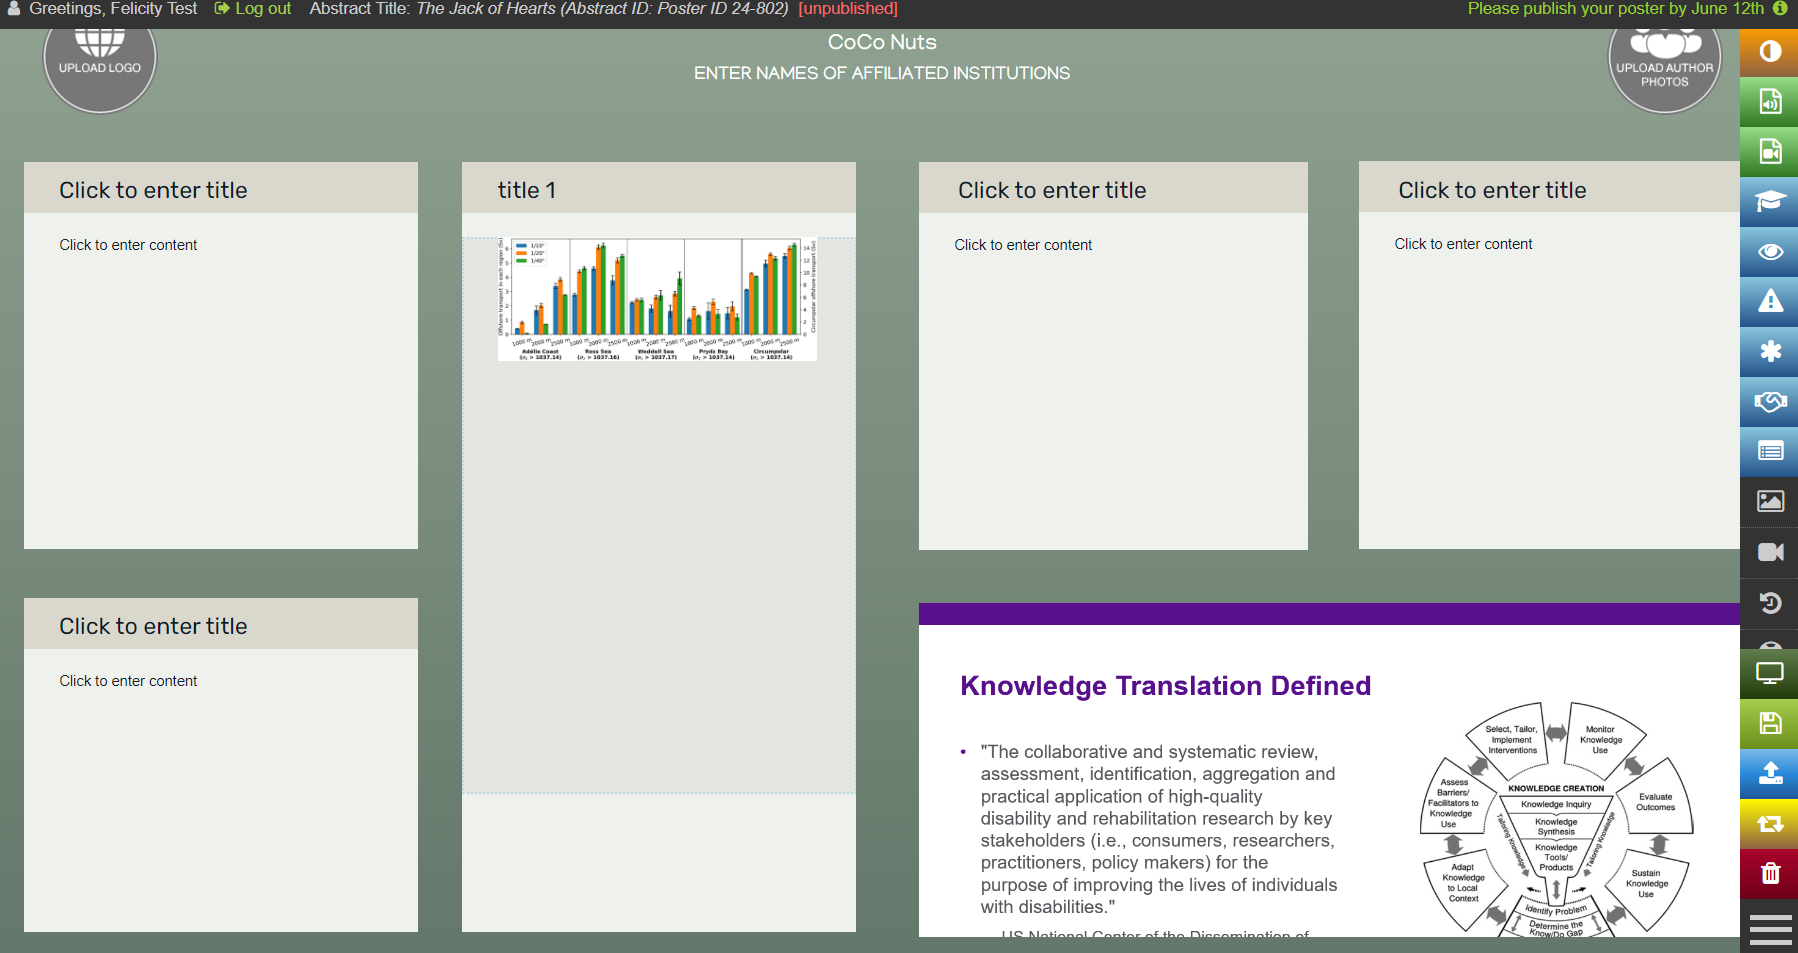
You can add your PPT slides as images to your iPoster either in a content box or in the image slider box available on two of the interactive templates.
When you or a viewer clicks or taps on the slideshow in preview mode or at the conference, it will open as an overlay and display all images at their full size. There are controls to pause and play as well as to skip back and forth through the slides.
1. Open your PPT and take a screenshot on the largest available screen of each slide you want to include on your iPoster. On a Windows PC, you can use the Snipping Tool. On a Mac, click Cmd + Shift + 4.

2. Click ‘Image Slider’ in one of the iPoster templates with the slideshow box available.
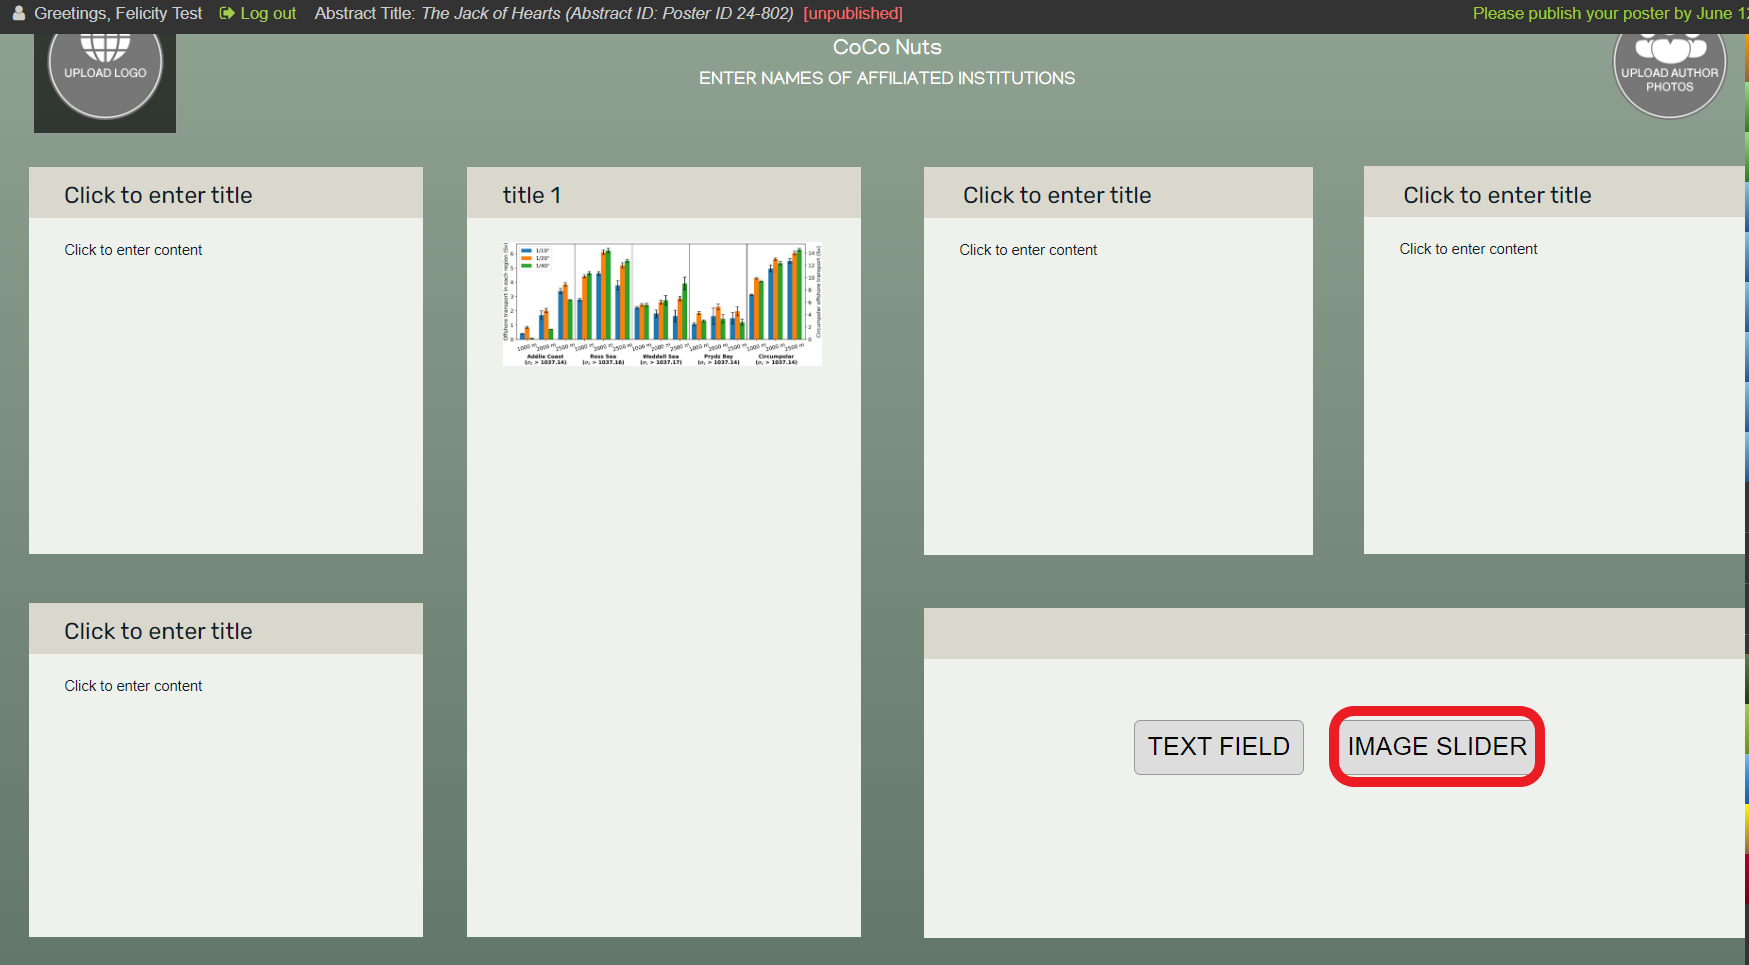
3. Click on the grey box and insert the slideshow screenshots that you have saved. You will need to upload them one at a time.
Open Preview mode from the main menu and click on your slideshow to check that the slides appear as uploaded and that the controls are working.
Be sure to view our tutorials, which will give you a broad overview of the how to create your presentations.
Need further assistance? Reach out to our support team by sending a support request. Don’t forget to let us know which conference you’re creating a presentation for.