There are lots of good reasons to add a video presentation to your iPoster. It’s a particularly great feature to increase the accessibility, reach and engagement of your research. For example, it provides a presentation option for those who cannot attend your conference in-person. Remember that your iPoster will live on and be available on-line long after your conference is over.
It’s also fairly easy to create your own recorded presentation using your computer’s built-in recording functions, or any 3rd party tools like, Zoom, WebX or Microsoft Teams.
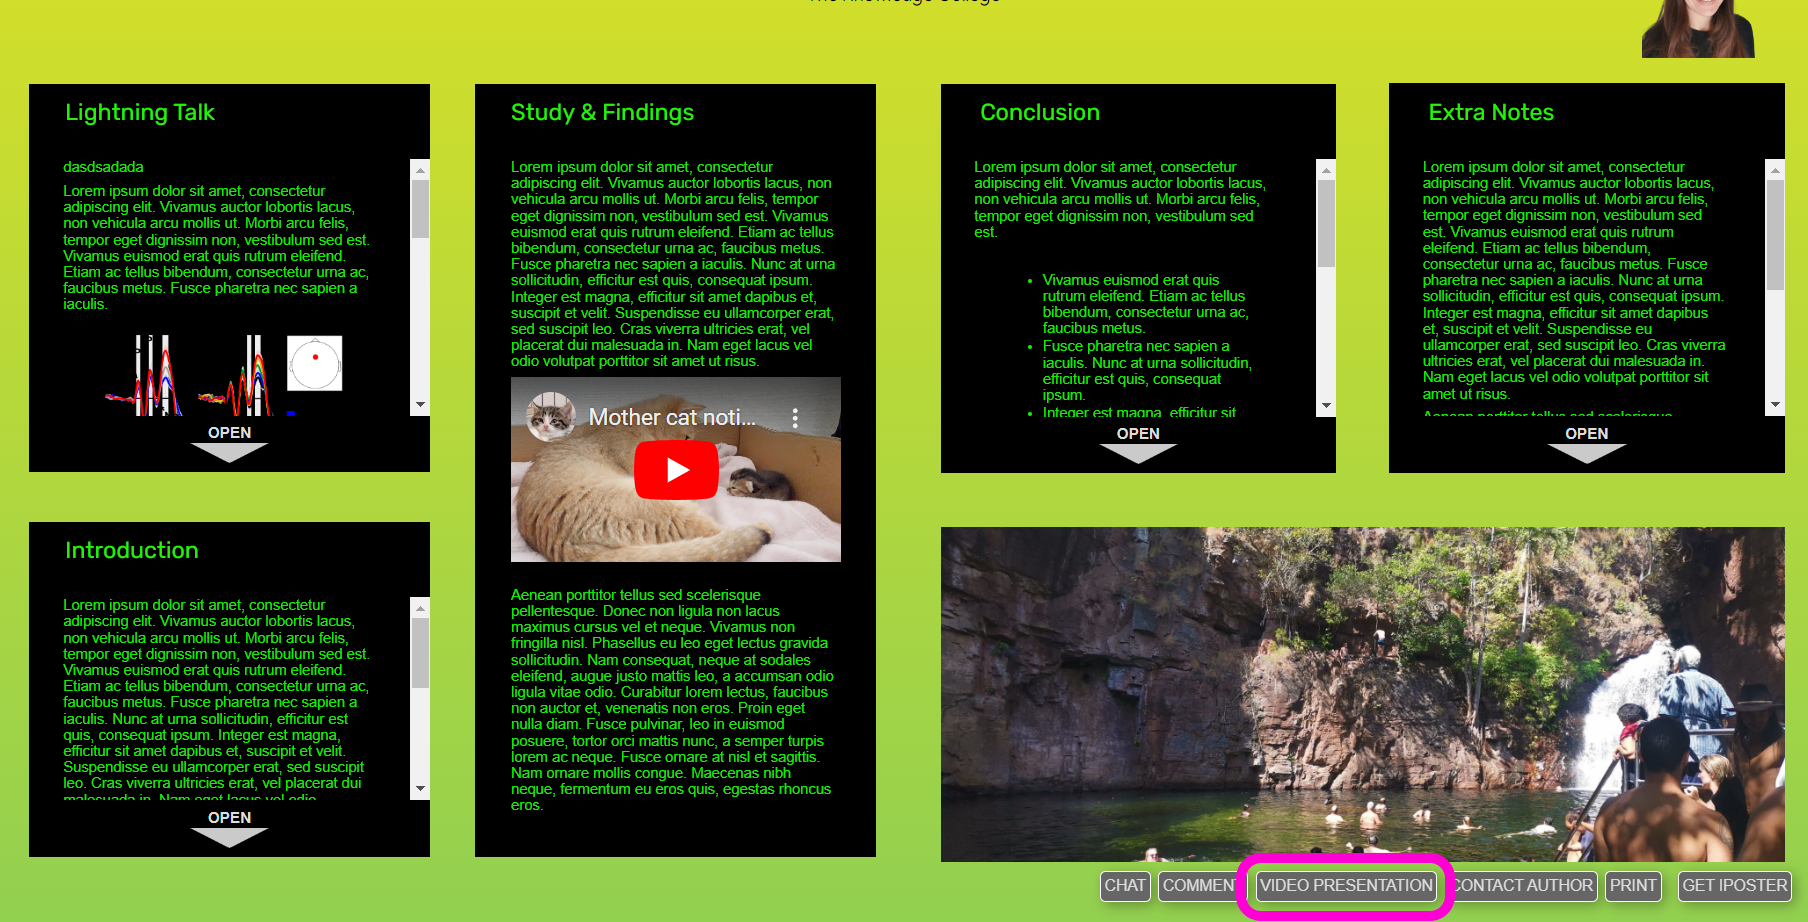
A video presentation can provide a general summary of your research or explore a particular theme in more depth. If this option is available for your conference, the ‘Video Presentation’ button will be visible on the Main Menu of your iPoster Editor screen.
Please note that there is a file upload size limit of 100MB. If you need to compress your file you can use a free online service such as:
- 3g2
- 3gp
- avi
- flv
- ts
- mov
- mkv
- mp4
- mpeg
- mpd
- mxf
- ogv
- webm
- wmv
If you also want to add videos into content boxes please see this FAQ: How do i add videos to my iPoster?
Add a Video Presentation to your iPoster – Instructions
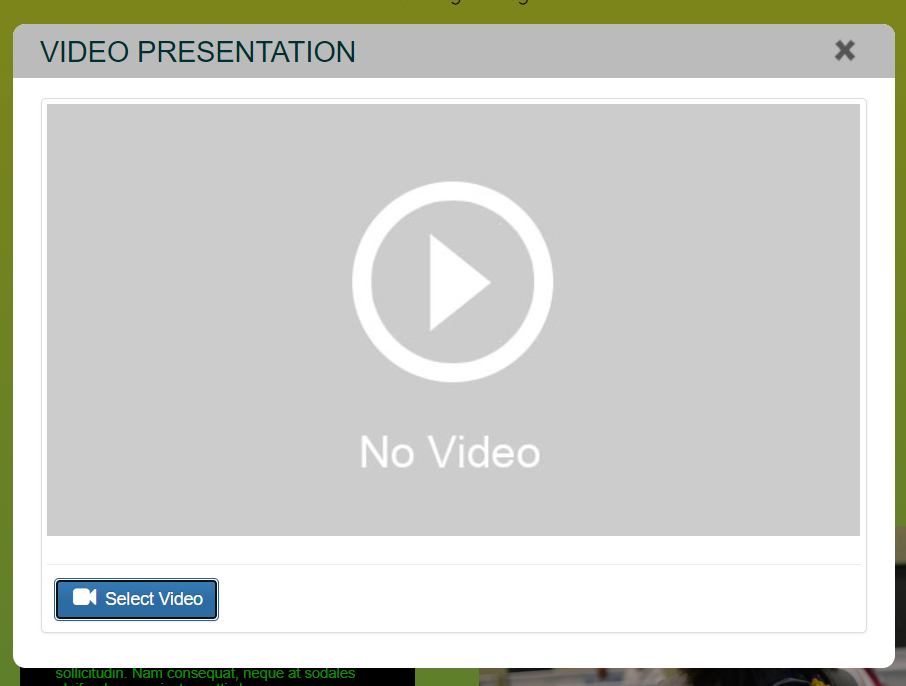
1. Click on the green VIDEO PRESENTATION button in the Main Menu.

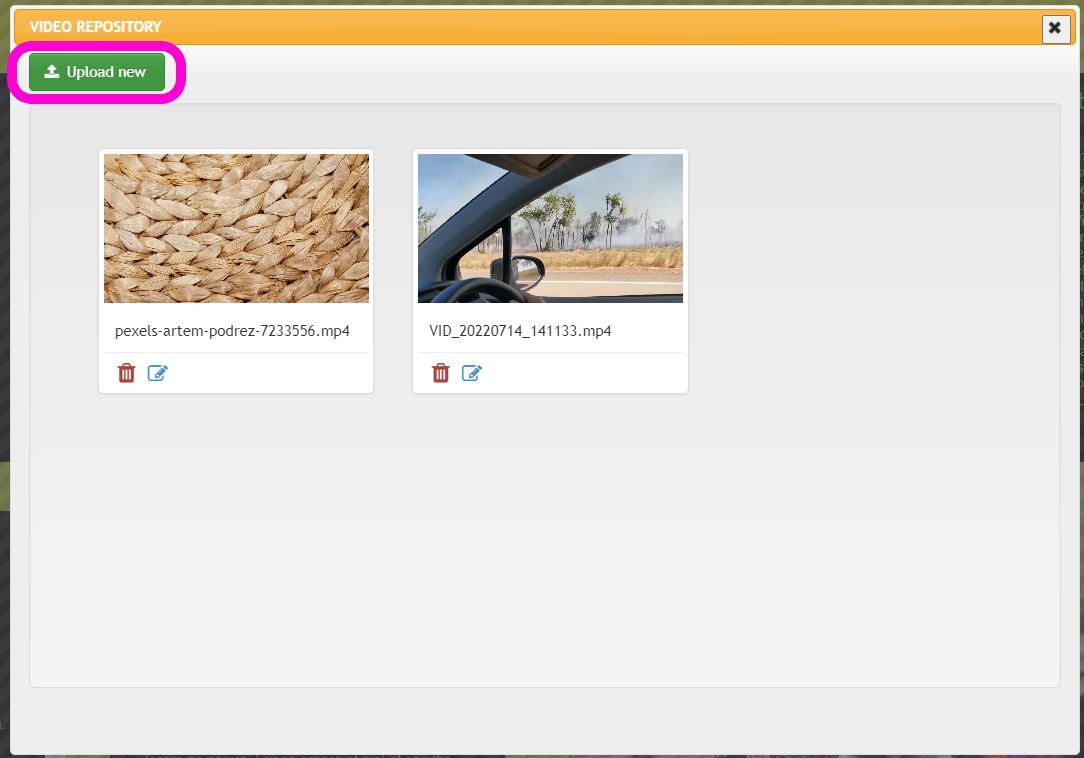
2. The Video upload box will pop up. Add your video file in here. You can either click ‘Select Video’. The Video Repository will open and you can choose to select a previously uploaded video or upload a new one.
3. To upload a new video click on ‘Upload New’ and search through your files on your computer, or you can drag and drop the file into this box.
4. Your video will then load into the system and you’ll see a status bar in the bottom left of your screen. The upload can take a couple of minutes depending on the size of the file and your current internet upload speed. You can close out of the video repository and continue to work on your poster while you wait for your video to upload.
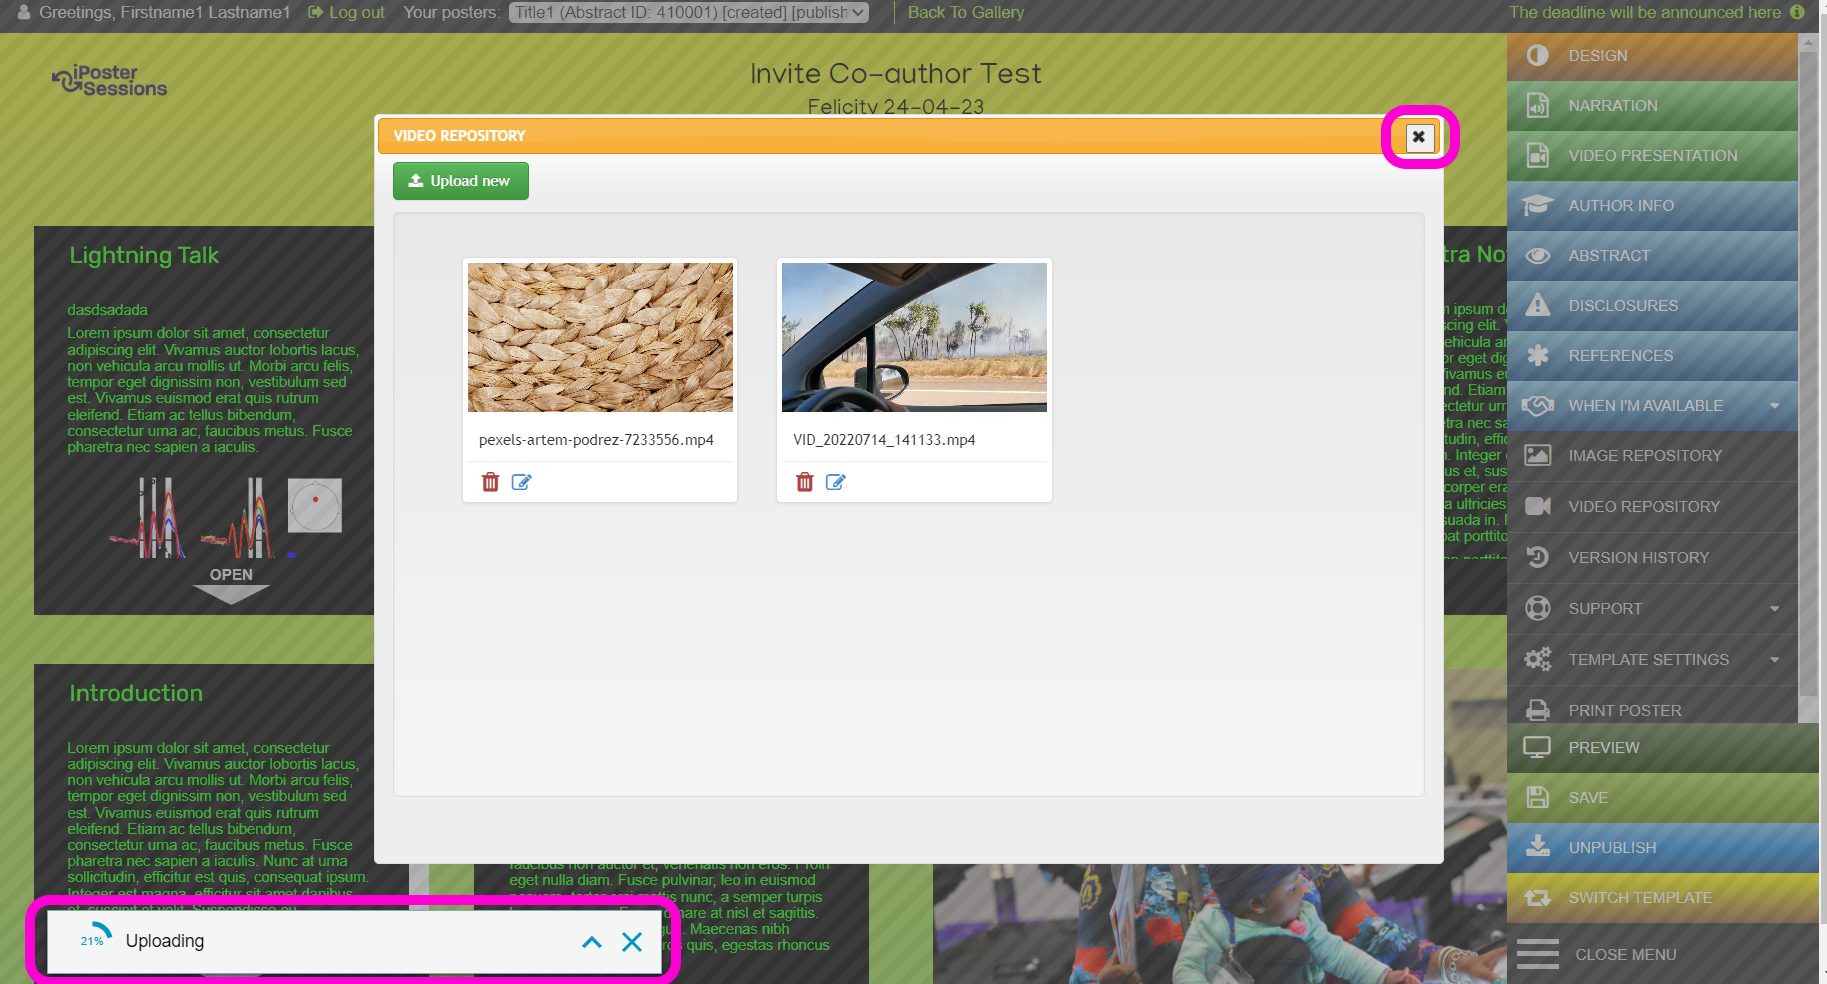
4. Once your video is uploaded It will be available in the Video Repository. To delete the uploaded video at any time, simply click on the red ‘Delete’ button. You can return to the video presentation screen at any time and select your newly uploaded video.
If your conference organizer has enabled AI subtitle generation you will see a green ‘Subtitle’ button next to the ‘Delete’ button. See the FAQ ‘How can I generate subtitles for my videos?‘ for detailed instructions on this process.
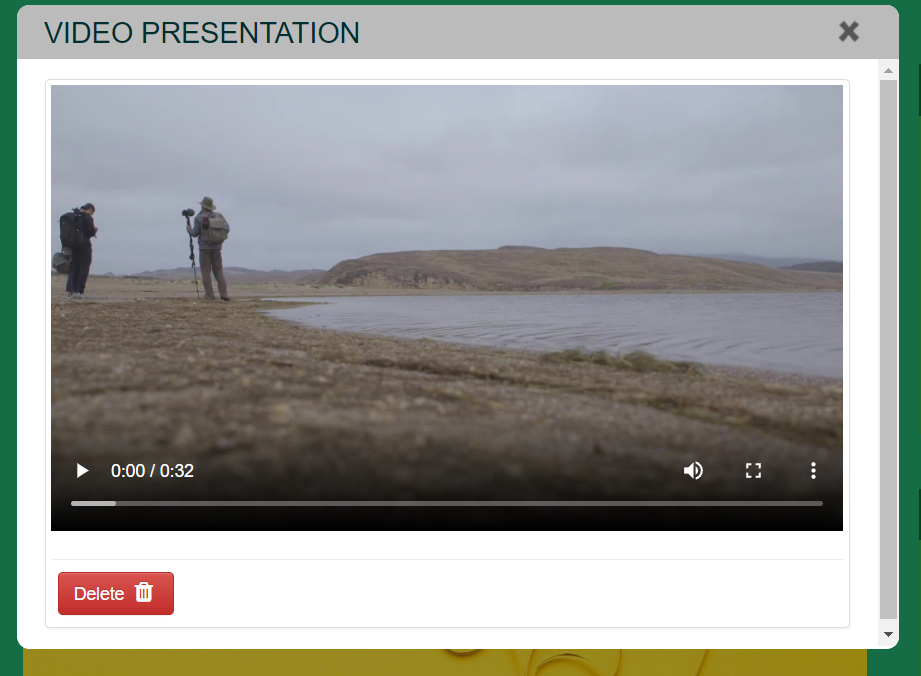
5. Check your video in Preview mode. Click on the preview button in the main menu. There should be a button at the bottom of your poster called ‘Video Presentation’. Click on this button and play your video to check it.
Need further assistance? Reach out to our support team by sending a support request. Don’t forget to let us know which conference you’re creating a presentation for.