There are two ways to add videos into content boxes in your iPoster. The first way is to upload a video file via the Insert Video button in the content box tool bar, or via the VIDEO REPOSITORY/GALLERY button from the main tool bar. Once your video is uploaded into the video repository you can insert it into a content box. The second way is to embed a YouTube or Vimeo link within a content box on your iPoster.
There are many video file types that are accepted for upload in the iPoster system as listed below. Please note that the file upload limit for videos is 100MB.
- 3g2
- 3gp
- avi
- flv
- ts
- mov
- mkv
- mp4
- mpeg
- mpd
- mxf
- ogv
- webm
- wmv
These instructions are broken down into the following 3 sections:
Section 1: Upload a video file directly into a content box.
Section 2: Upload a video file to the video repository/gallery .
Section 3: Embed a YouTube or Vimeo link into a content box.
Section 1: Upload a video file directly into a Content Box.
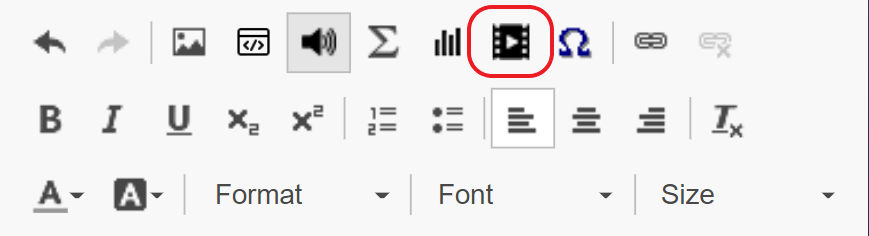
1. Place your curser in your content box where you want to insert the video.
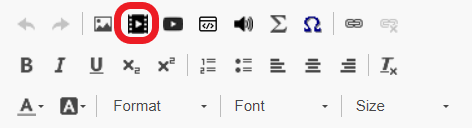
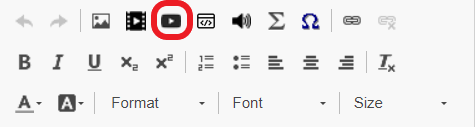
2. Click on the Insert HTML5 Video tool in the content box tool bar.
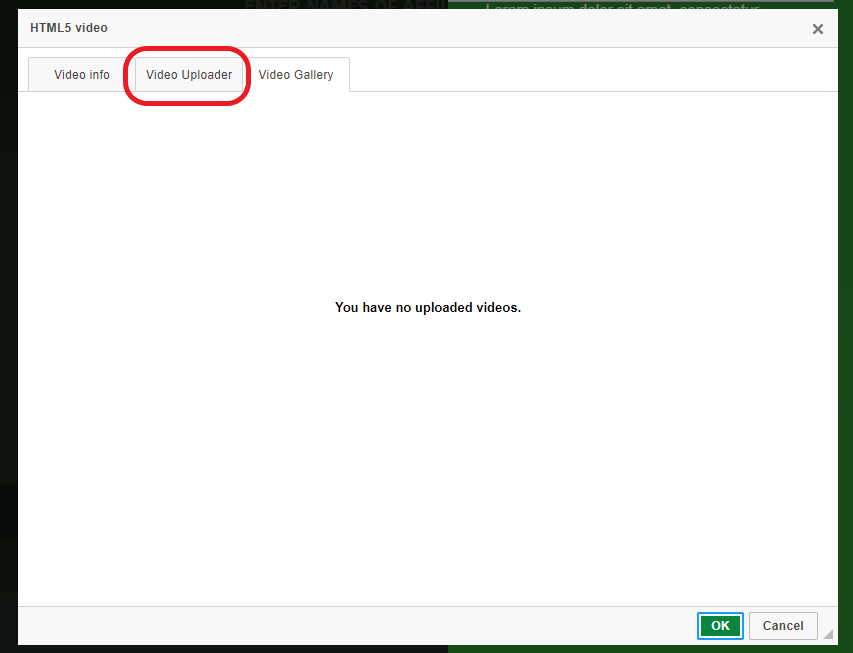
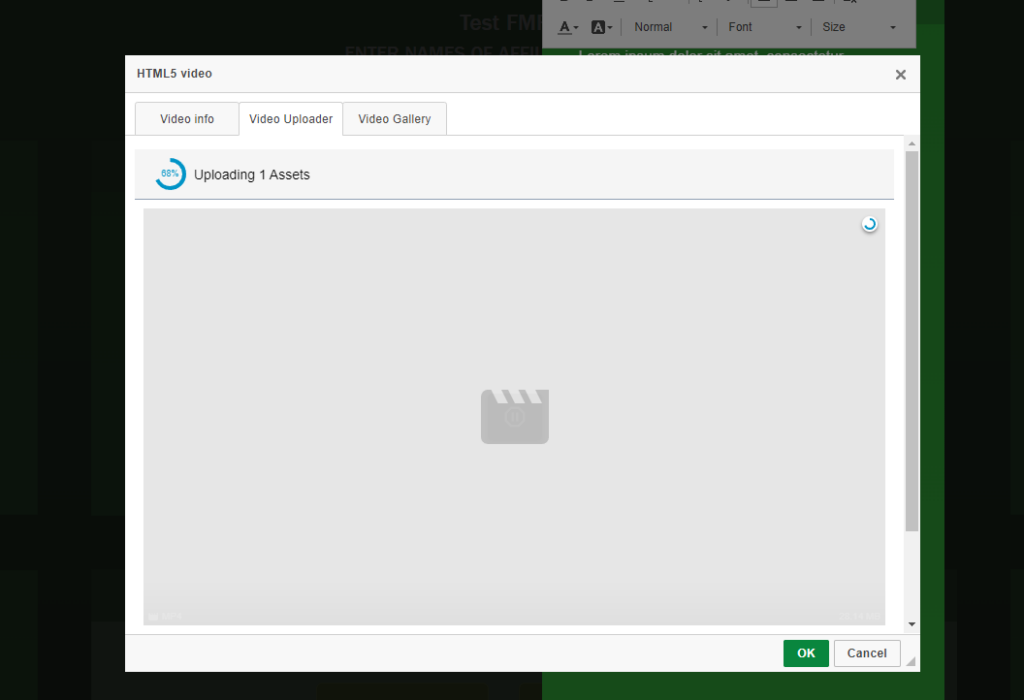
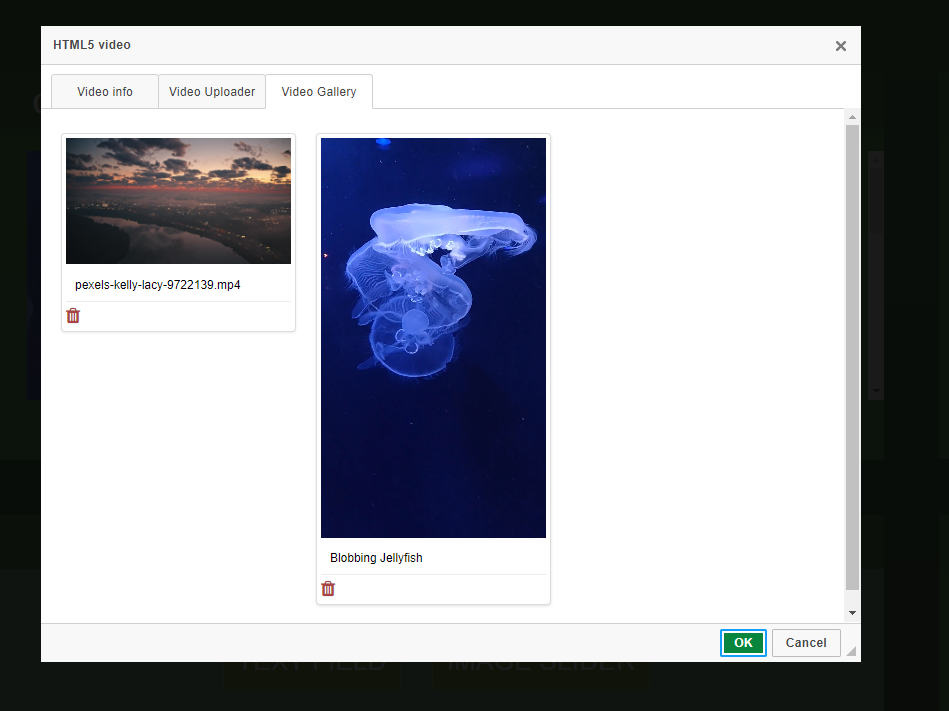
3. The following screen will come up. If you don’t have any videos uploaded in the repository it will be blank. Click on the Video Uploader tab.
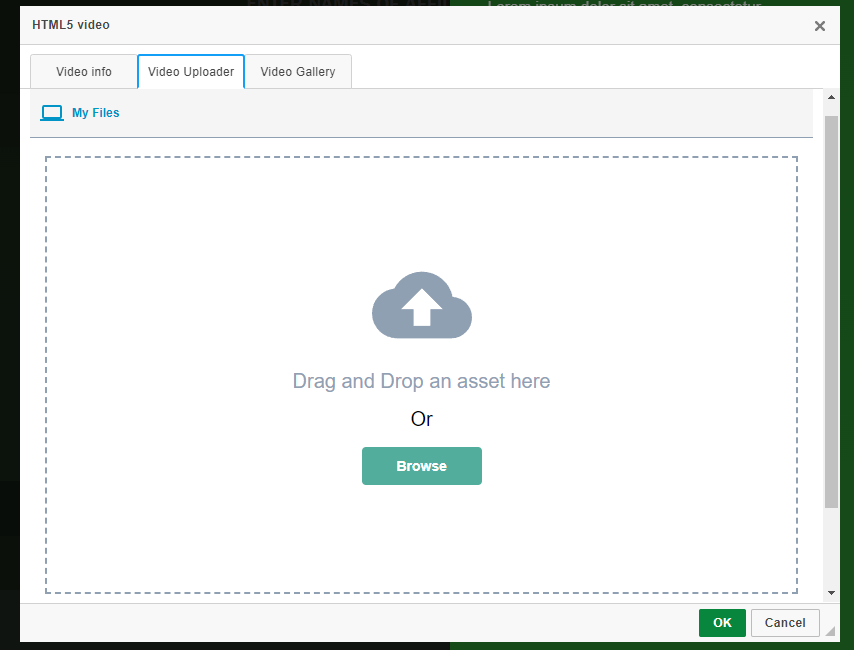
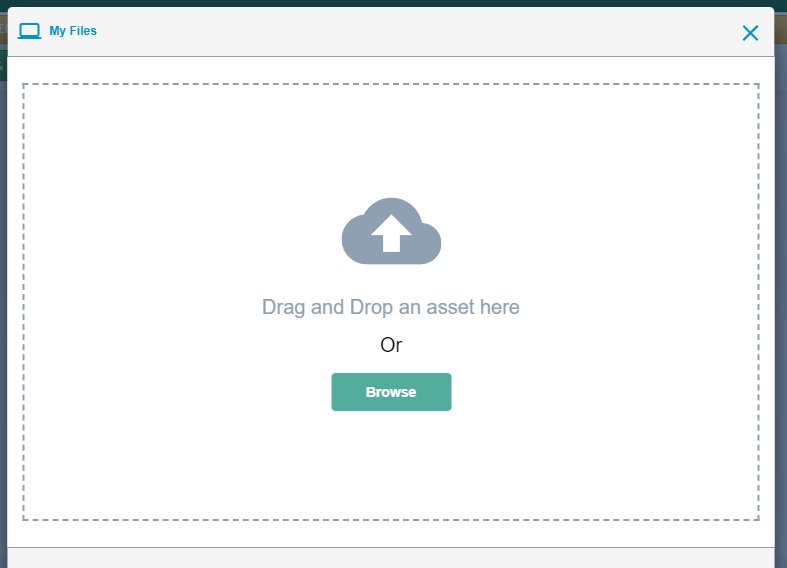
4. Upload your video from your computer. You can either drag and drop the file, or click Browse to search through your files.
5. Wait for your file to finish uploading. Be patient, this may take a minute or so.
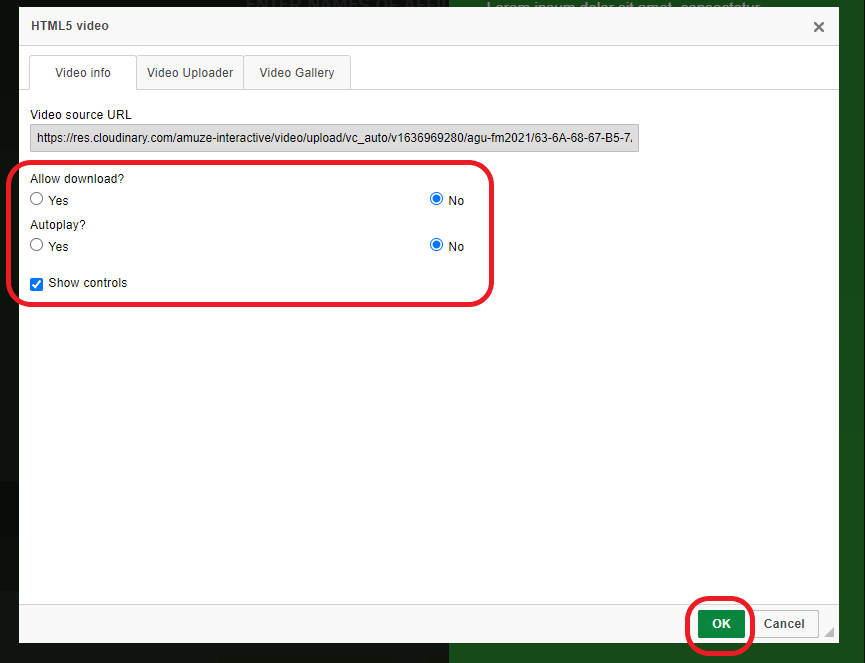
6. When the upload is complete you’ll be taken to the Video Info tab. Here you can adjust some settings on your video as shown below. When you are ready to insert the video click on the OK button.
7. Your video should now be inserted into your content box and will be visible in the video repository.
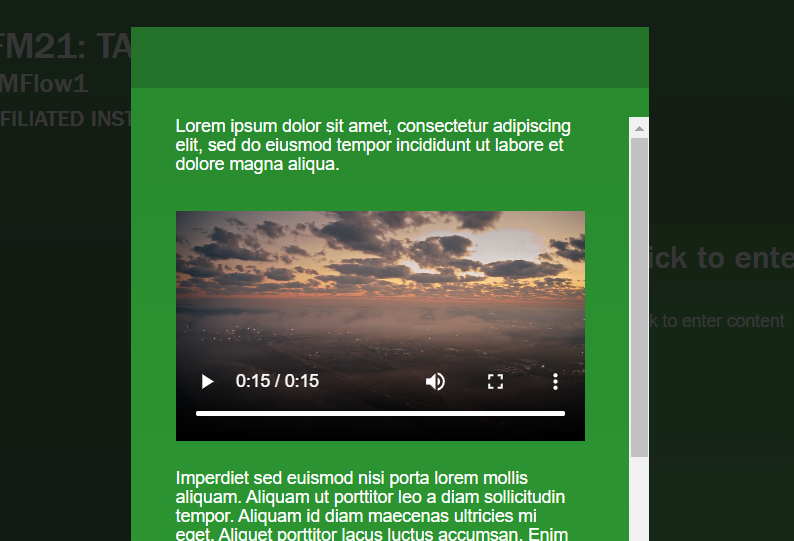
8. Test it in Preview mode to see how it will be displayed to conference visitors.
Section 2: Upload a video file to the Video Repository/Gallery.
There is a file upload size limit of 100 MB. If your video file is larger than this you can compress it using an online video file compression service. Here are some free ones that we have used.

or

2. The following dialogue box will open. If you have already uploaded videos within your poster they will be shown here.
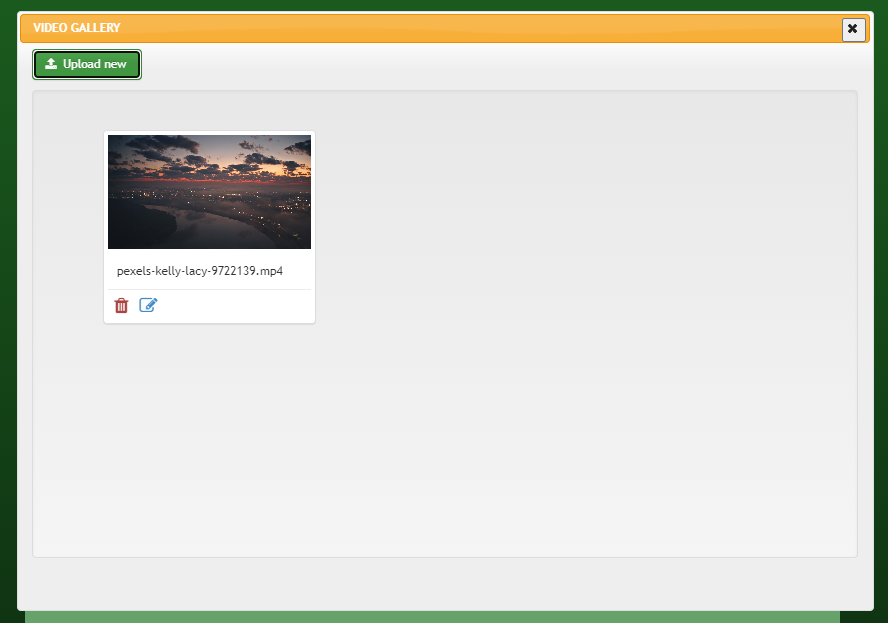
3. Click on the green Upload New button at the top left of the gallery screen.

4. Upload your video from your computer. You can either drag and drop the file or click Browse to search through the files on your computer.
5. Wait for the upload to complete. If it is successful you will see your newly uploaded video appear in this screen.
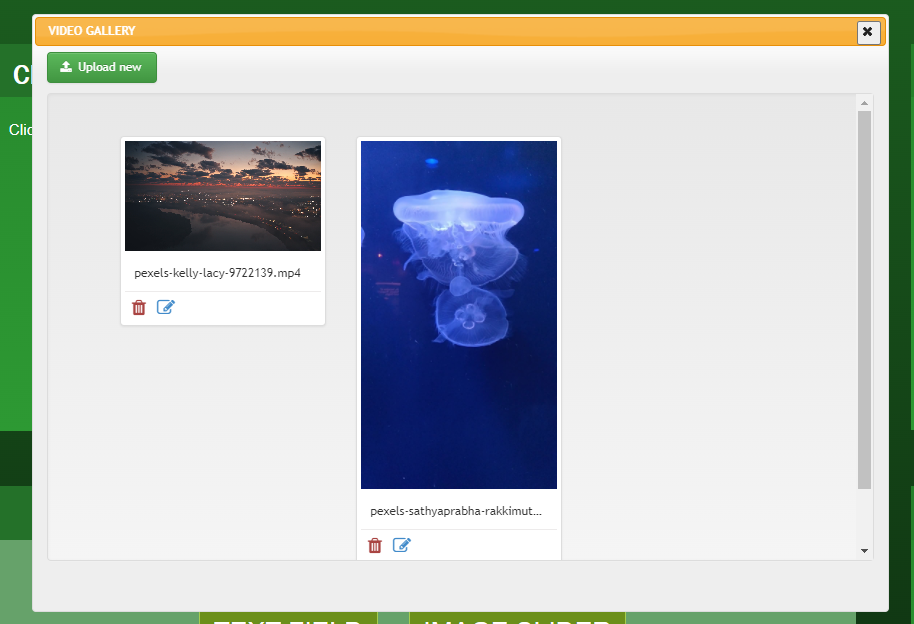
6. Use the below buttons to edit the title of the video or delete the video. You can enter a video title and description using the edit button. These are for your reference only and won’t be visible to viewers.


7. To insert an uploaded video from the gallery use the Insert Video button on the content box toolbar and select the video.
3. Embed a YouTube or Vimeo link into a content box.
1. Place your curser in your content box where you want to insert the video.
2. Click on the Insert Video Link button.
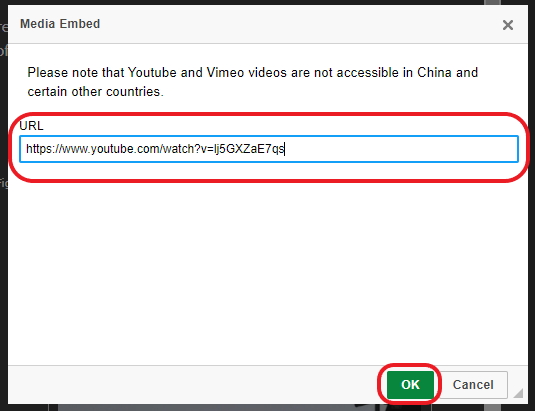
3. The following screen will come up. Insert the video’s URL from Vimeo or YouTube and click ok.
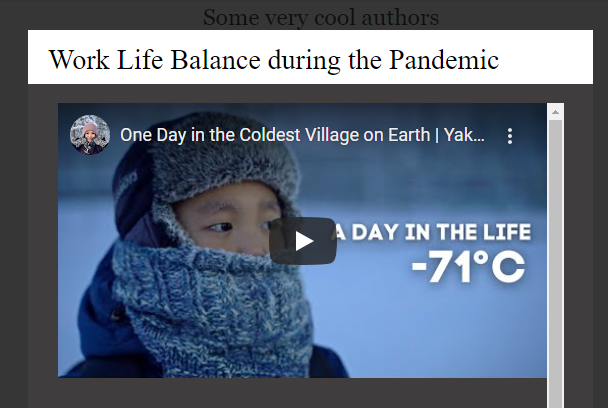
4. The video should be embedded within the content box as shown in the image below. Click on the Preview button from the main menu to check the video in presentation mode.
Need further assistance? Reach out to our support team; send a support request or email us at support@ipostersessions.com. Don’t forget to let us know which conference you’re creating a presentation for.