Uncategorized

AERA Annual Meeting

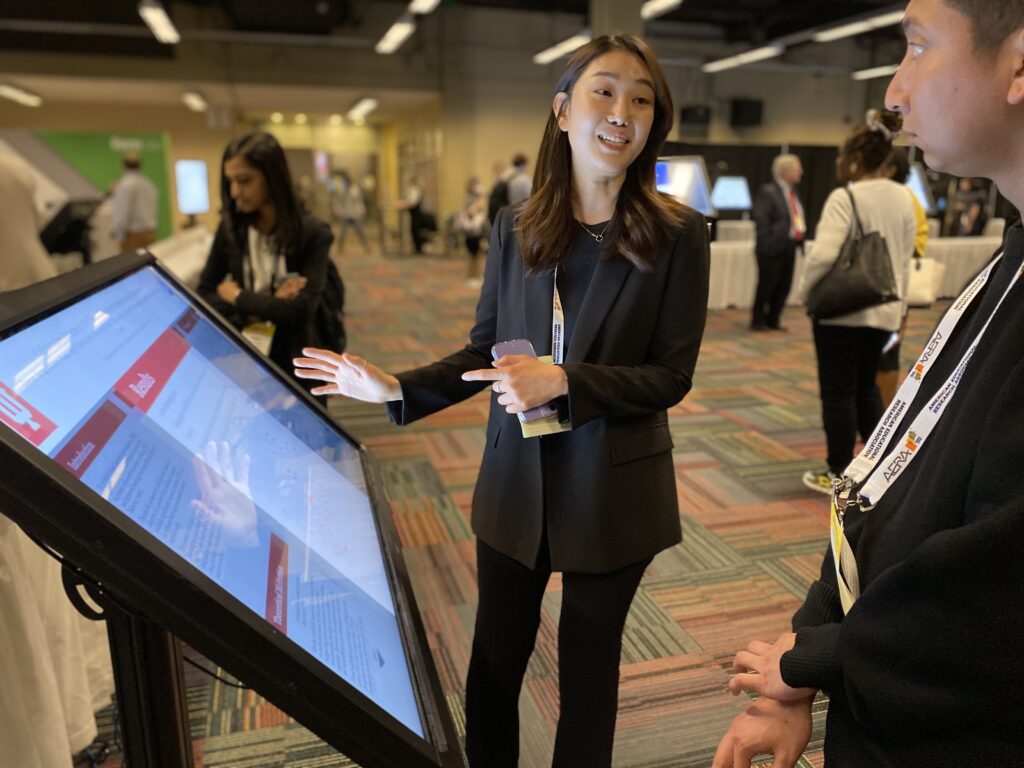
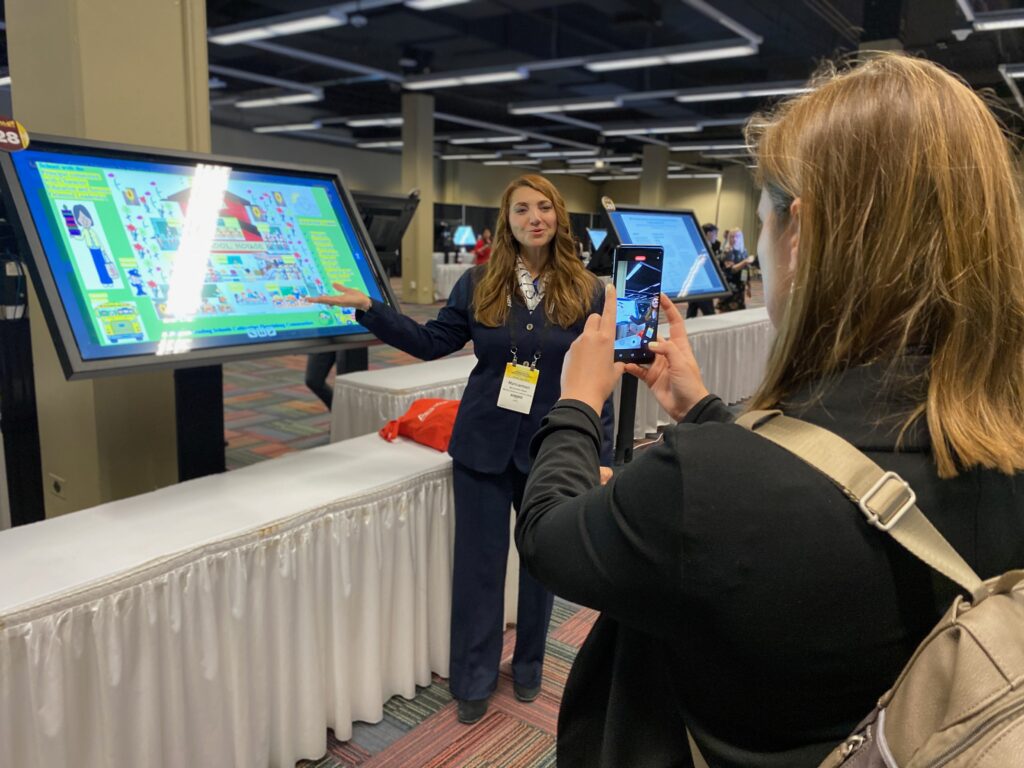
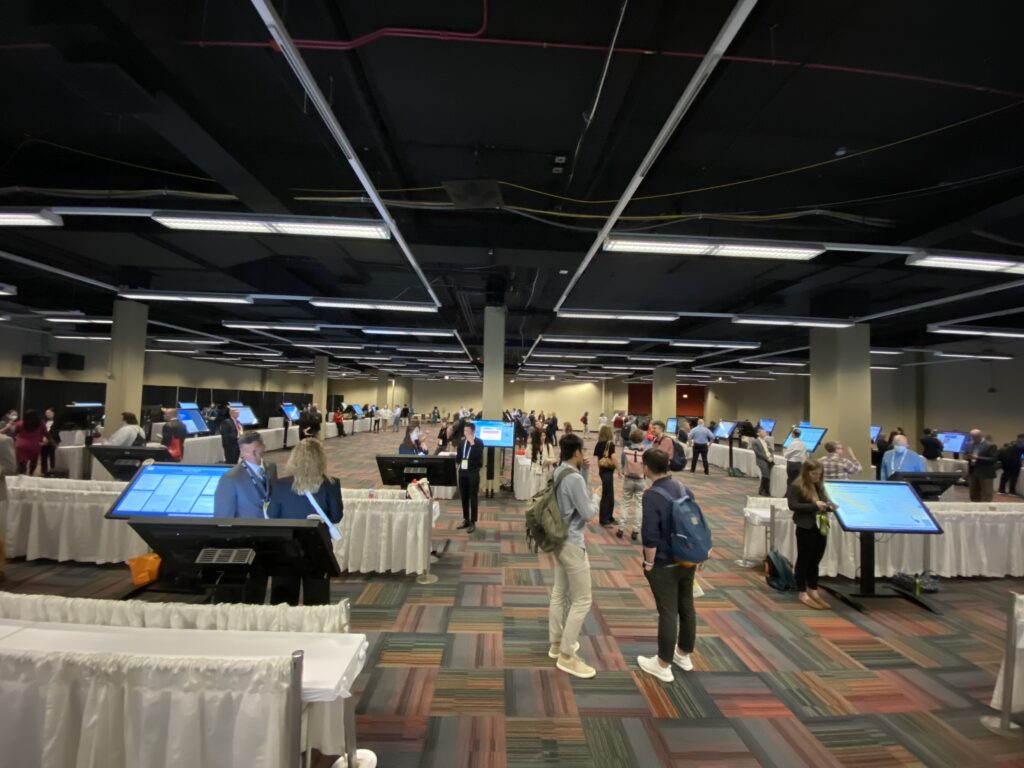
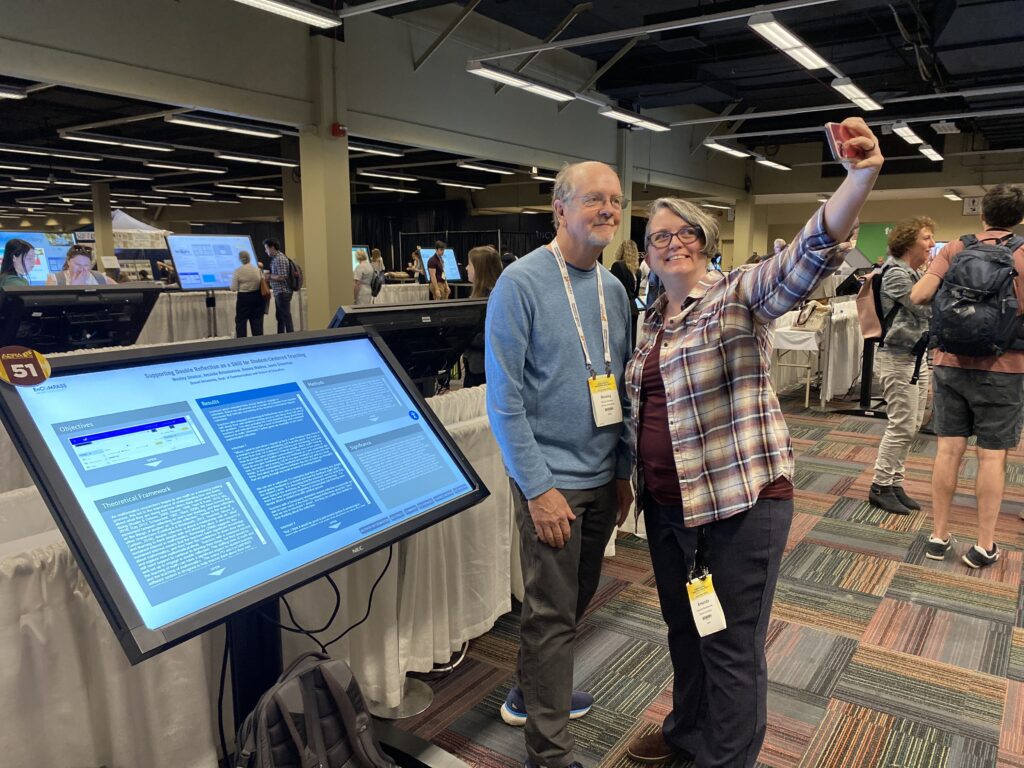
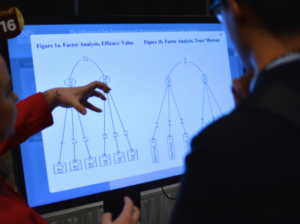
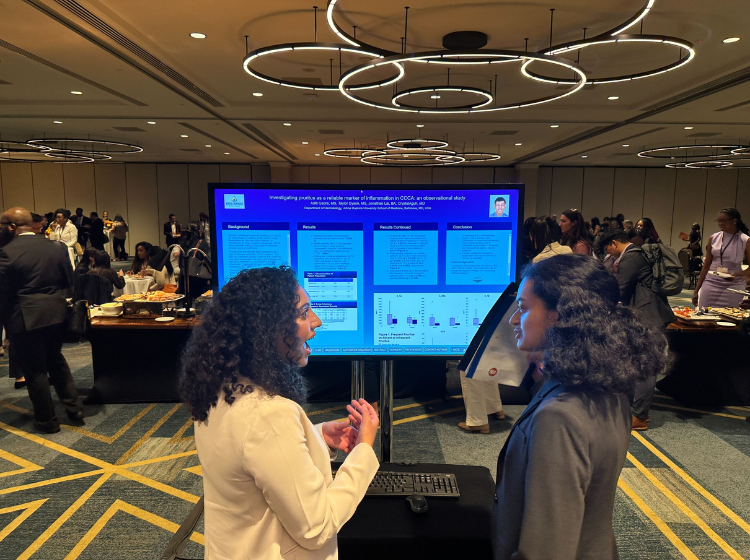
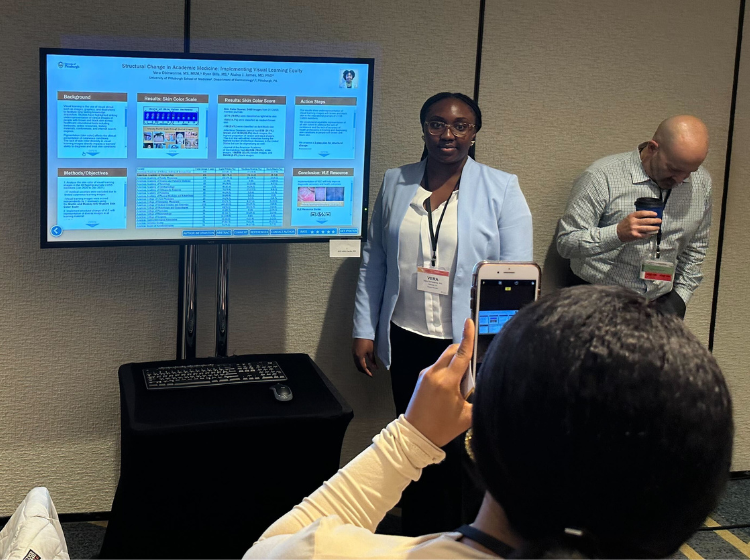
The 2023 American Educational Research Association (AERA) annual meeting featured a diverse range of research presentations, including a number of engaging and informative iPresentations. We also provided a platform for access to all presentations made during the conference. This included papers delivered during panel discussions, roundtable discussions, workshops symposia and more. There have been over 2000 presentations created and uploaded to the gallery so far. The in-person component has just wrapped up in Chicago and the virtual event will take place in early May.

The AERA Annual Meeting was the first conference to use our newly integrated accessibility widget. This is a major step towards creating a more inclusive online environment. With this widget users with disabilities can easily navigate and interact with the iPoster interactive templates. The widget’s AI-powered technology automatically adjusts the interface to accommodate different accessibility needs. This includes screen reader compatibility, keyboard navigation, and color contrast adjustments. The widget’s user-friendly interface allows users to customize their experience to suit their specific needs, making it easier to access and understand the content on iPosters. We will continue tweaking the widget as we receive user feedback on it. This integration on the interactive templates is a win for accessibility and inclusivity in the science sharing community.
How to book an onsite screen

Book a time for your iPoster presentation using the built-in booking schedule. Please note that this tool is not available on all conferences. If it is enabled on your conference you can access the schedule under the ‘When I’m Available’ button on the main menu in your editor. Follow the guide below to see how it works.

1. Click on BOOK ONSITE SCREEN under the ‘When I’m Available’ button on the main menu.

The iPoster editor screen main menu. The option called 'BOOK ONSITE SCREEN' is circled in yellow.

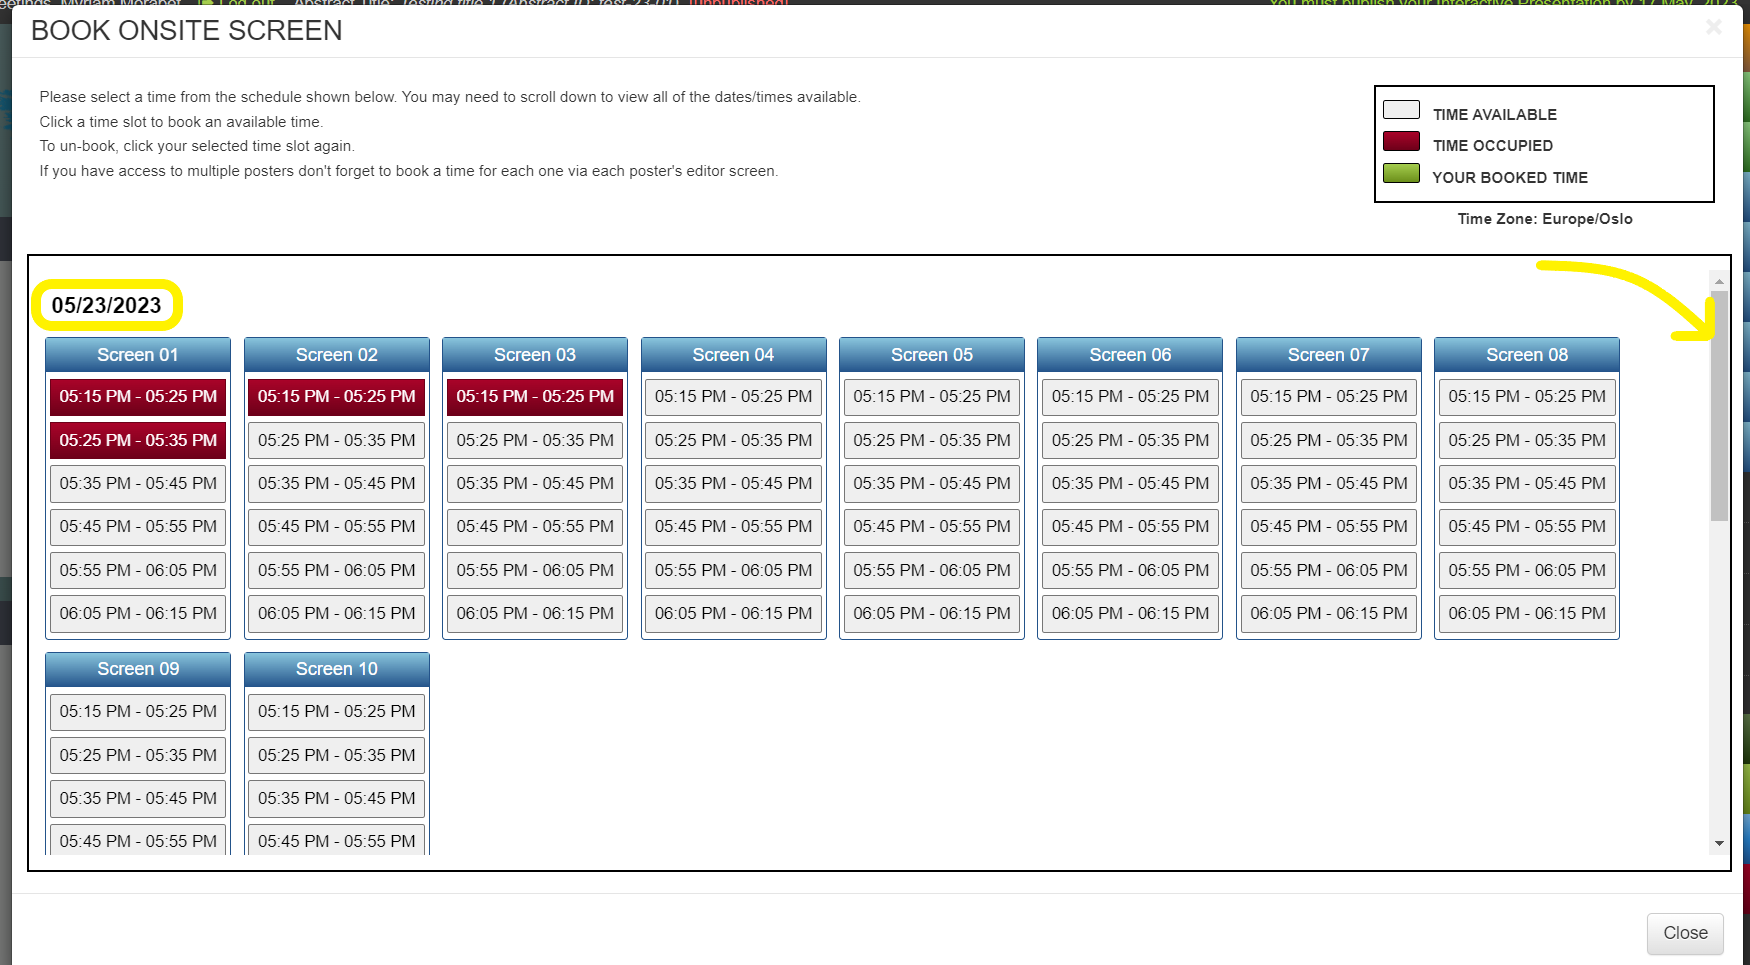
2. Here you will see the schedule of times/dates available to select from. Gray boxes are available times. Red boxes are unavailable times. The presentation date is shown above the screens. Don’t forget to scroll down to view the complete schedule.

An example of the booking schedule that opens when clicking on 'book onsite screen'. The time and dates are listed under each screen.  There is a brief description and a key which shows that RED= booked time slot. GREEN= your booked timeslot and GRAY= an available time slot.

There is a yellow outline around the schedule date at the top of the schedule and a yellow arrow pointing to the scroll bar

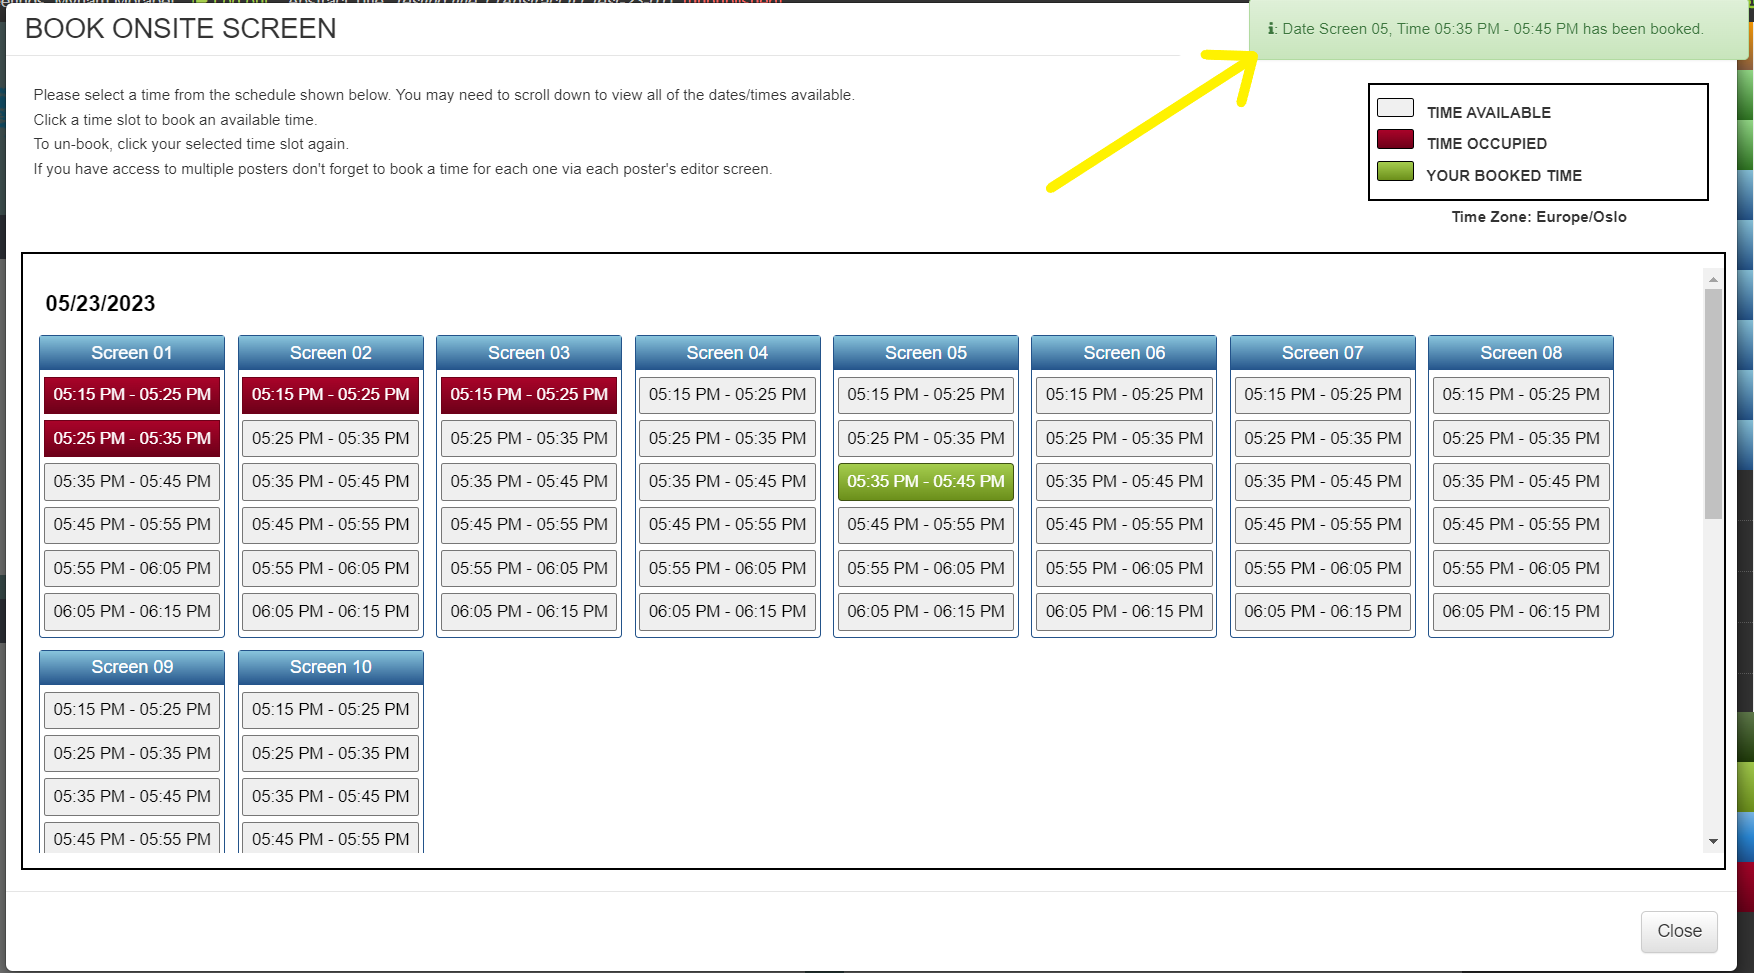
3. To book a time slot simply click on any available one that you want. When you have clicked on it you will see that it turns green and a green pop up message will show advising that you have booked this time.

The 'Book Schedule time' screen with a time slot selected in green. There is a yellow arrow pointing to a pop up notification advising that the selected time has been booked.

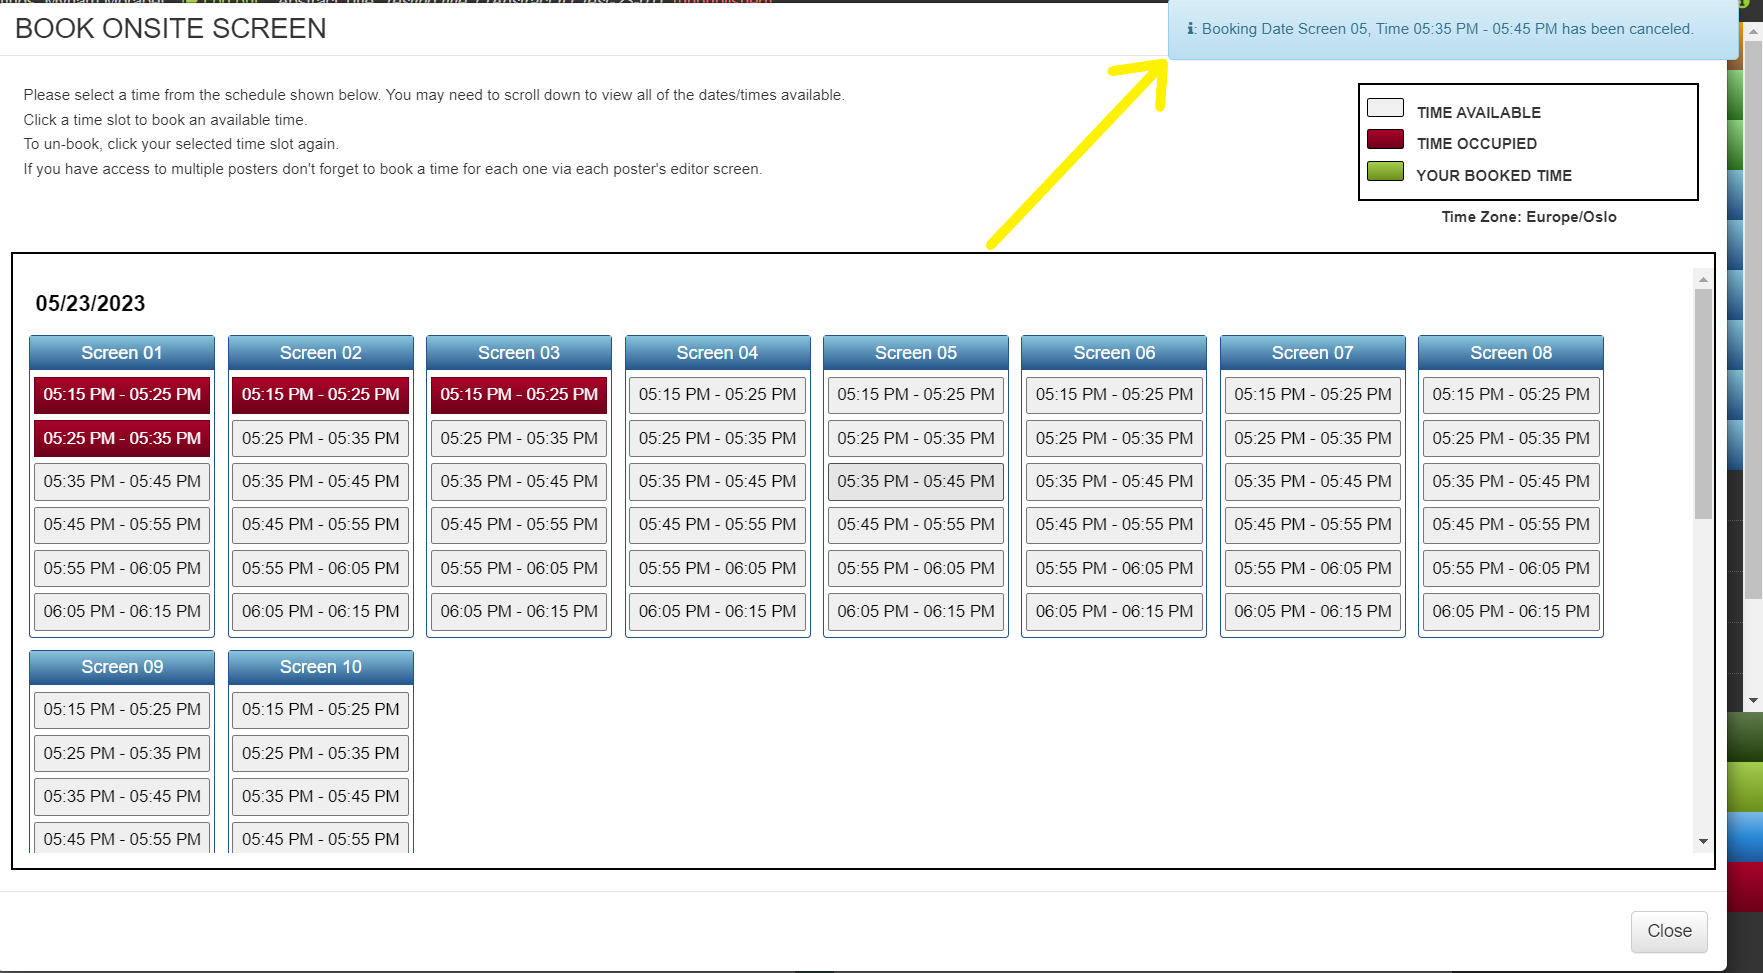
4. To un- book a time slot simply click on your selected booking. You will see a blue notification advising that your timeslot has been un-booked. And now you can select a different time.

The 'Book Schedule time' screen. There is a yellow arrow pointing to a pop up notification advising that the selected time has been un-booked.

5. If you have access to multiple posters don’t forget to book a time for each one. You must select a timeslot via each poster’s editor screen. Use the gray box at the top of your screen to toggle between your posters. You will see the booked times for each of your posters show up as green in the schedule, but you can only edit the booking for the poster in the current editing screen.

The multiple poster dropdown option in the iPoster editor. It shows 3 posters to pick from with a red arrow pointing to the middle one.

Need further assistance? Reach out to our support team by sending a support request. Don’t forget to let us know which conference you’re creating a presentation for.

Trexperts: Skin of Color Society

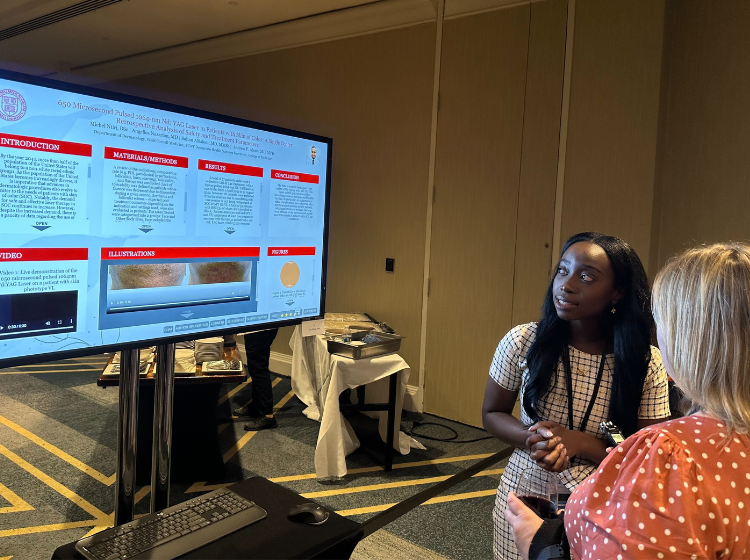
Really happy to be onsite in NOLA for the 19th annual Skin of Color Society  (SOCS) Scientific Symposium. There were over 130 iPosters created for the event. The research was compiled and presented by both students and professionals at various levels  in the dermatology field.

How can I add Alternative text to my images?

Alternative text, often shortened to ‘alt text,’ is a short and succinct written description of an image. Well written alt text is important to increase your presentation’s accessibility. Screen readers will read aloud alt text in place of images which means this content will be available to viewers who are blind or low vision.

It’s quick and easy to add alt text to your images on an iPoster. You can add the text in when you first upload the image or you can add it on images that have already been uploaded. Follow the below steps for a guide on how to do this.

For more detailed instructions on how to add images to your iPoste see the following FAQ: How do I add images to my iPoster?

Adding alternative text on images – instructions

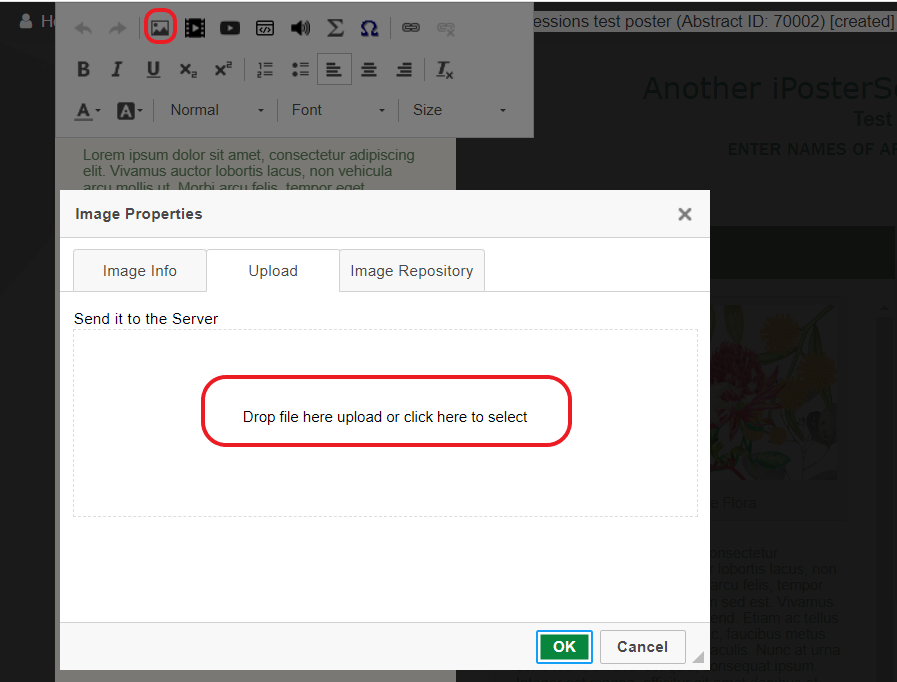
1. Click on Insert Image in the content box tool bar. Upload the desired image.

In the background a the top is the iPoster content box tool bar with the insert image tool circled in red. in the foreground is the image properties screen the words 'Drop file here upload or click here to select' are circled in red.

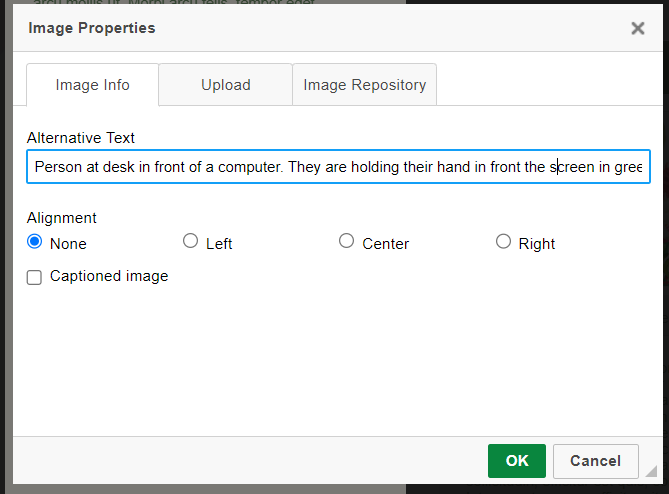
2. Once the image has finished loading the ‘Image Properties’ screen will be displayed. Add the Alt text in the box provided.

The image properties box under the Image Info tab. There is a section to add alt text. The visible alternative text added reads: 'Person at desk in front of a computer. They are holding their hand in front of the screen in gree....'.

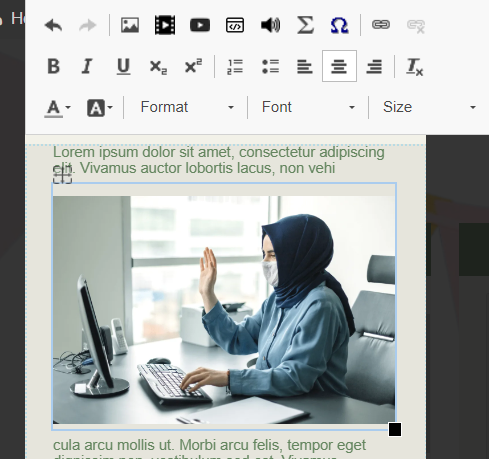
3. Alt text has now been added to this image.

The image in the content box with the tool bar open above it.

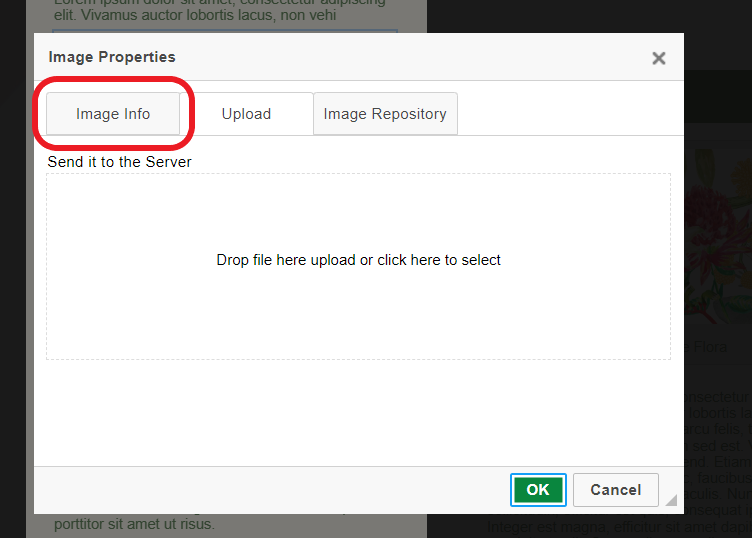
4. If you need to edit the alt text, or add alt text onto an existing image simply double click on the image to bring up the ‘Image Properties’ screen again. Click on the Image Info tab and you will see the Alt text box.

The 'image properties' window the 'Image Info' tab is circled.

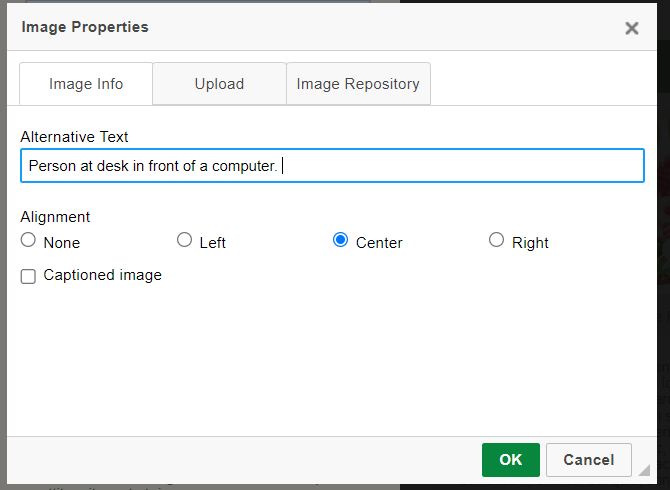
5. Simply edit the existing text or add in alt text here as per above steps. Click ‘OK’ and the alt text has now been added to your image.

The 'image properties' window showing the 'Image Info tab.  The alternative text field shows edited text, 'Person at desk in front of a computer.'

Need further assistance? Reach out to our support team by sending a support request. Don’t forget to let us know which conference you’re creating a presentation for.

Melanoma Research Alliance Scientific Retreat

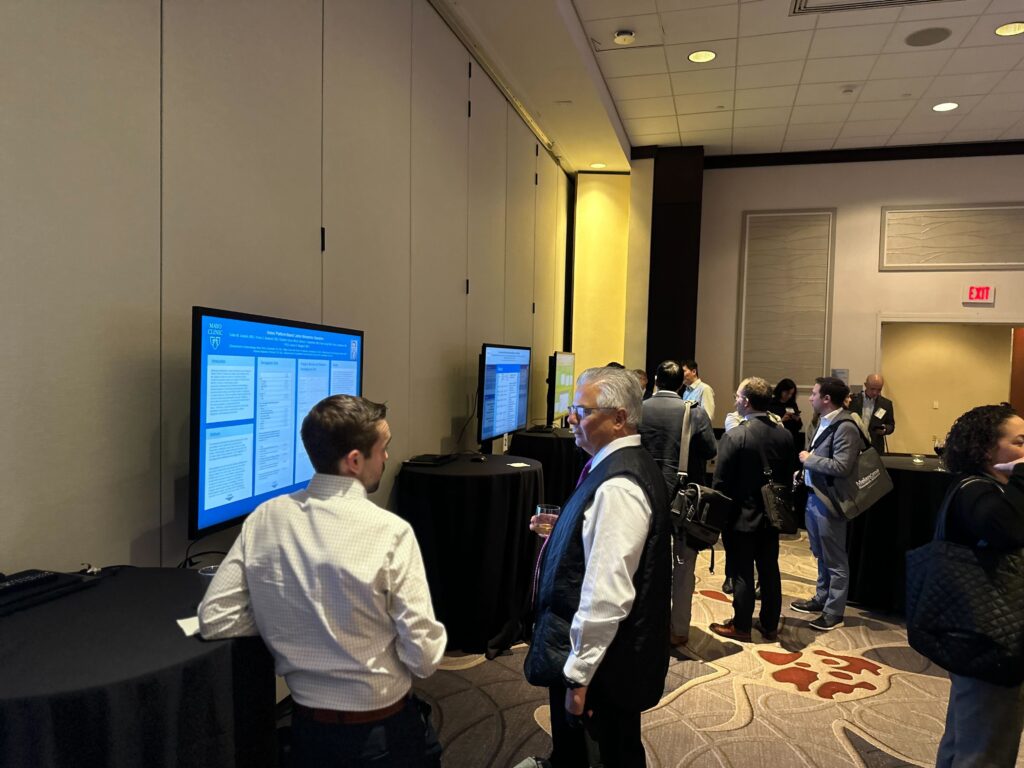
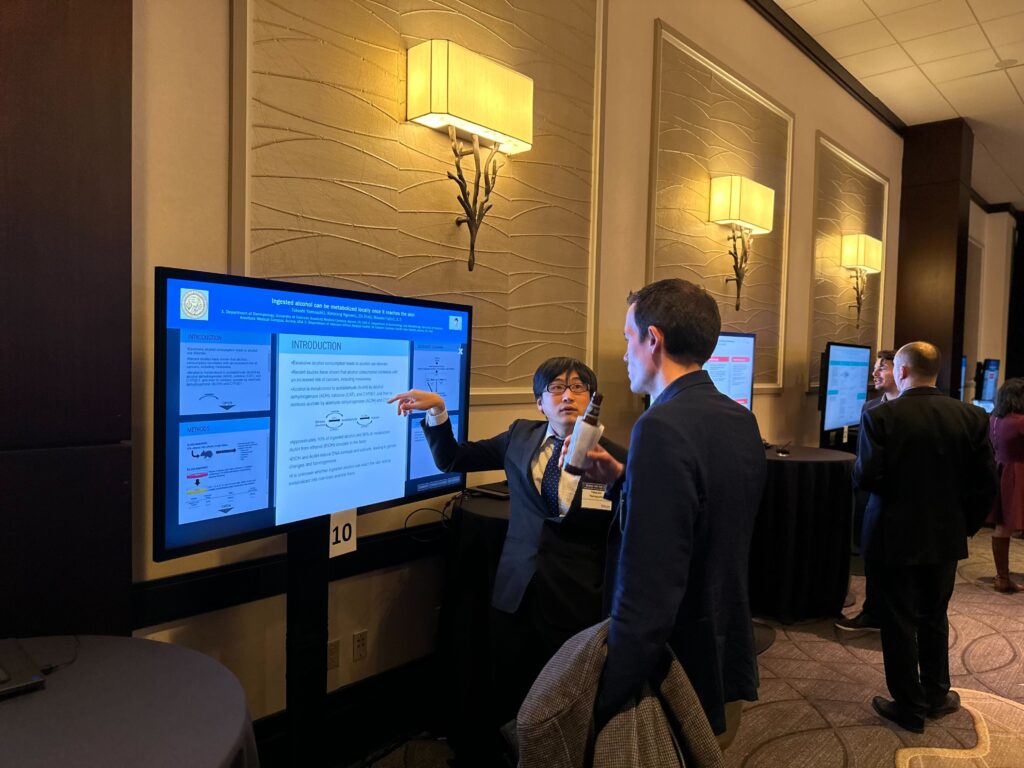
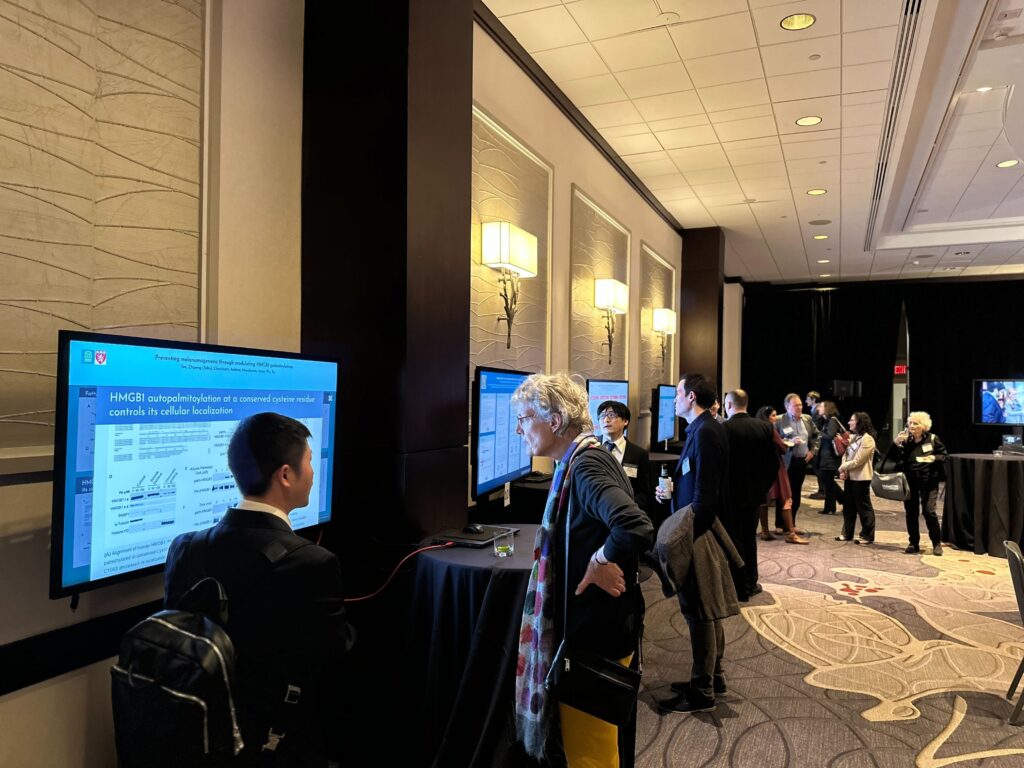
The Melanoma Research Alliance (MRA) Scientific Retreat took place in Washington DC with a virtual component for those unable to make it in person. There were 30 iPosters created for the event which were displayed across 15 large standing screens. The conference is an opportunity for key stakeholders across the field to network and share and present new ideas and issues within this important field of research.