Uncategorized

AGU Fall Meeting

We’re very proud to have been involved  in the AGU Fall Meeting for the 6th year in a row. Mattias, Christer and Joe were on-site in Chicago supporting authors and the in-person iPoster sessions.

There were a whopping 8000 iPosters created and uploaded to the 2022 AGU Fall meeting gallery. Even paper poster presenters had the opportunity to make their research available in the online gallery by uploading a PDF version of their printed poster. This has enabled their research to live-on digitally and be shared and accessed much more easily than a printed poster. 

Our support crew were a little star struck (or should I say asteroid struck?) with one of the authors who came over to upload a PDF poster. It was none other than Andrew Cheng – lead scientist on the DART mission. 

Read more about the DART mission

How to use ‘My Settings’

Use the MY SETTINGS button to manage and measure access to your iPoster presentation, both before and after your event.

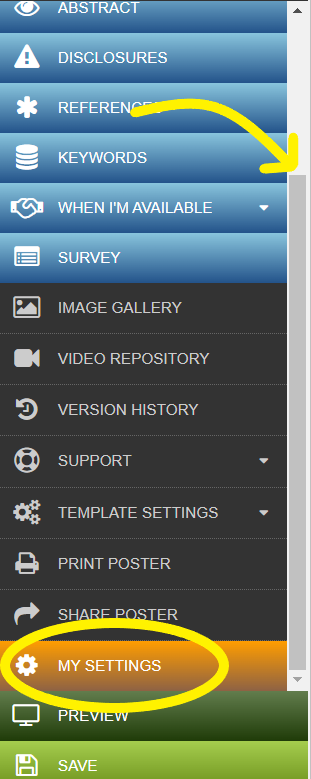
You will see the MY SETTINGS button on your Main Menu. You may need to scroll down in the menu to see it.

The Main Menu from the iPoster Editor. there is a yellow arrow pointing to the scroll bar and a yellow circle around the SETTINGS tab.

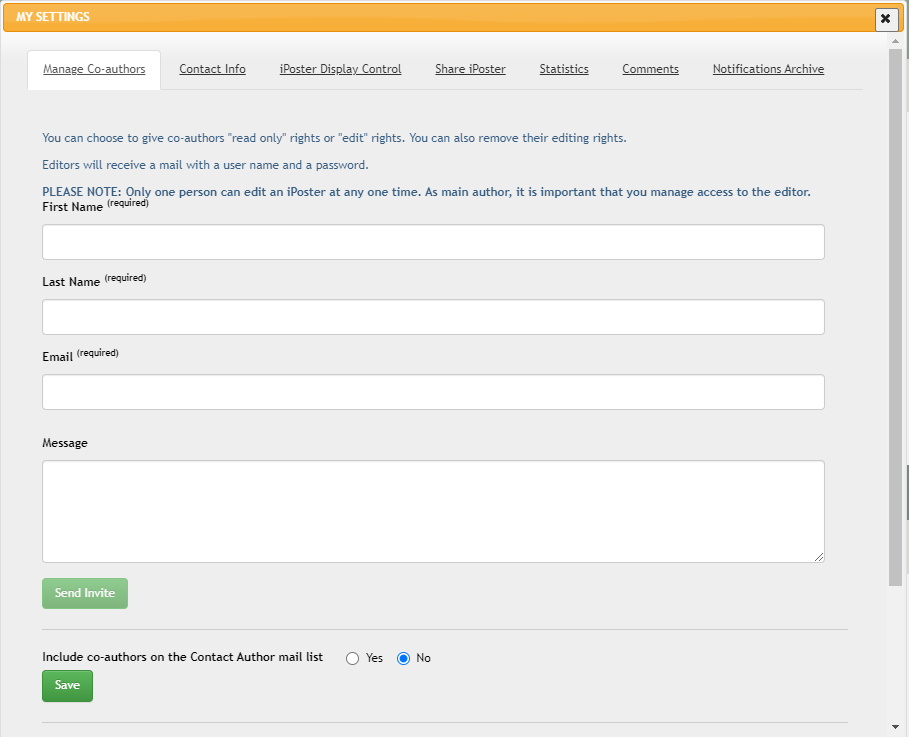
There are a number of tabs available with different settings. Here is an overall look at each of these tabs.

  • Manage Co-authors – Send an invitation to your co-authors. They will receive an email with their own unique credentials and editing access. For view only access copy and send the link from the ‘SHARE POSTER’ button. See this FAQ for detailed instructions on how to add a co-author to your poster.
  • Contact Info – Change your contact email address
  • iPoster Display Control – Choose whether your iPoster is visible in the conference’s online gallery after publishing.
  • Share iPoster – Choose whether to allow meeting attendees or online visitors to get a link to your iPoster
  • Statistics – View the following statistics on you iPoster:
    • how many views online
    • who has requested a share
    • who has requested contact
  • Comments – Update your preferences for public commenting on your poster. You can also read, respond to, or delete any comments here.
  • Notifications Archive – An archive for any pop-up notifications. I.e. planned site maintenance
A pop up option box showing the settings under the MY SETTINGS button in the iPoster editor. The first tab is the 'Manage Co-authors' tab.

Need further assistance? Reach out to our support team by sending a support request. Don’t forget to let us know which conference you’re creating a presentation for.

ASHA Convention 2022

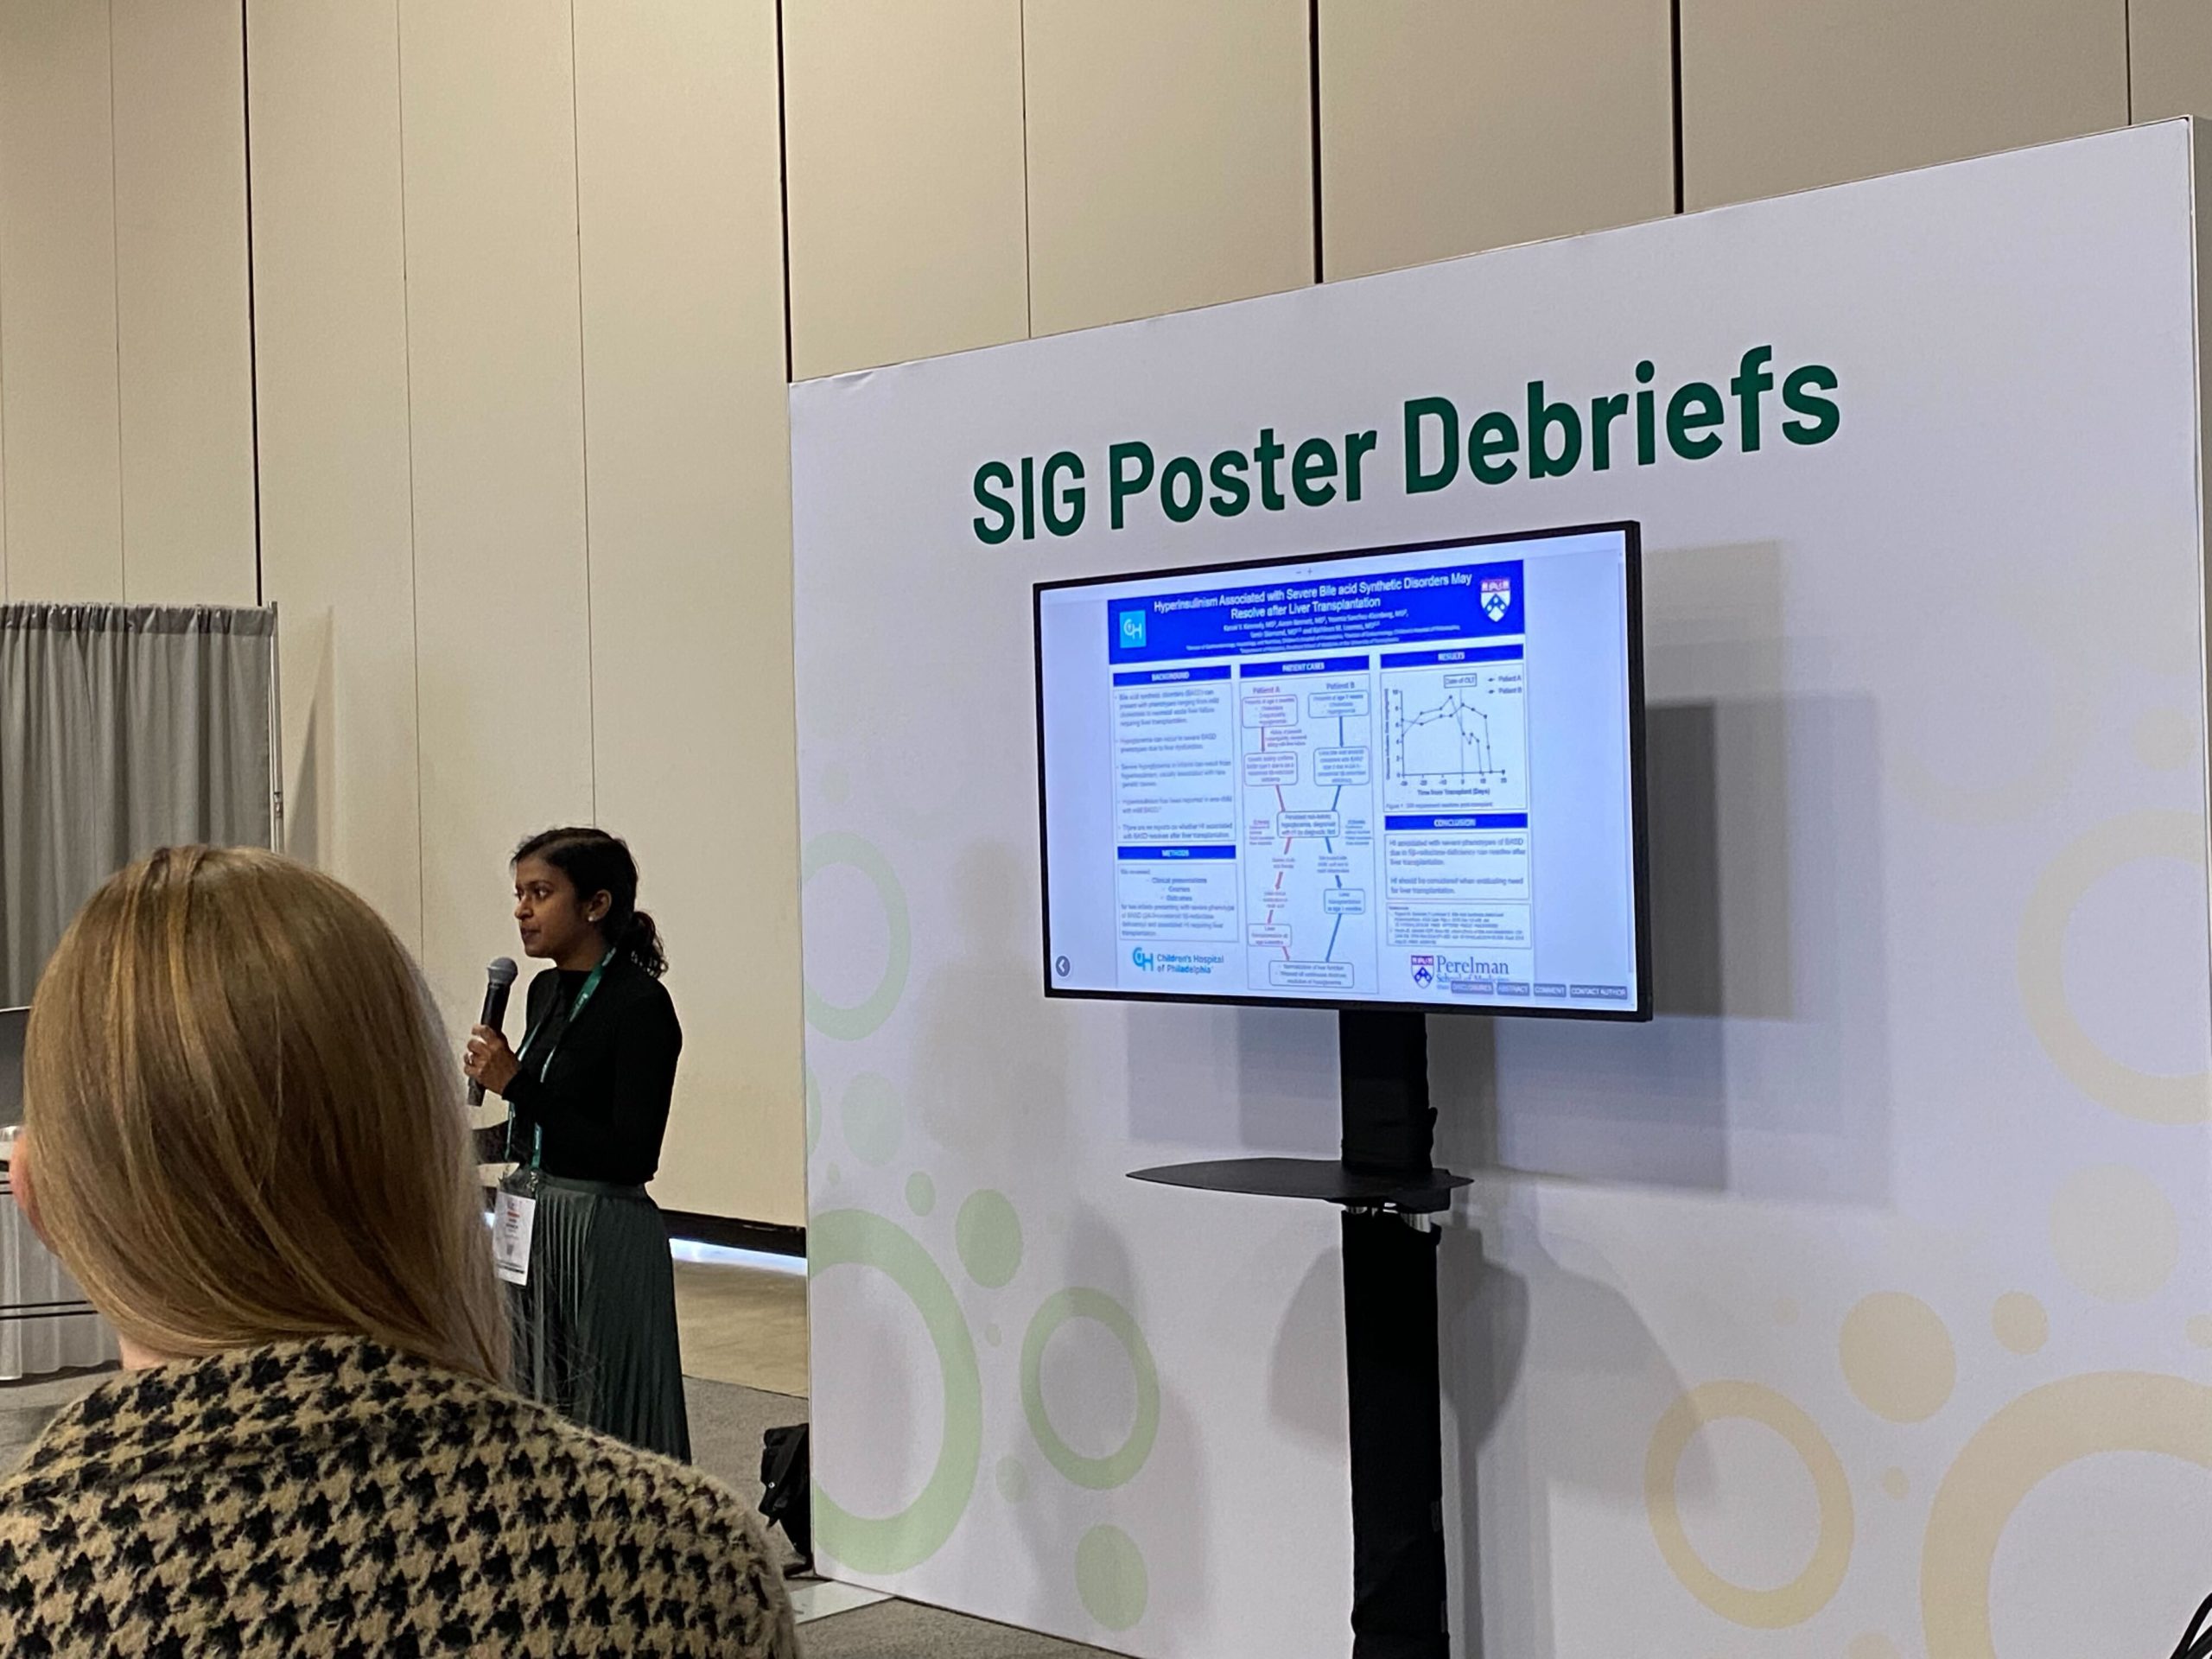
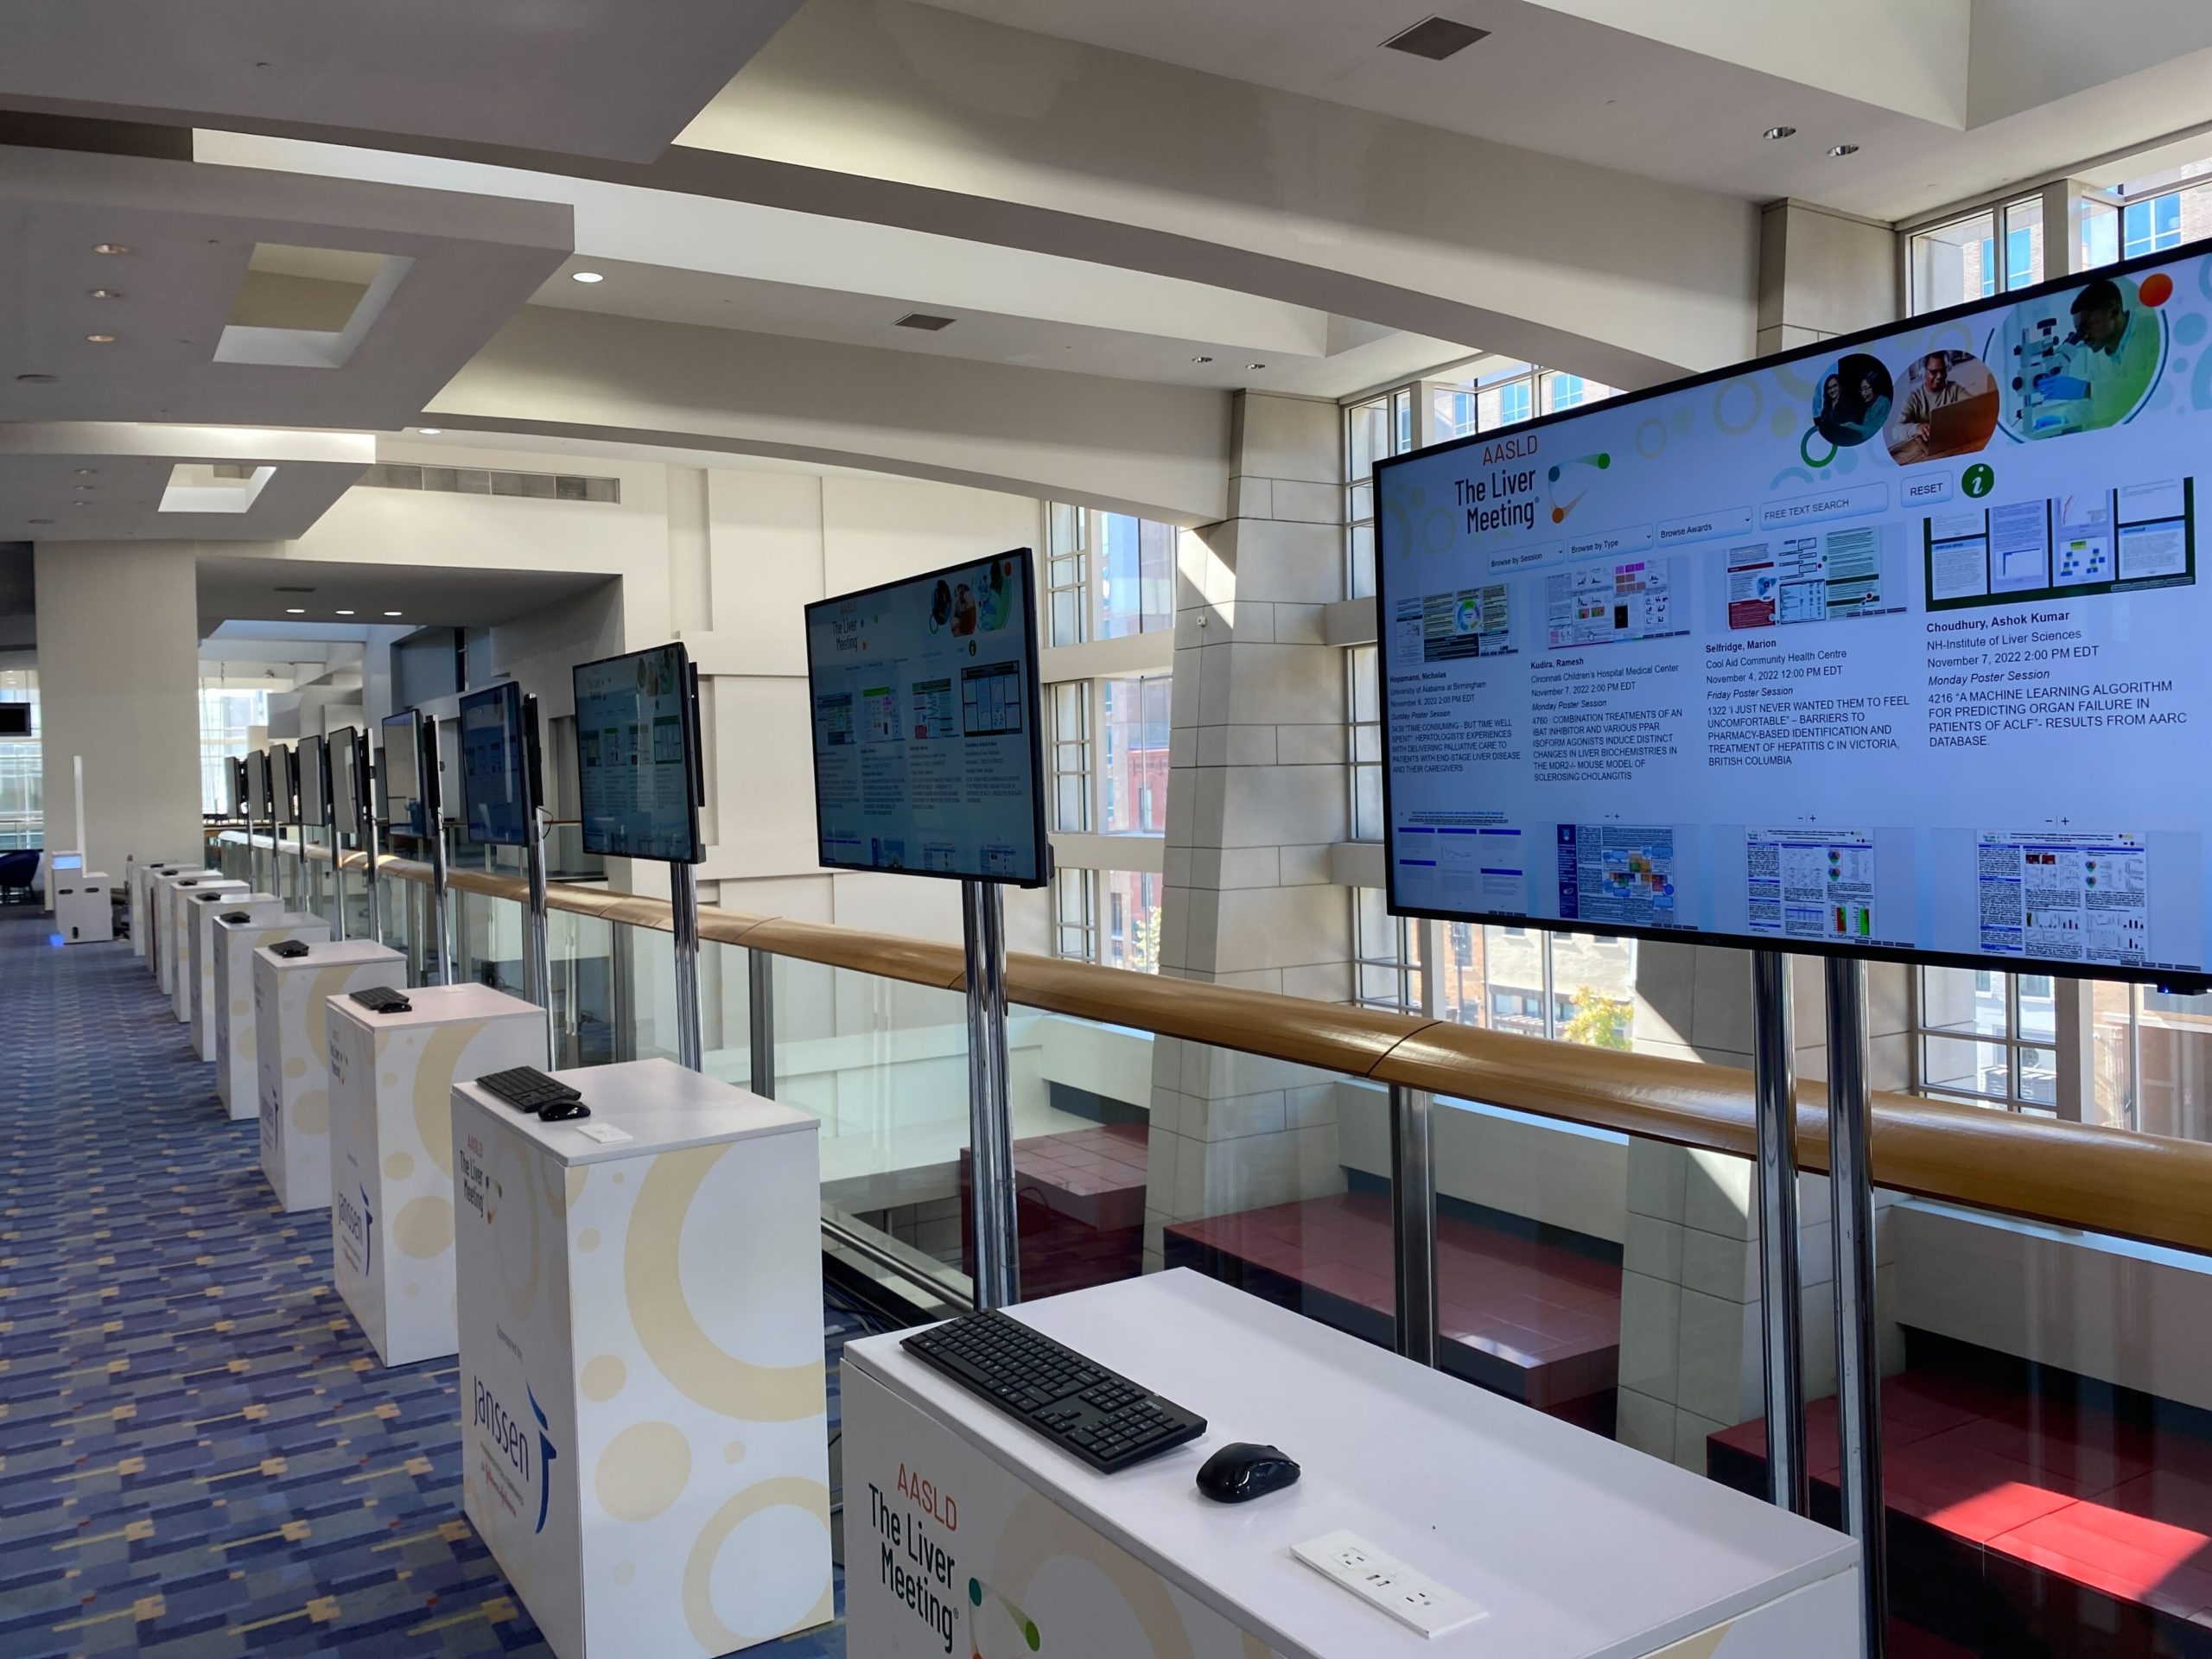
We were lucky enough to have the opportunity to work at the ASHA Convention 2022 ( the American Speech-Language-Hearing Association) earlier this month. The in-person portion of the meeting featured over 1,000 iPosters viewable across 89 hi-res, interactive touch screens. The posters were of course all viewable virtually too via the conference’s online gallery.

This was our first time working with ASHA and it was an amazing experience. The convention typically attracts up to 15,000 attendees. It is a major educational and professional development event for those working in the speech, language and hearing science fields.

One of our latest feature developments, narration transcriptions, was used on all ASHA posters. Authors had the ability to generate and edit a transcript for their uploaded poster narrations. They had the option to automatically generate their transcript with the click of a button or manually upload or type in the text.

A real win for accessibility! We’re hoping to see this feature be utilized more and more by authors at future events. 

How do I copy/paste text into my iPoster?

You can copy/paste text into the iPoster content boxes using the right click method or the keyboard shortcuts ctrl +c/ ctrl +v. The system will not allow any preformatted or code rich data to be directly pasted into it. If you are copying from a code rich source – like a PDF, Word doc or another website – you will see a pop up box come up. You need to paste the text into this box then click OK. This will strip any foreign code and formatting from the text before pasting it into the content box.

See the below guide for screenshots outlining this process

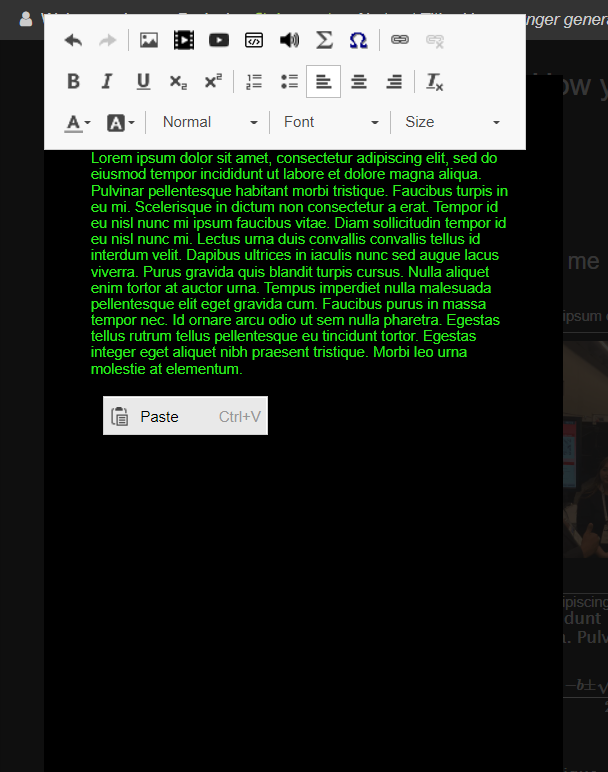
1. Copy the text that you want to add to your iPoster. Place the curser in the text box where you would like the pasted text to start and right click on the mouse. The following ‘paste’ button should appear:

2. Place the curser in the text box where you want to add the pasted text and right click on the mouse to select paste or use the keyboard shortcut: Ctrl + v.

Screenshot of paste button after right clicking with the mouse.

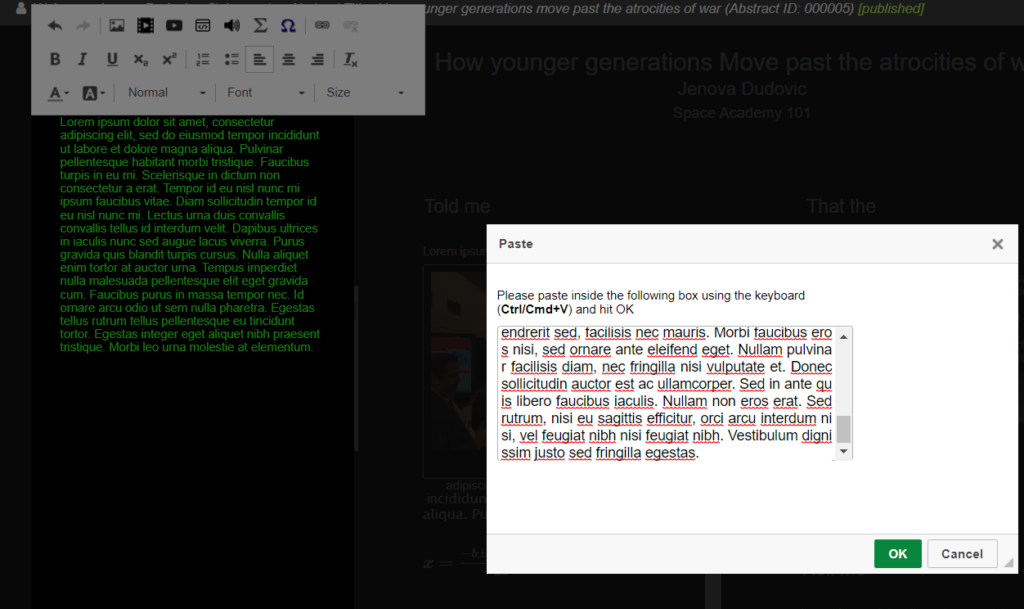
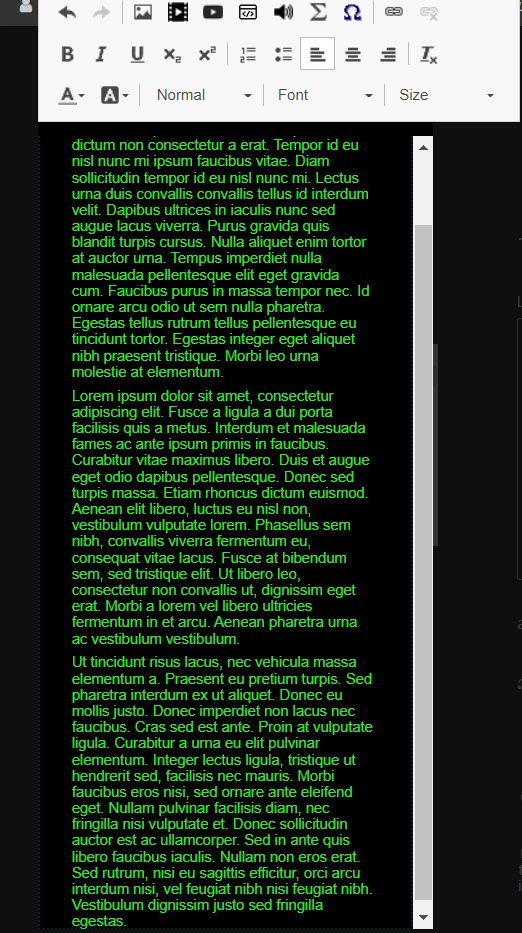
3. After clicking on ‘Paste’ or Ctrl + V, the following dialogue box will show up. Paste the copied text into this box. Click the ‘Ok’ button at the bottom of the pop up and your text should appear in the content box.

screenshot showing the paste box function. Copied text is pasted in here.
Screenshot showing the pasted text in the content box

Need further assistance? Reach out to our support team by sending a support request. Don’t forget to let us know which conference you’re creating a presentation for.