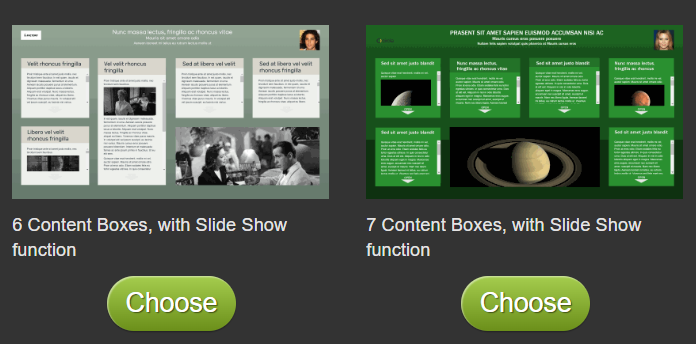
1. Make sure that you have selected a template with a slideshow content box. Here are the two template options
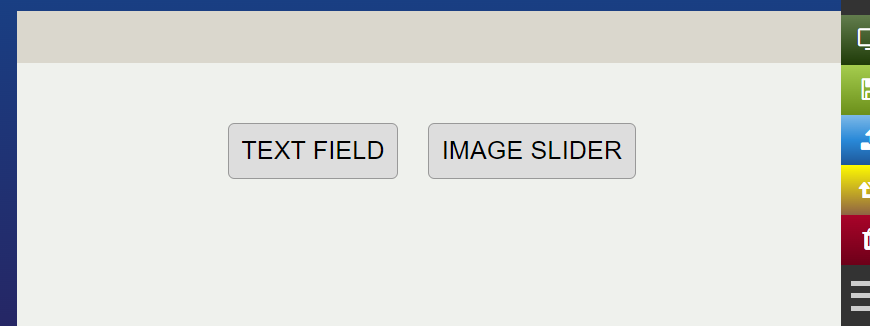
2. On the Slideshow content box choose ‘Image Slider’.
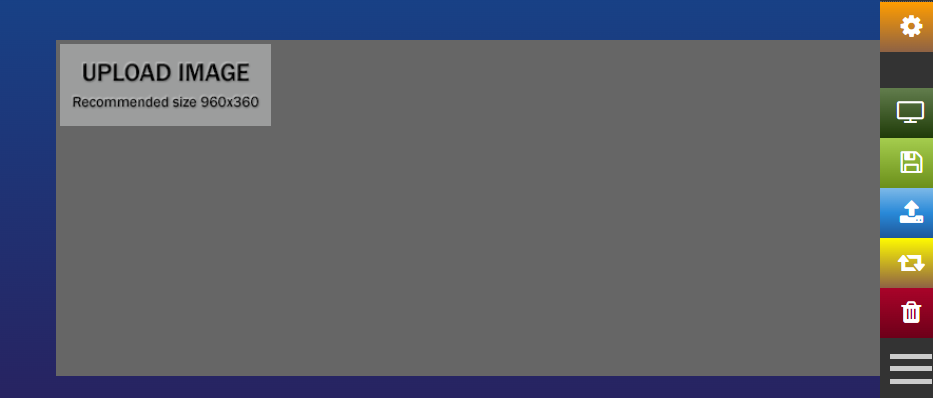
3. The UPLOAD IMAGE button will be visible. Click on this button.
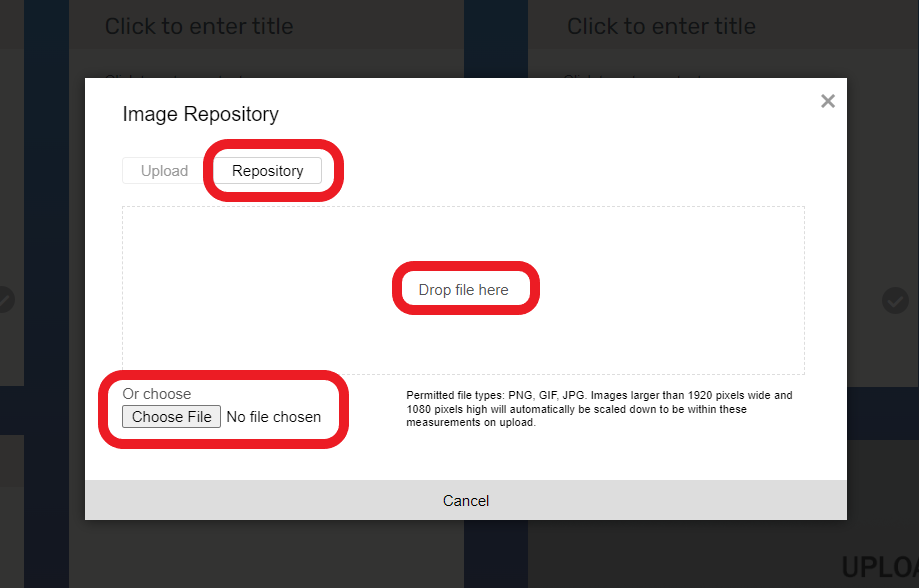
4. The Image Upload tool will open. You can either drag and drop your image or browse through your files to select the image you want to upload. If the image was previously uploaded to your poster you can find by clicking on Image repository. Simply click on the image in the repository that you want to add to the slideshow.
5. The Image you chose will appear in the slider. Click on the UPLOAD IMAGE button again to add a new image into the slider.
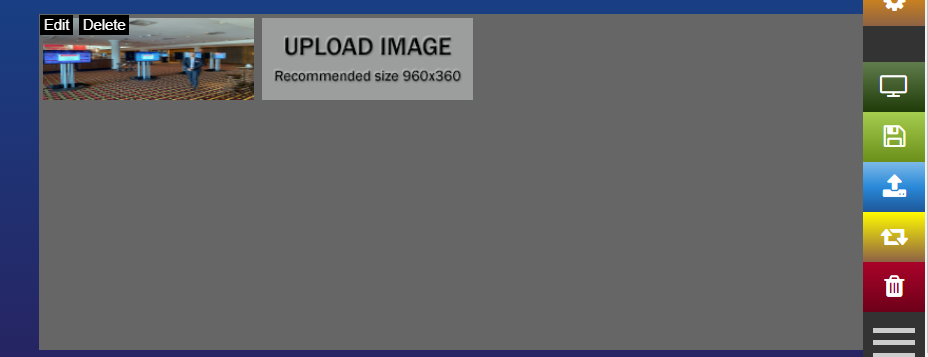
6. Repeat the steps above to add more images to your slider.
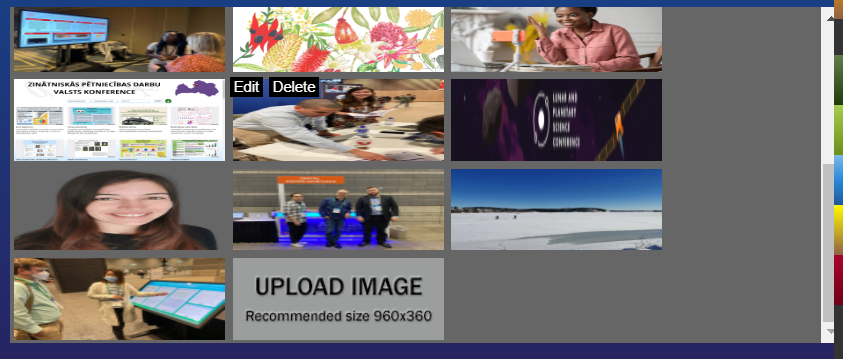
7. You can drag and drop the images to re-order them.
8. Make sure to check how your slideshow will look when viewed by conference participants. Click on the preview button on the main menu, then click on the slideshow box to expand it. You can use the 3 control buttons at the bottom over the slideshow overlay to pause or go forward or back through the images.

Need further assistance? Reach out to our support team; send us a request using our support desk contact form and we will get back to you as soon as we can. Don’t forget to let us know which conference you’re creating a presentation for.