You can run your own video sessions and discussions, using any web-based meeting services including Zoom, Webex, Microsoft Teams and more. Many of them have free plans with certain limits to the length of the meeting (often 45-60min) and a maximum number of attendees (usually up to 100). Check them out to find one that fits your needs. This document is broken into the following two sections:
- Scheduling video sessions
- Starting video sessions
1. Scheduling a video session:
1. Set up a meeting on the meeting platform of your choice, following their specific instructions. Note the URL and password, which you will need to set up the Video Session in your template. Acquaint yourself with the presentation tools that are available.
2. Publish your iPoster. You can still continue to edit it and make any changes and additions you want.
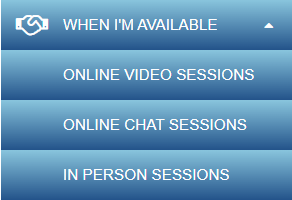
3. Click on the button called ‘When I’m Available’/’Meeting Times’ on the main menu in the editor screen. Click on the ‘Online Video Sessions’ option.
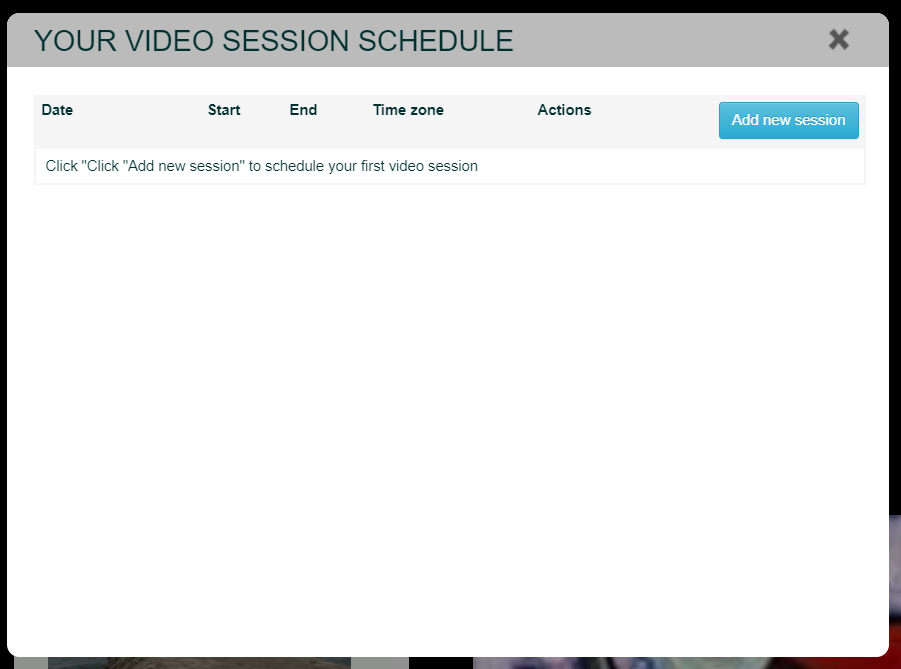
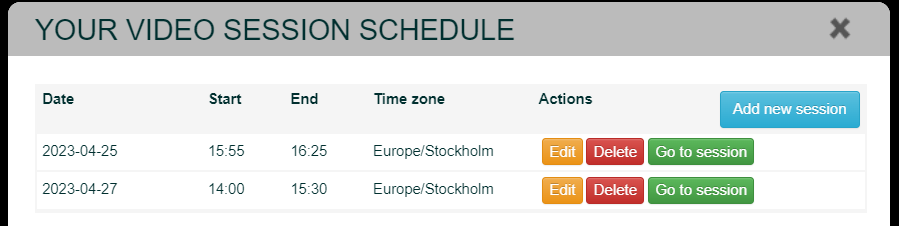
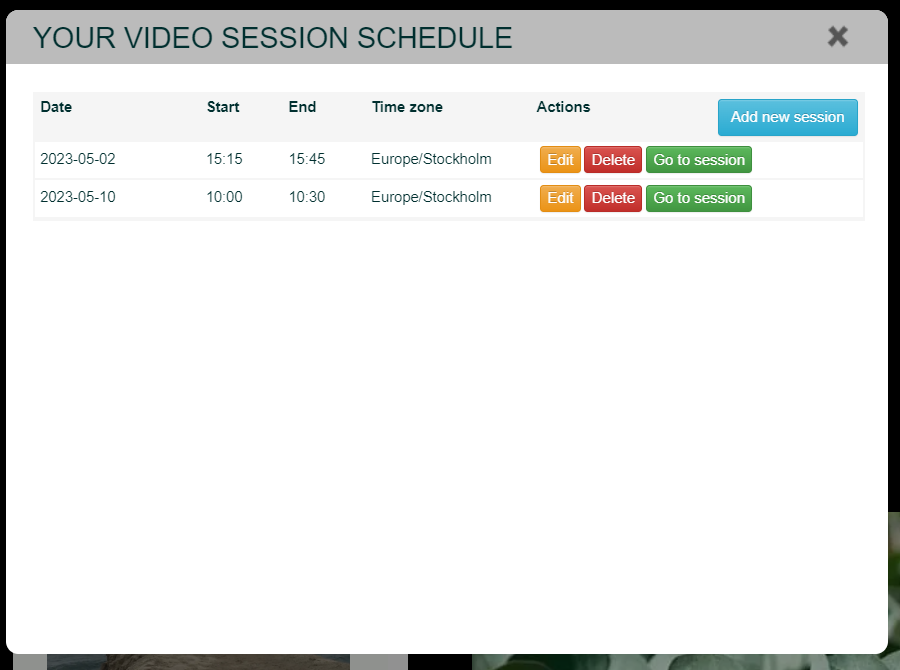
A Video Session Schedule screen will open. Click on the ‘Add new session’ button. This will open up ‘Video Session Settings’.
4. Set the correct Time zone. Upon opening this window for the first time it will be set to your current time zone by default. You can use the drop down to set for another Time Zone (e.g. the Time Zone that the event is using)
5. Set the video session times. Please note these times use a 24 hour clock setting. E.g. If your session needs to be scheduled for 4:00 PM to 4:20 PM you will need to set the times as 16:00 to 16:20.
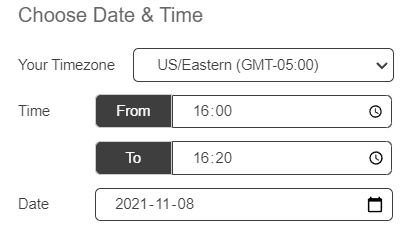
Important: If you’re setting your video session time over the midnight hour, i.e. from 11:30 PM on 12th Dec to 12:30 AM on the 13th Dec, ensure that your date is set to the start time date (12th Dec).
Event attendees will see the date and times according to their own Time Zones.
6. Fill in the meeting URL and password.
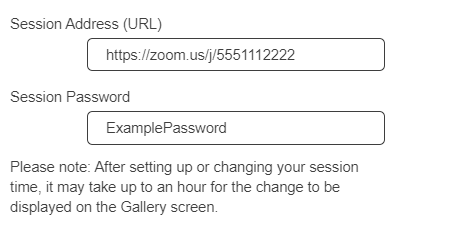
7. Personalize your video session information message. You can edit this and add a personal message or you can leave it blank.
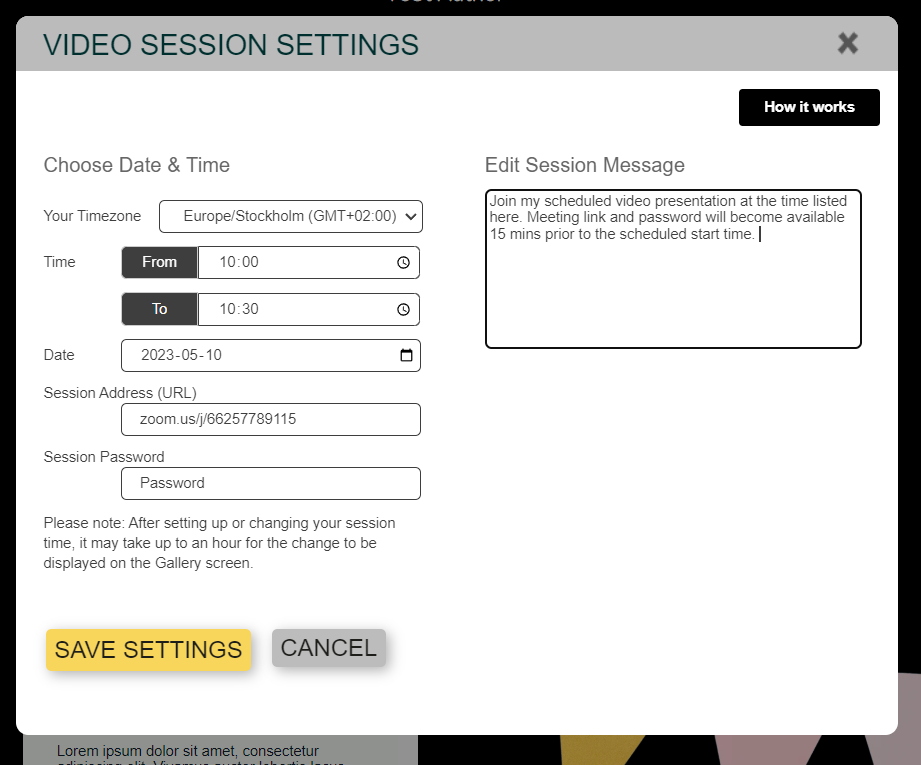
8. Save your settings before closing the window.

9. To schedule additional video sessions repeat the above steps. You can schedule as many video sessions as required and edit or delete them as needed.
10. Check the video session times. Click on the PREVIEW button on your Main Toolbar. You should see the VIDEO SESSION button at the bottom of your iPoster. Click on the button to see how it will display for visitors.
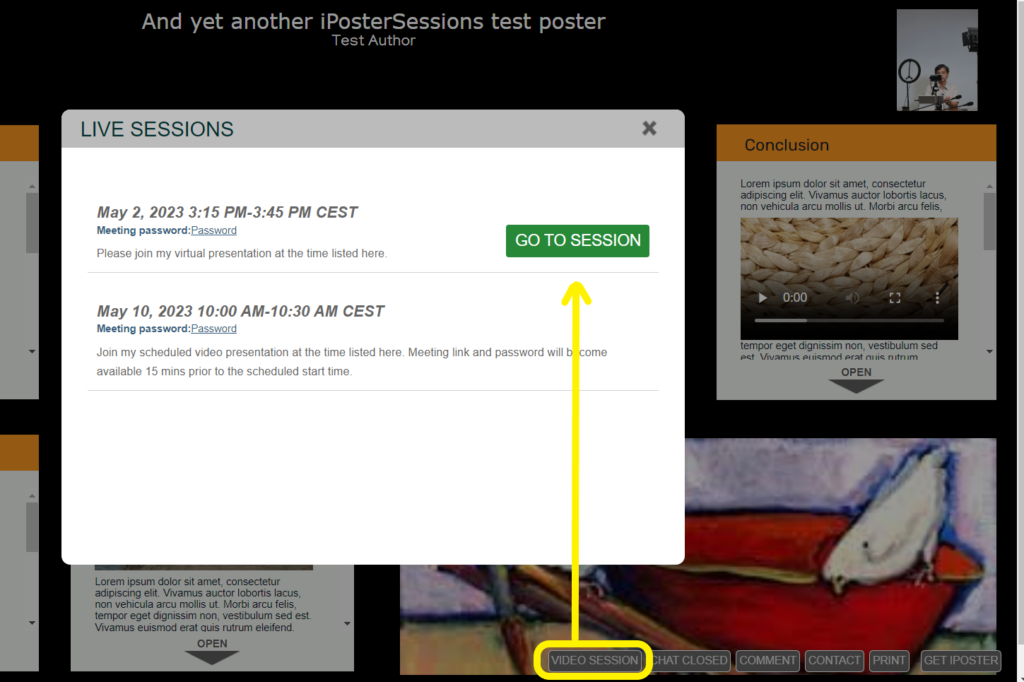
You can reschedule, delete or add new video sessions at any point. The video session times will be displayed on the Gallery Screen so that meeting attendees and visitors will know when to join.
2. Starting video sessions:
Give yourself time to prepare before the session starts. We suggest you open the Meeting at least ten or so minutes before the official time so that you can get your screen ready to share and your iPoster in full screen view. Test your microphone and speakers to make sure that you can hear and be heard. Use a headset if possible which will help keep out any background noise.
1.Open the Video Session Schedule. Click on the Go to session button of the session that you want to start. The meeting link will open in a new window.
Need further assistance? Reach out to our support team by sending a support request. Don’t forget to let us know which conference you’re creating a presentation for.