Schedule a chat session to chat with event participants at your convenience. You can schedule any number of sessions via the iPoster editor. The chat screen can be activated up to 15 mins before the scheduled time. You must log in to your iPoster editor screen and navigate to the scheduled chat in order to activate it. This document is broken into the following two sections:
- Scheduling a chat session
- Activating a chat session
1. Scheduling a chat session
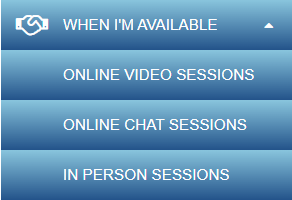
1. Click on the ‘When I’m Available’ button on the control panel in the editor screen. Three options will open below. Click on the ‘Online Chat Sessions’ button.
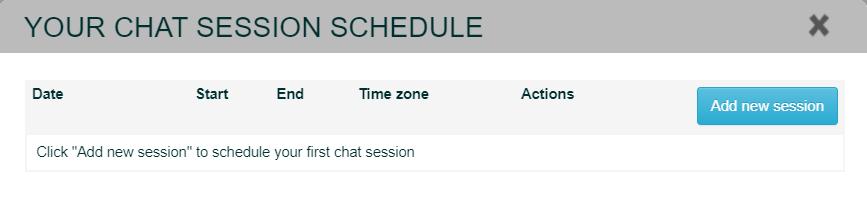
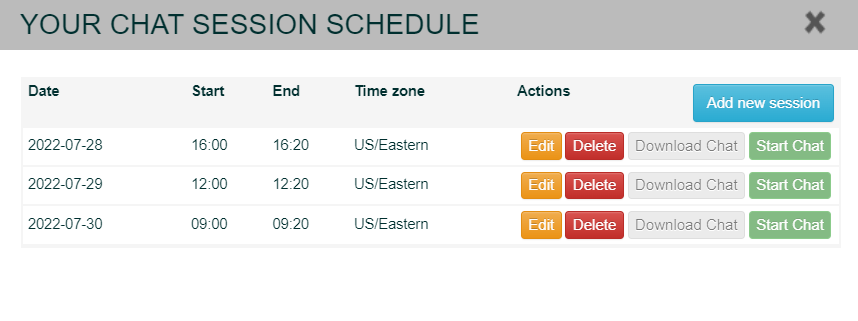
A Chat Session Schedule screen will open. Click on the ‘Add new session’ button. This will open up ‘Chat Settings’.
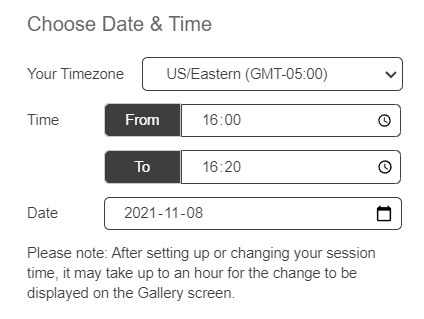
2. Set the correct Time zone. It is set to your current time zone by default. You can use the drop down to schedule the chat for a different time zone (e.g. the time zone that the event is using).
3. Set the chat times. Please note these times use a 24 hour clock setting. E.g. If your chat needs to be scheduled for 4:00 PM to 4:20 PM you will need to set the times as 16:00 to 16:20.
Important: If you’re setting your chat time over the midnight hour i.e. from 11:30 PM on 12th Dec to 12:30 AM on the 13th Dec, ensure that your date is set to the start time date (12th Dec).
Event attendees will see the date and times according to their own Time Zones.
You can reschedule, delete or add new chat times at any point. The chat time information will be displayed on the Gallery Screen so that meeting attendees and visitors will know when to join.
4. Personalize your Chat Information message.
The Edit Message field contains a default message which will be displayed when visitors click on the CHAT button on your iPoster. You can edit your message here. Be sure to save! You can always go back and change your message.
5. Save your settings before closing the Chat Settings window.

6. To schedule additional chat sessions repeat steps 1-4. You can schedule as many chat sessions as required and edit or delete them as needed.
If you’ve set up and saved your chat times and you’re ready to start your chat with visitors, follow the below steps.
2. Activating a chat session
*IMPORTANT. The Chat will not start automatically. You have to start it by clicking on the START CHAT button.
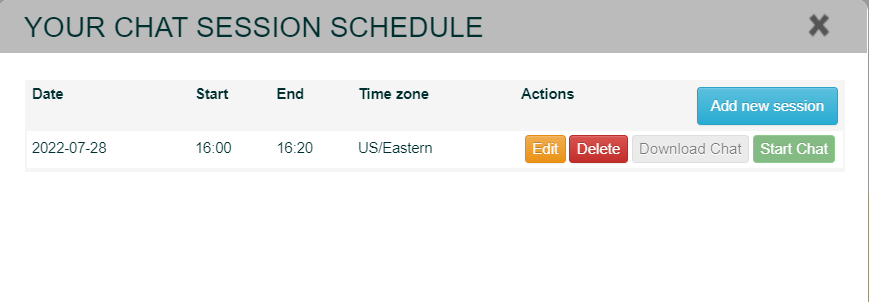
1. Click on the ‘Start Chat‘ button of the chat that you want to activate.

Please note: you can start your chat up to 15 mins before the scheduled start time. You can not activate a chat before this or if the scheduled time is in the past. If this is the case then the chat won’t be activated.
When you start your chat… visitors will see a JOIN CHAT button on your poster. Once they’ve entered their name and email address, they can enter the chat.
2. IMPORTANT INFORMATION You will not be able to view other iPosters if you open the Gallery in the same browser that you are using to run your Chat. Please do one of the following:
- Use “Incognito” or “Private” mode to open the Gallery to view other iPosters
- Open the Gallery in a different browser than the one you have used to log in to your iPoster.
Need further assistance? Reach out to our support team by sending a support request. Don’t forget to let us know which conference you’re creating a presentation for.