Alternative text, often shortened to ‘alt text,’ is a short and succinct written description of an image. Well written alt text is important to increase your presentation’s accessibility. Screen readers will read aloud alt text in place of images which means this content will be available to viewers who are blind or low vision.
It’s quick and easy to add alt text to your images on an iPoster. You can add the text in when you first upload the image or you can add it on images that have already been uploaded. Follow the below steps for a guide on how to do this.
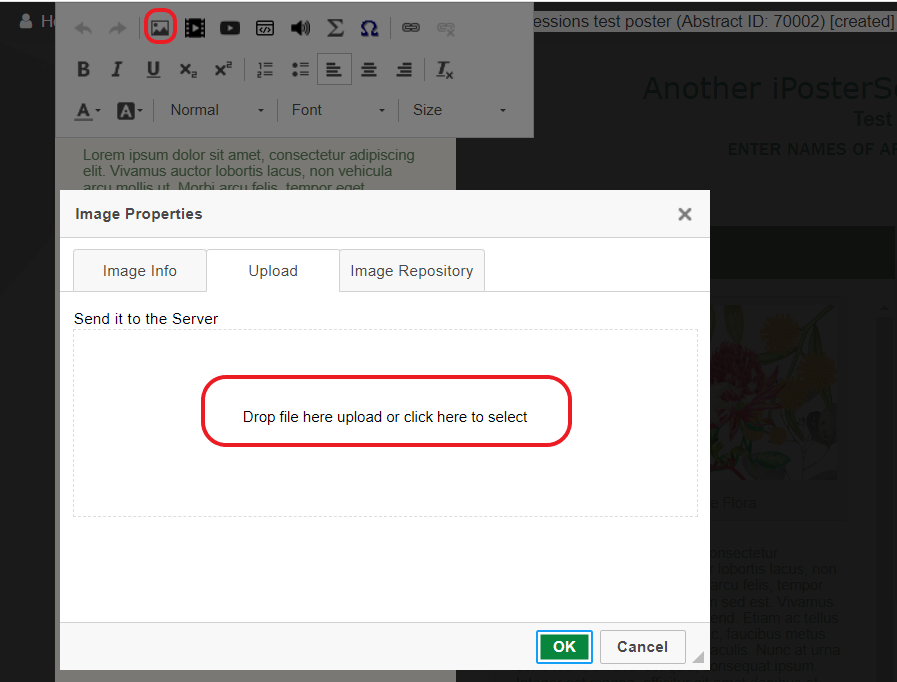
1. Click on Insert Image in the content box tool bar. Upload the desired image.
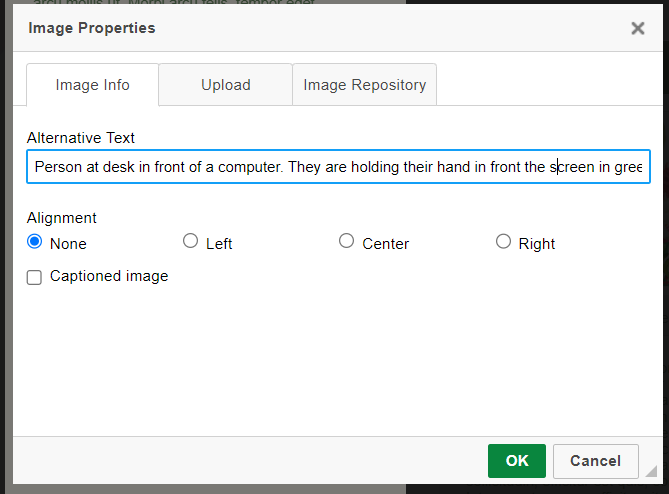
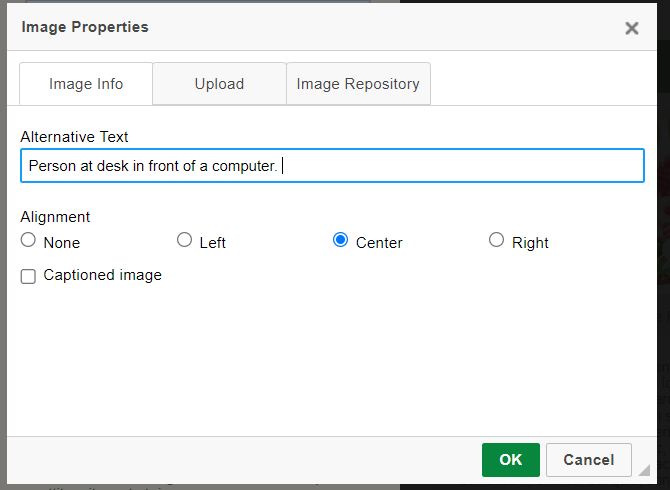
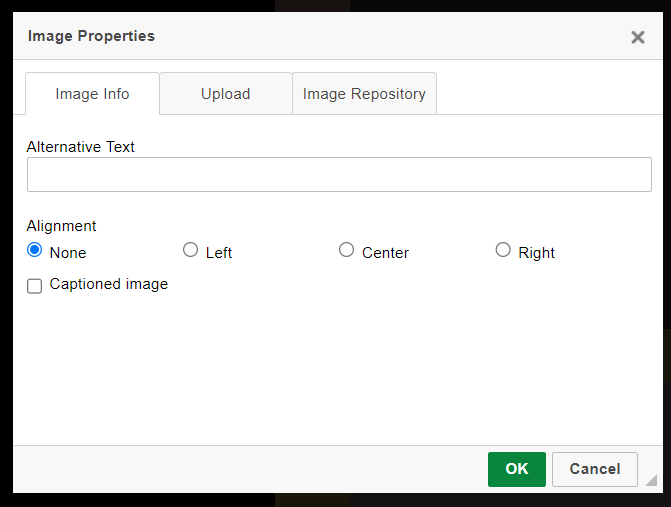
2. Once the image has finished loading the ‘Image Properties’ screen will be displayed. Add the Alt text in the box provided.
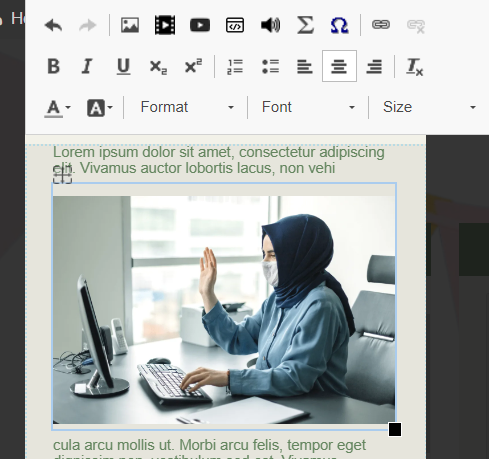
3. Alt text has now been added to this image.
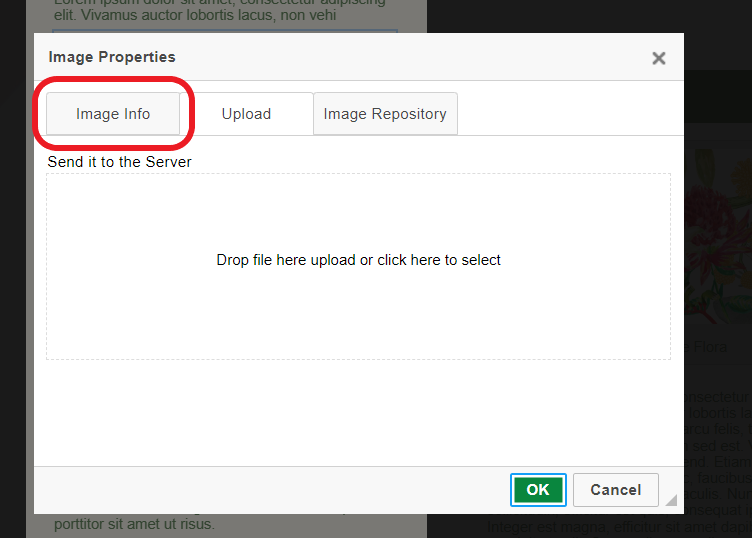
4. If you need to edit the alt text, or add alt text onto an existing image simply double click on the image to bring up the ‘Image Properties’ screen again. Click on the Image Info tab and you will see the Alt text box.
5. Simply edit the existing text or add in alt text here as per above steps. Click ‘OK’ and the alt text has now been added to your image.
Need further assistance? Reach out to our support team; send a support request or email us at [email protected]. Don’t forget to let us know which conference you’re creating a presentation for.
If your conference organizers have chosen to enable subtitles for videos you will be able to generate this using a linked AI. Please note that the AI can take up to 24 hours to generate the subtitles which can then be edited. Make sure that you allow plenty of time to generate captions for your videos and to adjust them as required afterwards.
First you will need to have a video uploaded in either the VIDEO REPOSITORY/GALLERY section, or under the VIDEO PRESENTATION section of your iPoster editor. Both of these buttons are located on the main menu. Please see the following FAQs on how to upload a video into these sections.
Generating subtitles for videos in VIDEO PRESENTATION.
Generating subtitles for videos in VIDEO REPOSITORY/GALLERY
1. Generating subtitles for videos in VIDEO PRESENTATION
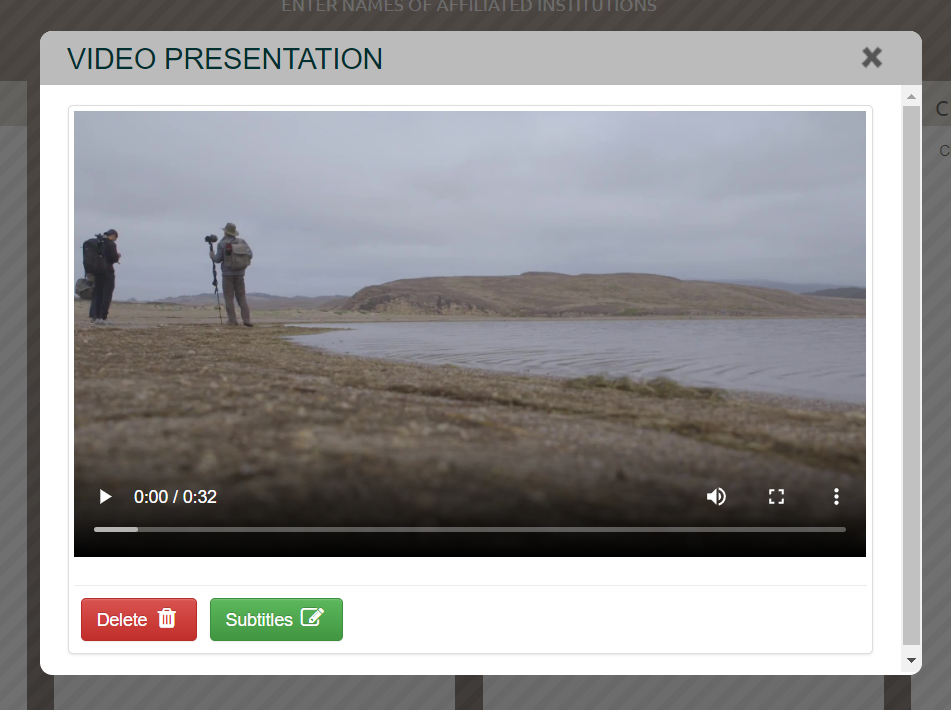
1. Upload your video in VIDEO PRESENTATION then click on the green ‘Subtitles’ button
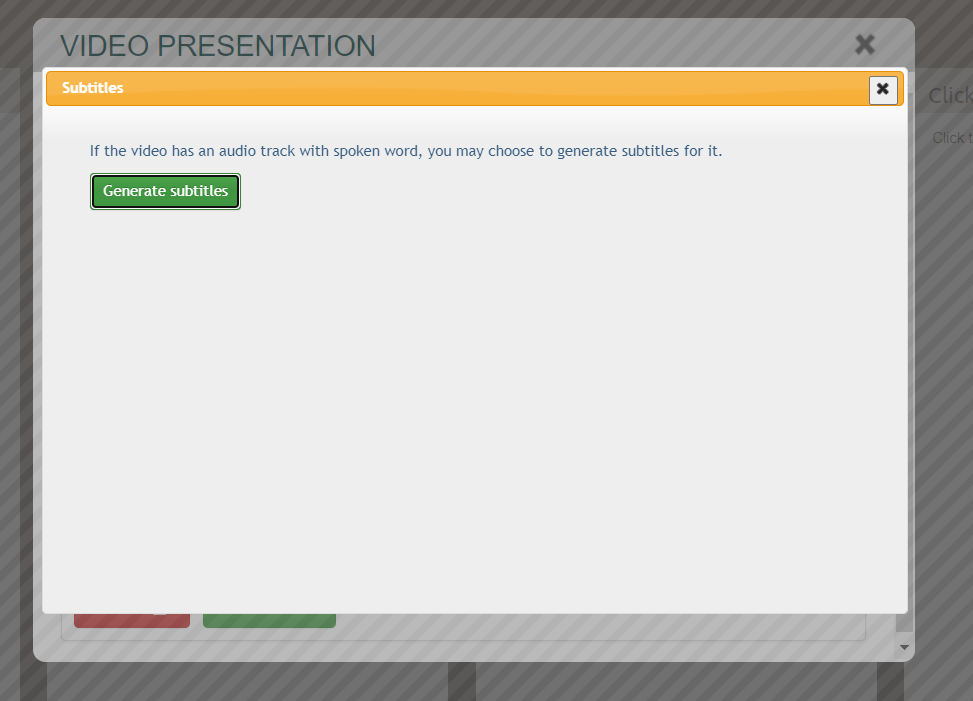
2. The following screen will pop up – click the ‘Generate Subtitles’ button.
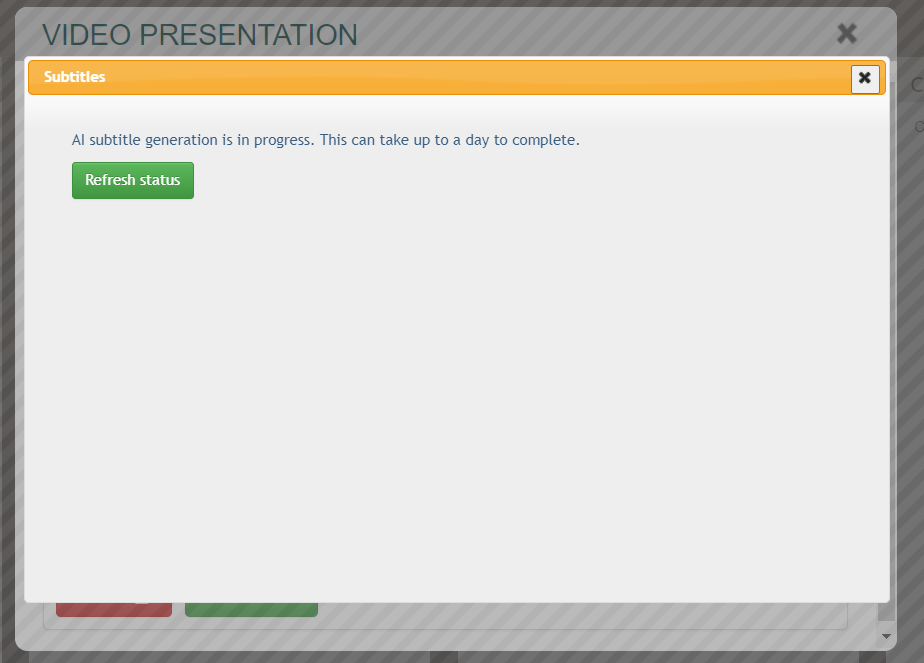
3. This screen will then be shown advising that the subtitle generation is in progress and to wait up to a day. Check back after 24 hours.
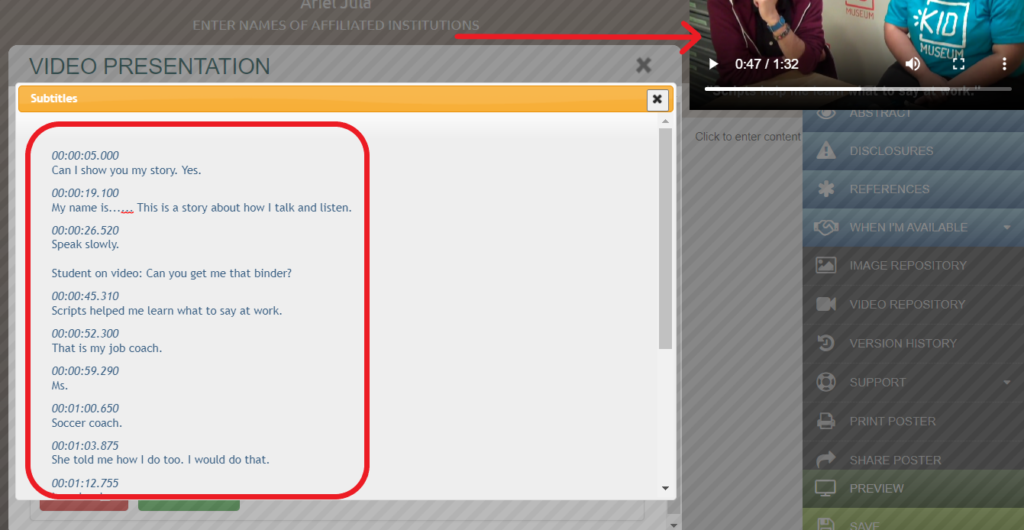
4. After 24 hours log back into your iPoster editor and open the VIDEO PRESENTATION screen. Click on Refresh status. The generated subtitles will open in a box where the text can be edited. A preview of the video will be available to the top right of the screen so you can run through it whilst you make edits.
5. Once you have completed your edits check your subtitles in preview mode. Click on Preview on the main menu then click on the Video Presentation button.
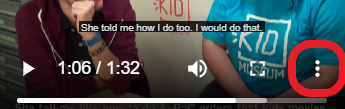
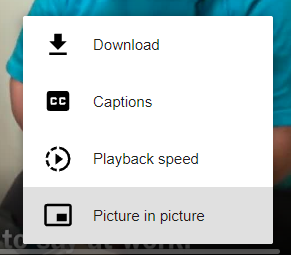
5. Click on the 3 vertical dots and select Captions to toggle the subtitles on and off.
2. Generating subtitles for videos in VIDEO REPOSITORY/GALLERY
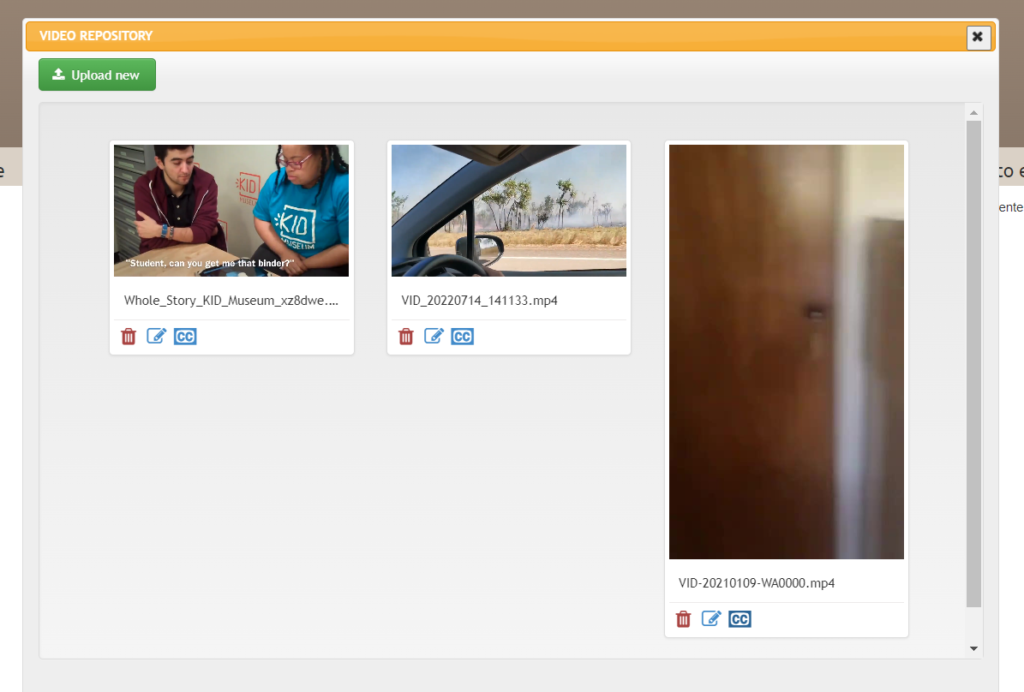
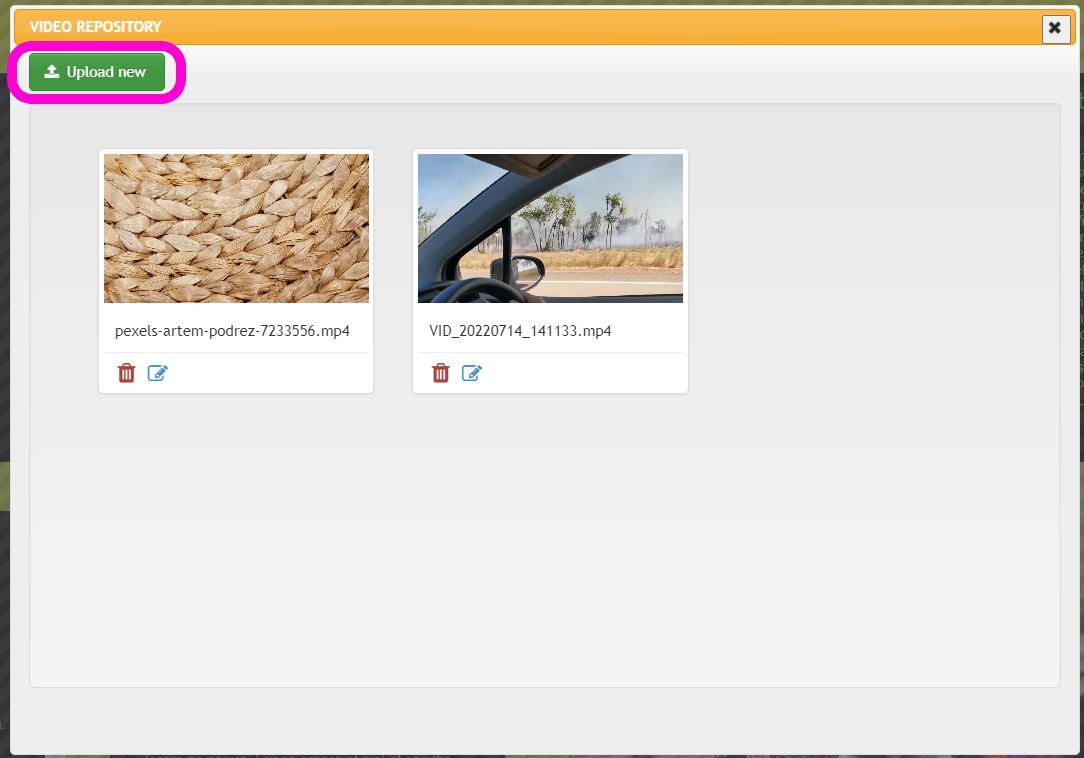
1. In the VIDEO REPOSITORY/VIDEO GALLERY you will see a preview of your uploaded videos. If you haven’t uploaded any videos yet you will see a blank screen with an ‘Upload New’ button.
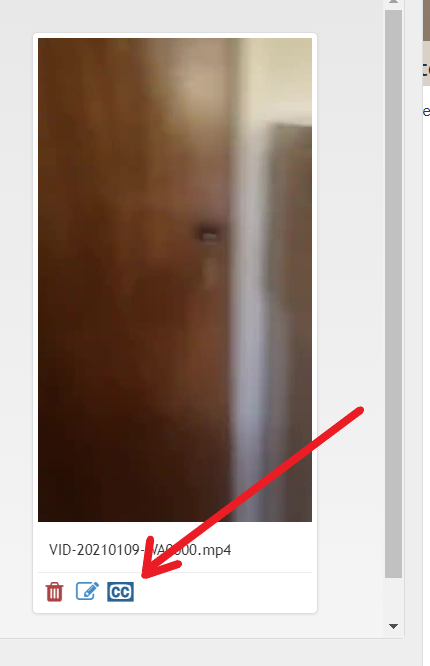
2. Click on the CC symbol below the video that you want to generate the subtitles for.
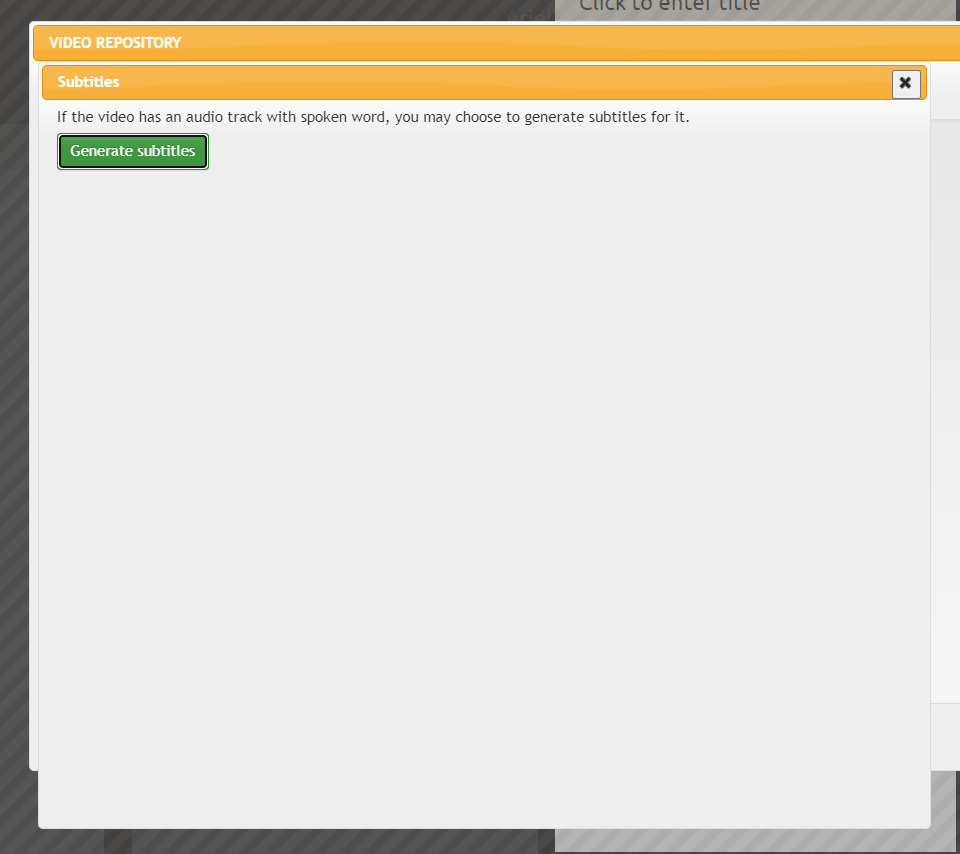
3.The below window will pop up. Click on ‘Generate subtitles’. Then wait up to 24 hours for the AI to complete the task. Continue to follow the instructions from step 4. in section 1 above.
Need further assistance? Reach out to our support team; send a support request or email us at [email protected]. Don’t forget to let us know which conference you’re creating a presentation for.
There are lots of good reasons to add a video presentation to your iPoster. It’s a particularly great feature to increase the accessibility, reach and engagement of your research. For example, it provides a presentation option for those who cannot attend your conference in-person. Remember that your iPoster will live on and be available on-line long after your conference is over.
It’s also fairly easy to create your own recorded presentation using your computer’s built-in recording functions, or any 3rd party tools like, Zoom, WebX or Microsoft Teams.
A video presentation can provide a general summary of your research or explore a particular theme in more depth. If this option is available for your conference, the ‘Video Presentation’ button will be visible on the Main Menu of your iPoster Editor screen.
Please note that there is a file upload size limit of 100MB. If you need to compress your file you can use a free online service such as:
Add a Video Presentation to your iPoster – Instructions
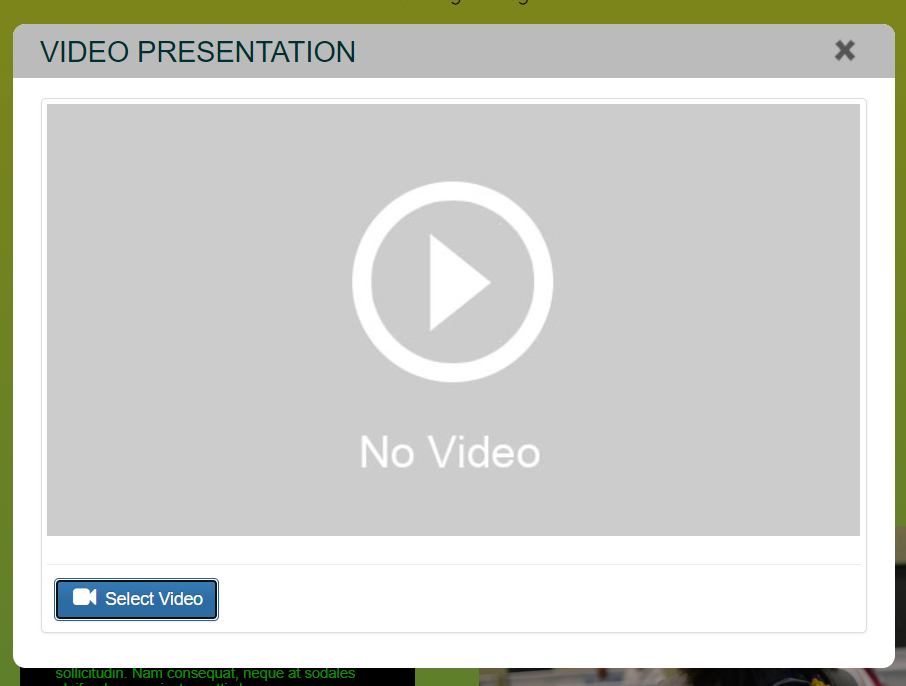
1. Click on the green VIDEO PRESENTATION button in the Main Menu.
2. The Video upload box will pop up. Add your video file in here. You can either click ‘Select Video’. The Video Repository will open and you can choose to select a previously uploaded video or upload a new one.
3. To upload a new video click on ‘Upload New’ and search through your files on your computer, or you can drag and drop the file into this box.
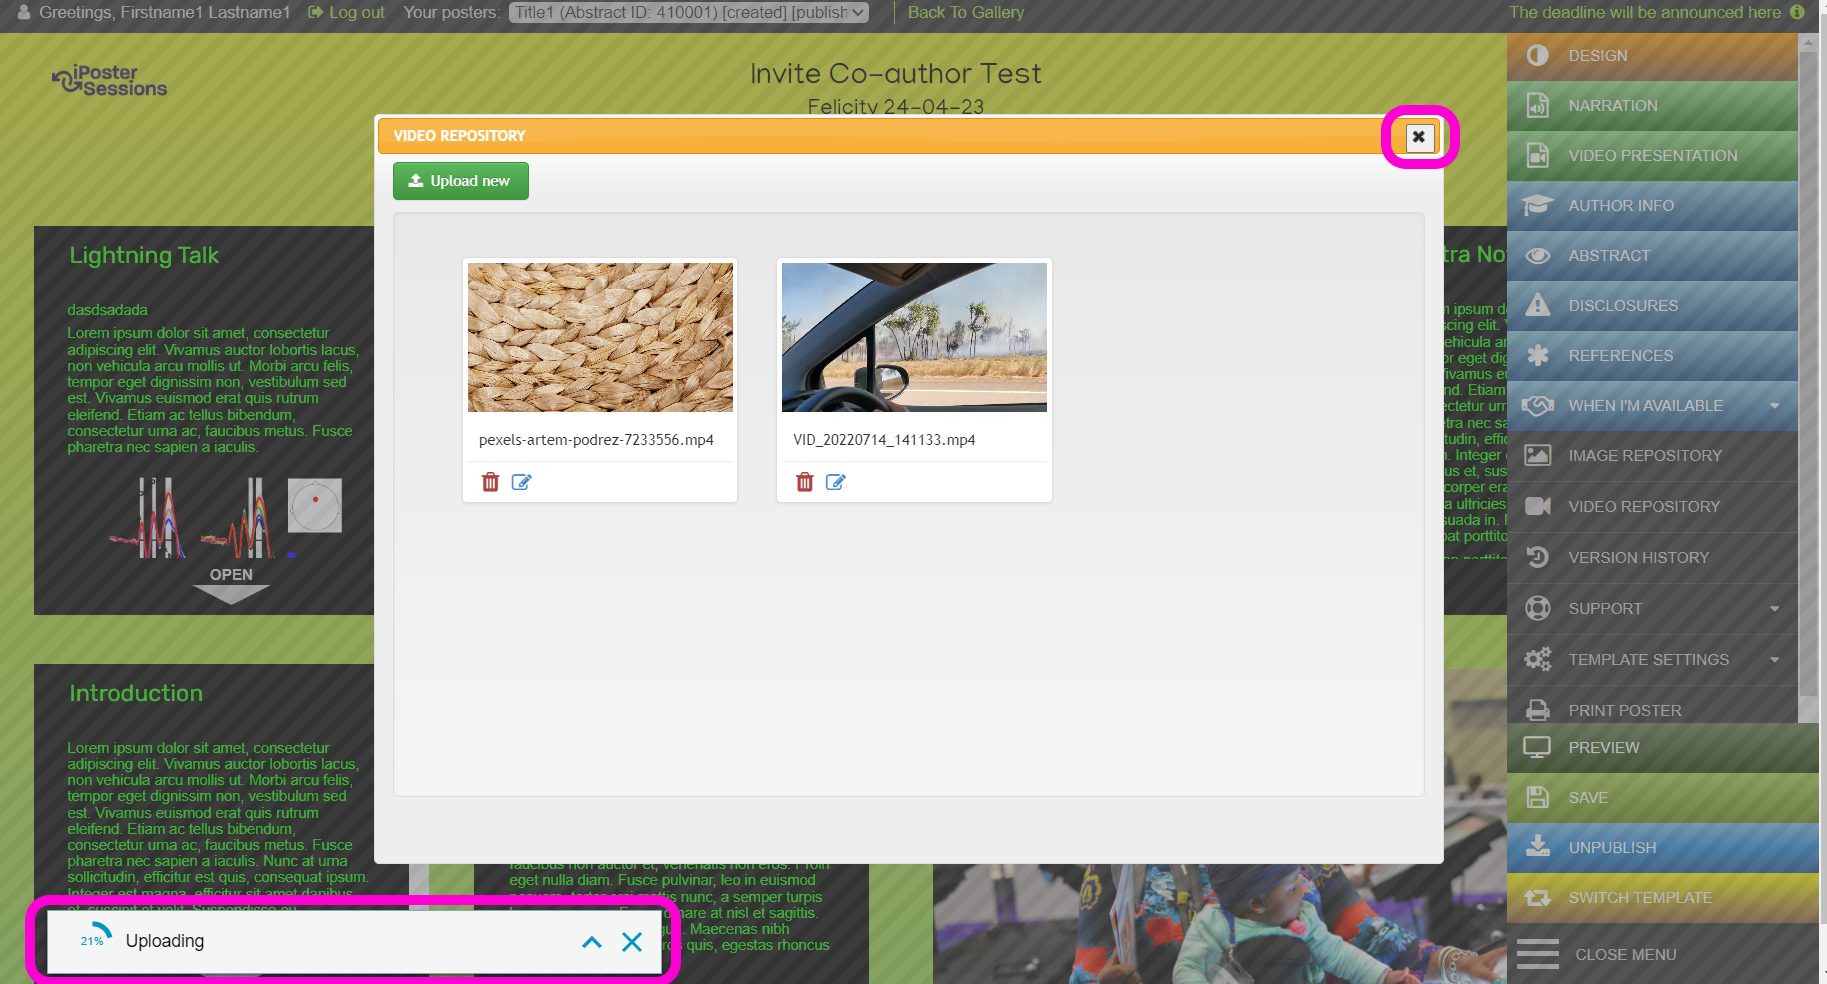
4. Your video will then load into the system and you’ll see a status bar in the bottom left of your screen. The upload can take a couple of minutes depending on the size of the file and your current internet upload speed. You can close out of the video repository and continue to work on your poster while you wait for your video to upload.
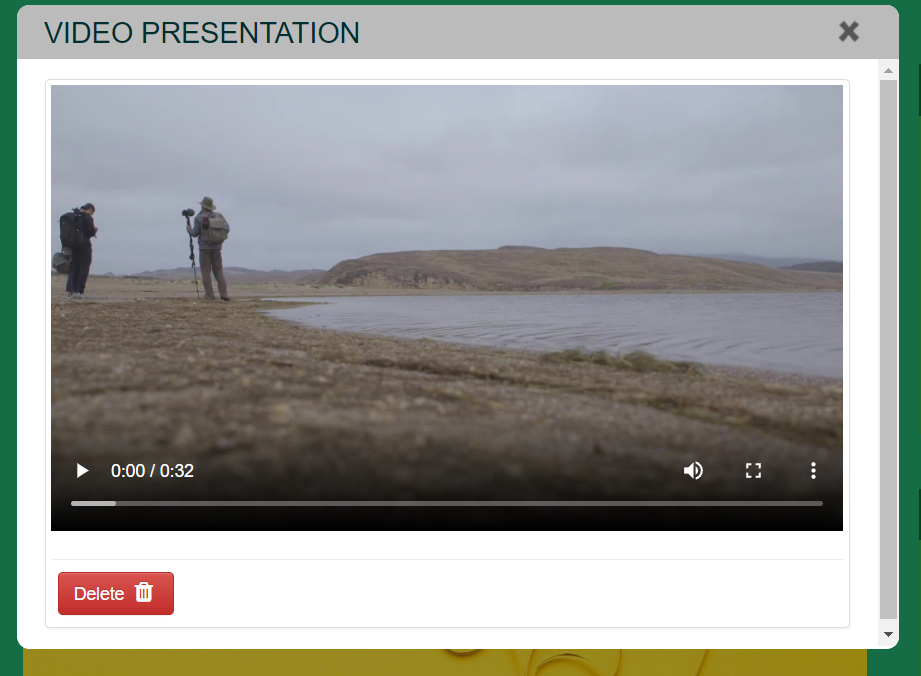
4. Once your video is uploaded It will be available in the Video Repository. To delete the uploaded video at any time, simply click on the red ‘Delete’ button. You can return to the video presentation screen at any time and select your newly uploaded video.
If your conference organizer has enabled AI subtitle generation you will see a green ‘Subtitle’ button next to the ‘Delete’ button. See the FAQ ‘How can I generate subtitles for my videos?‘ for detailed instructions on this process.
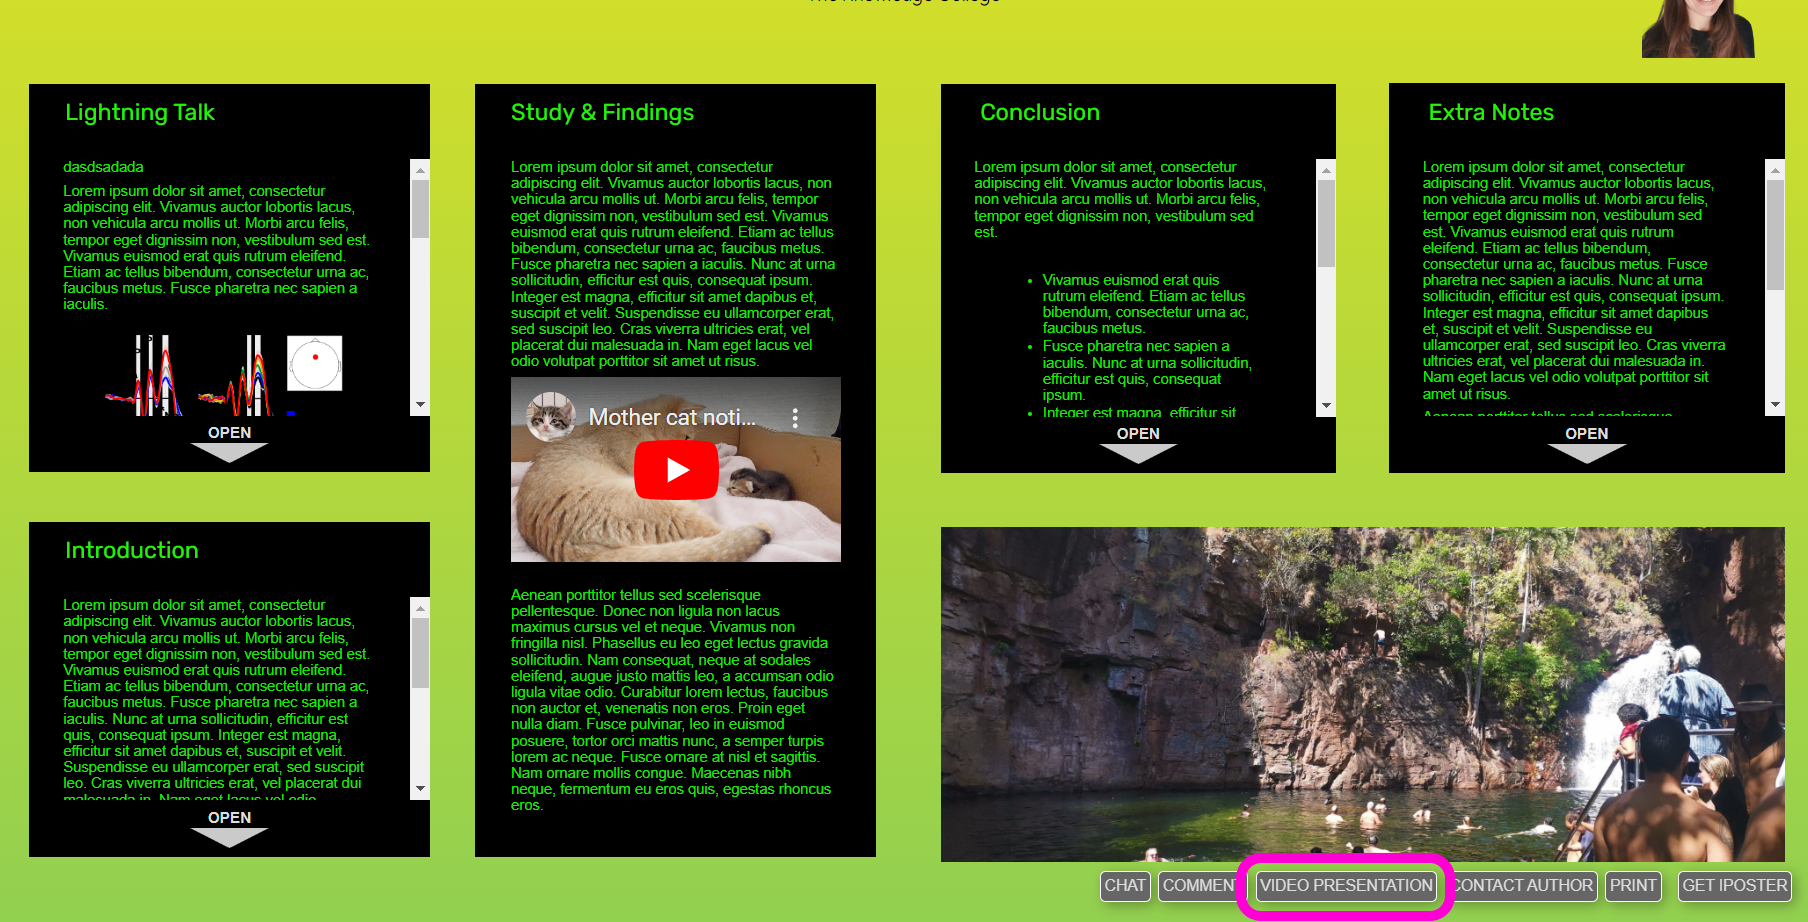
5. Check your video in Preview mode. Click on the preview button in the main menu. There should be a button at the bottom of your poster called ‘Video Presentation’. Click on this button and play your video to check it.
Need further assistance? Reach out to our support team; send a support request or email us at [email protected]. Don’t forget to let us know which conference you’re creating a presentation for.
You have the option of adding transcripts for both narration and audio snippets on your iPoster. First you need to upload a narration or an audio snippet file. You will always be able to add a transcript manually. You may have the option to generate the transcript automatically using an integrated AI component – this option isn’t available on all conferences.
In either case once there is text in the transcript editing box a ‘Transcript’ button will appear on the preview version of your poster. Visitors can then click on this button to read the transcript.
This instruction is broken into two parts:
Part 1: Manually generate a narration or audio snippet transcript Part 2: Auto generate a narration or audio snippet transcript
Please Note:
You will need to have uploaded an audio file to your poster to be able to follow the below instructions. See the FAQ onadding audio narration to your iPoster if you haven’t done this already.
Part 1: Manually generate a narration or audio snippet transcript
For Narration:
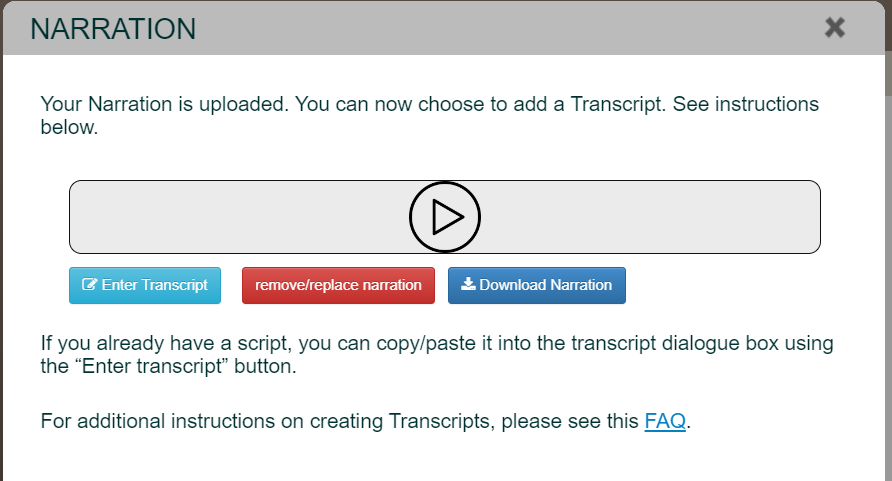
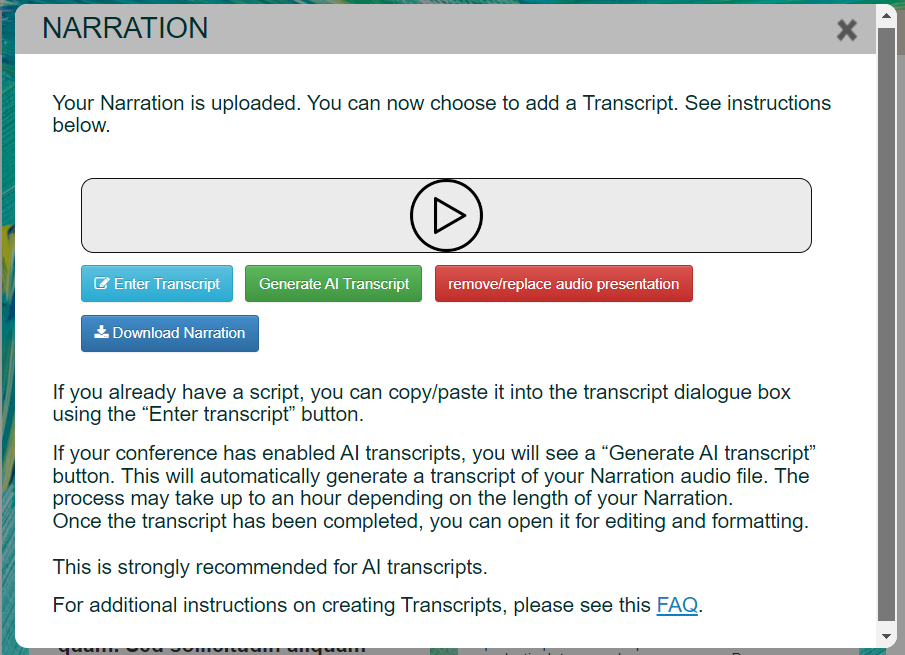
1. Click on the Narration button in the Main Menu. Click on the Enter Transcript button under your uploaded recording.
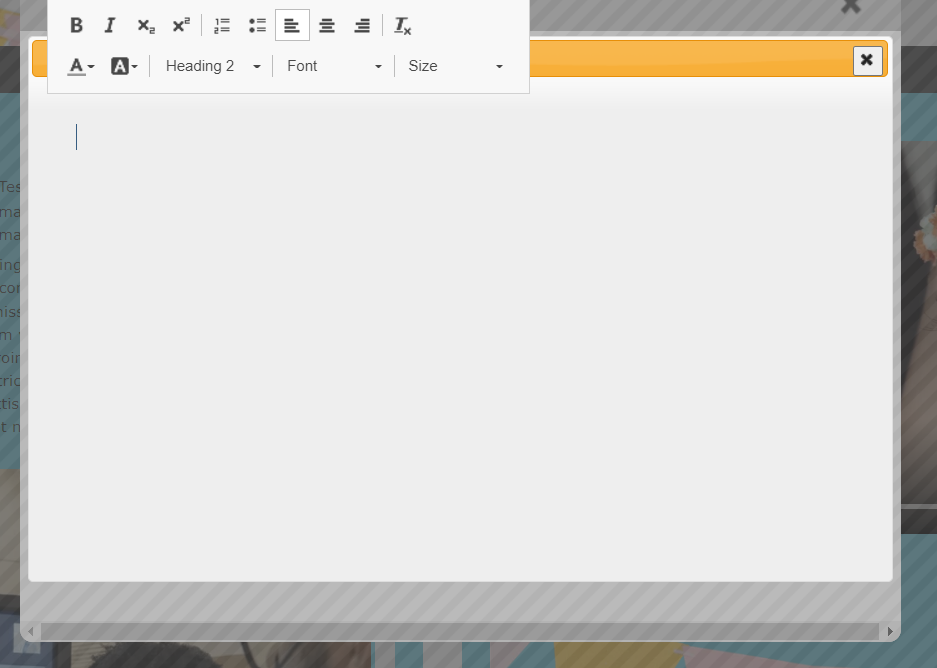
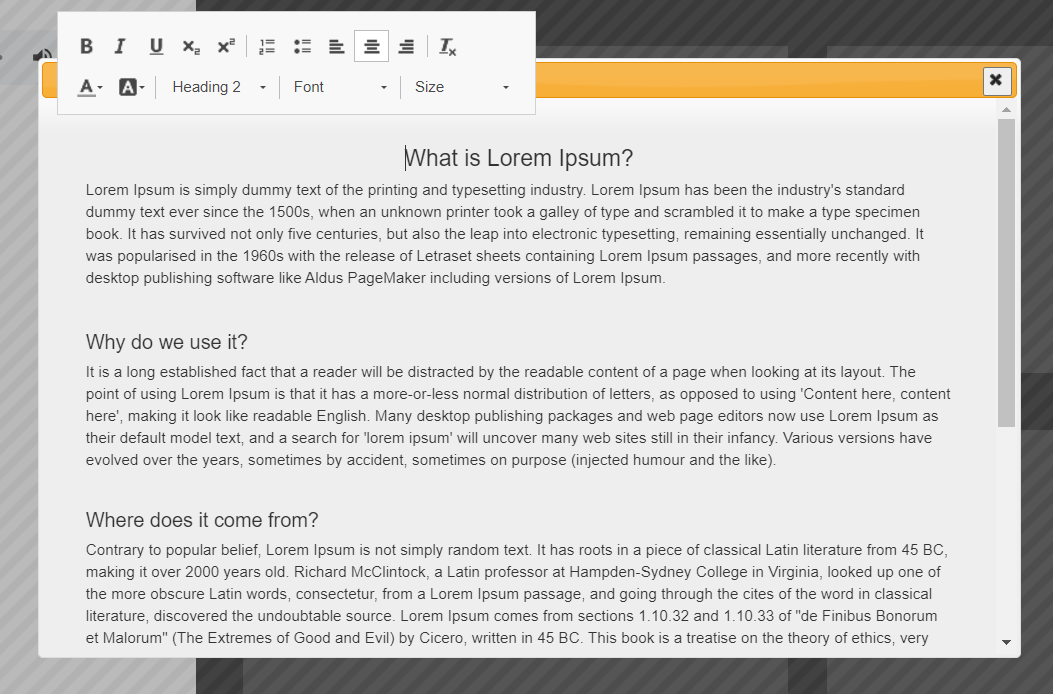
2. An empty content box will pop up. Add your narration transcript in here. You can either copy/paste it from another source, or you can type it in directly. You can then format the text as you like afterwards.
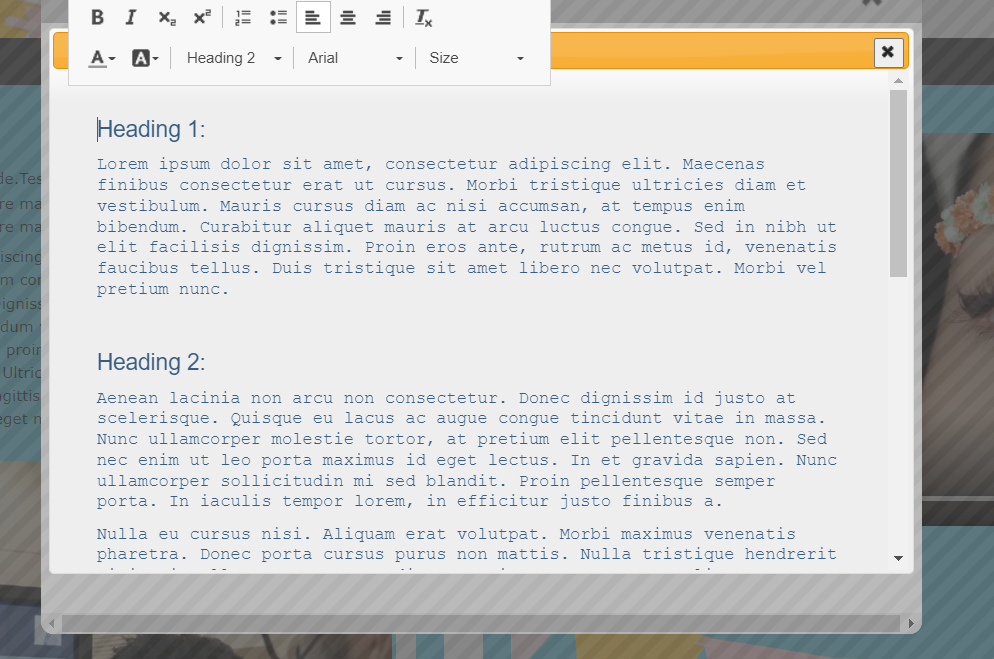
3. Edit your transcript text as required using the tools in the tool bar. i.e. add headings, change the font style/size, change the text color etc…
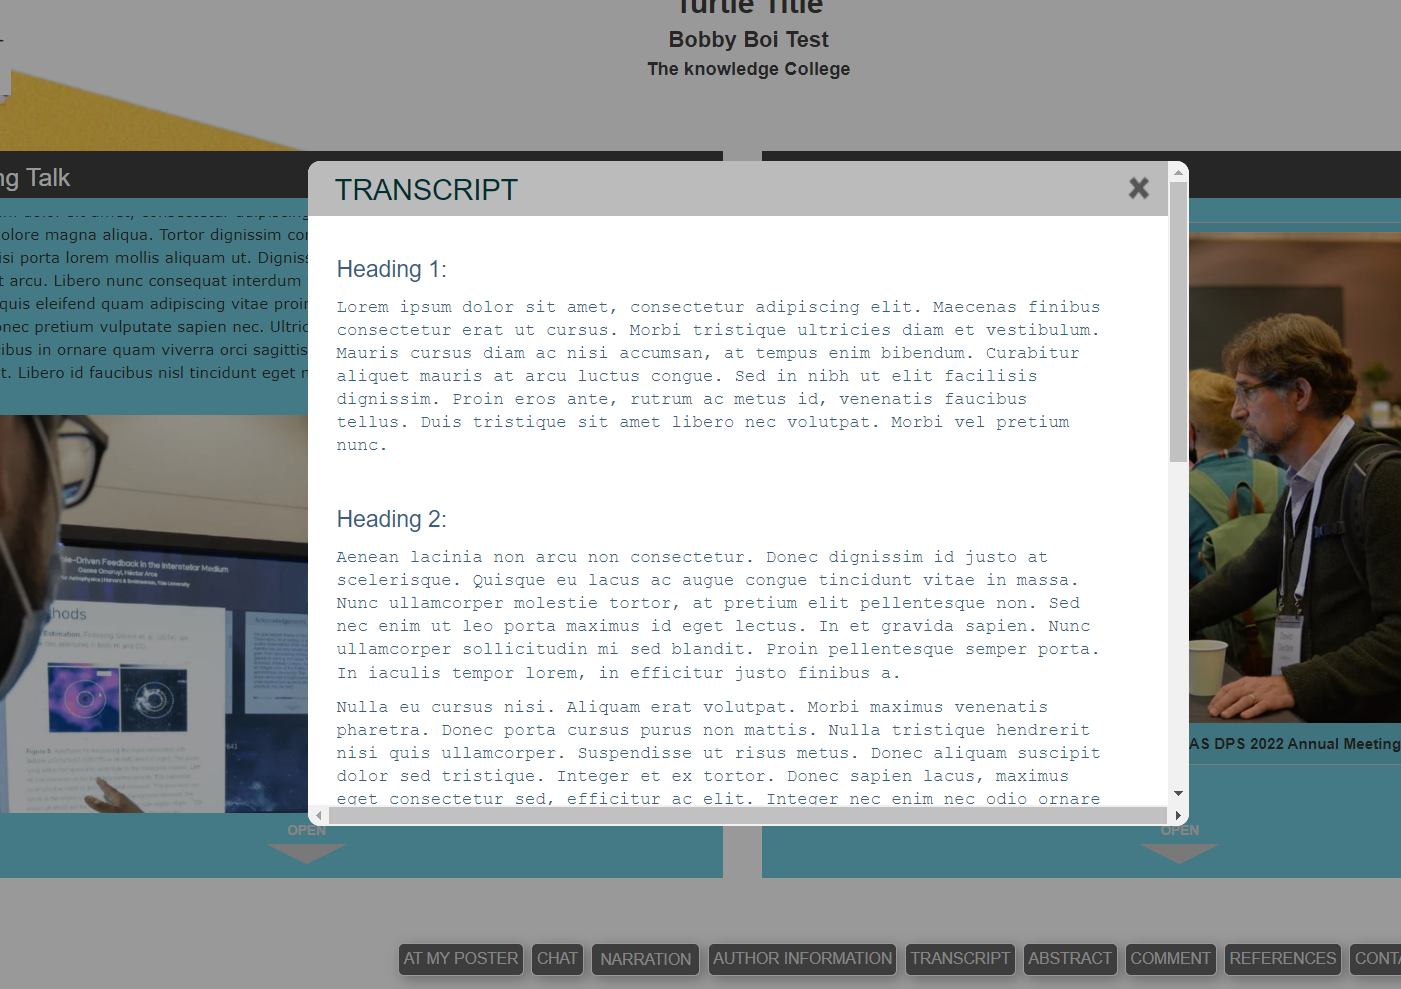
4. Click on Preview to check that the Transcript button has appeared at the bottom of your poster. Click on this button to view the transcript as visitors would.
For audio snippet:
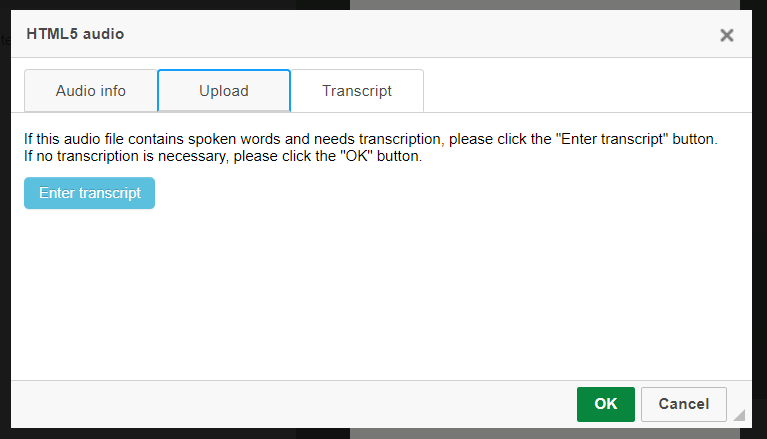
1. After you have uploaded an audio snippet file in a content box you will see a tab called ‘transcript’. Click on this tab to enter a transcript. This tool functions in exactly the same way as the Narration transcript for editing purposes (outlined in steps 2-3 above).
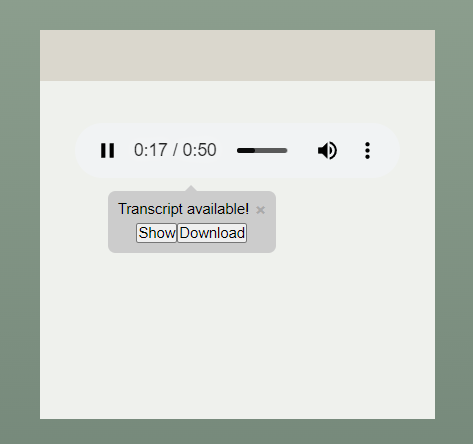
2. To check on your audio snippet transcript click on Preview and click the play button on the snippet. A pop-up will show advising that there is a transcript available. Click on ‘Show’ to view the transcript or ‘Download’ to download it.
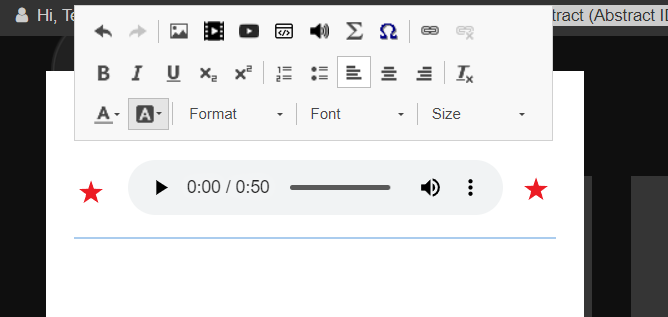
3. To edit your audio snippet transcript go to the editor screen and expand the content box. Double click to the left or right of the audio snippet section as shown by the red stars below. This will open up the transcript dialogue box.
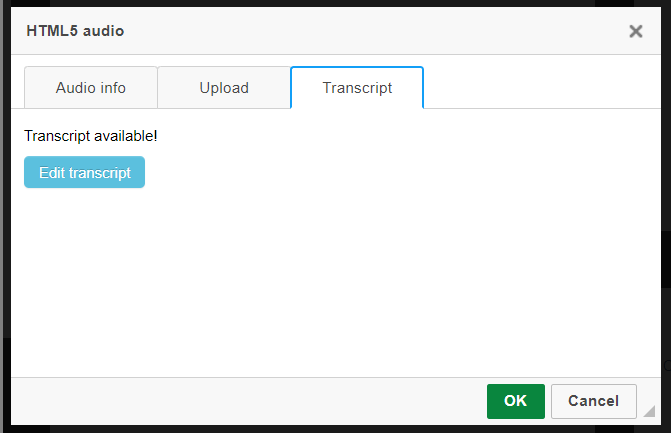
4. Click on ‘Edit transcript’ button then edit your transcript as required.
5. Click on the X in the top right corner to close the dialogue box down.
Part 2: Auto generate a narration or audio snippet transcript
For narration:
1. Click on the Narration button in the Main Menu. If your conference allows for auto generation of the transcript you will see a ‘Generate AI Transcript’ button as well as an Enter Transcript button.
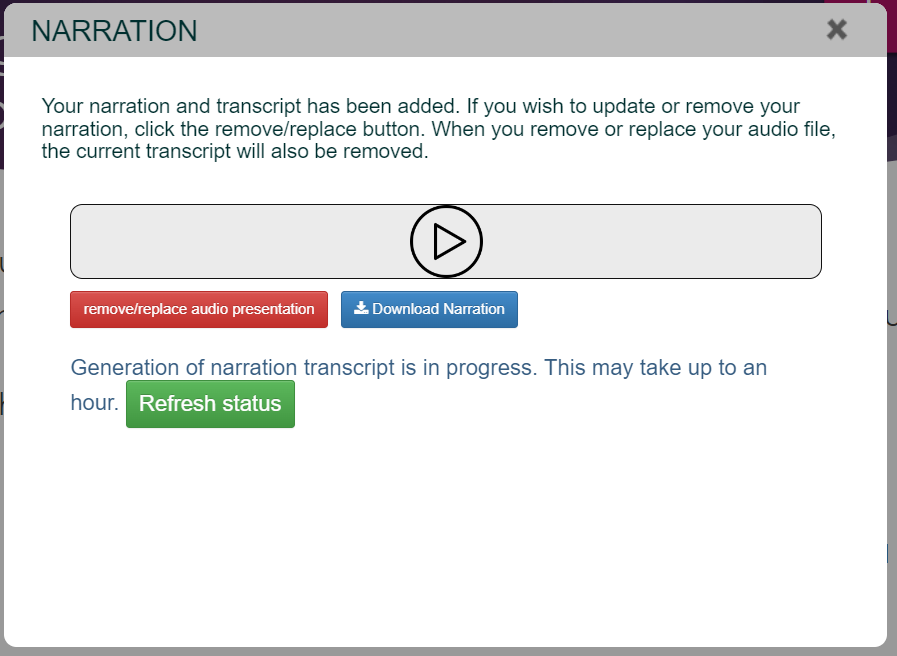
2. Click on the Generate AI Transcript button. You must now wait for the transcript to generate. This usually doesn’t take more than 30 mins However it may more or less time depending on the size/length of the recording.
3. You can use the ‘Refresh Status button to check if your transcript has finished generating. If your transcript still hasn’t finished generating after an hour or so. Please contact our support desk and we can check on this for you: [email protected]
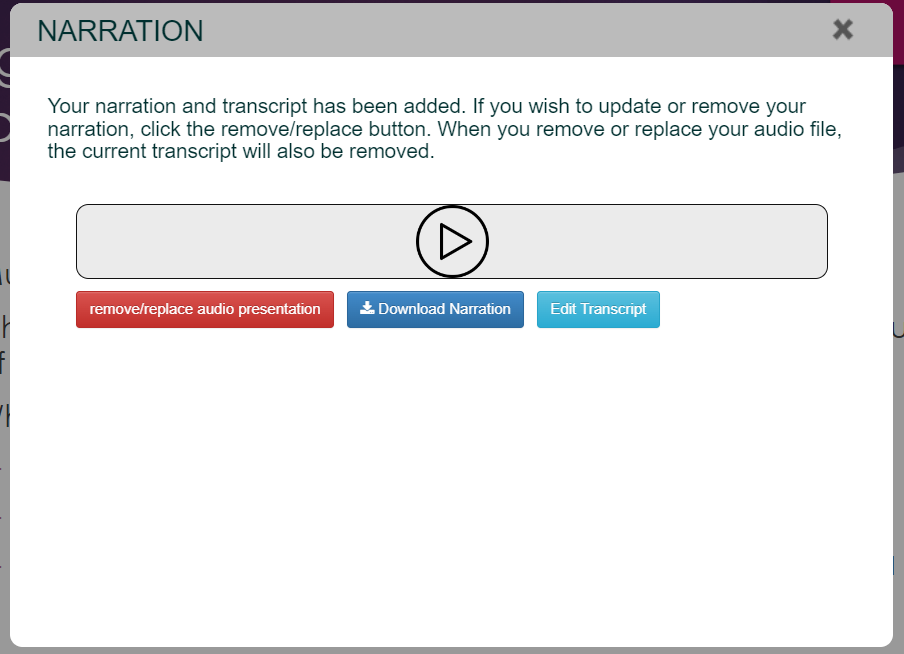
If the transcript is ready you will see a button called Edit Transcript. You can click on this at any point to edit the text in your transcript. The AI may have made mistakes with some words and it is always a good idea to check this. You can also format the text as required here. i.e. add paragraphs, or change the color of the text etc…
4. After editing your text, click on ‘Preview’ and check that the Transcript button has appeared at the bottom of your poster. Make sure your transcript is displayed as edited.
For audio snippet:
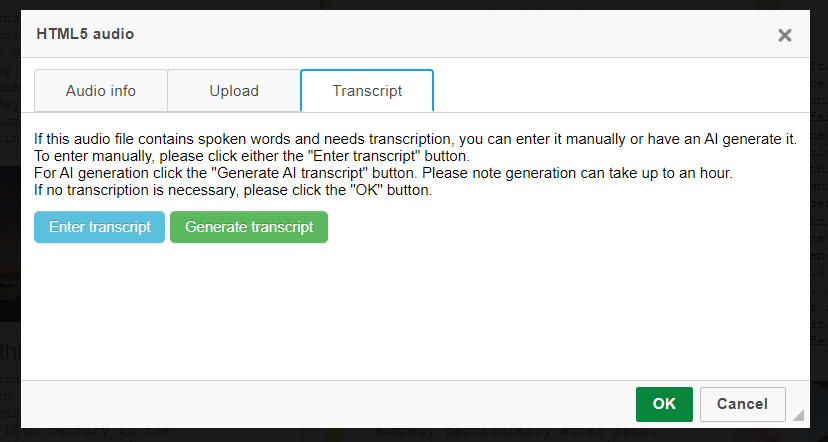
1. After you have uploaded an audio snippet file in a content box you will see a tab called ‘transcript’. Click on this tab then click on ‘Generate transcript’.
2. You must now wait for the transcript to generate. The time it takes will depend on how long the recording is and how big the file is. In this example my recording was 50 seconds and it took less than 5 minutes to until the transcript was ready. You can check if the transcript has finished generating by clicking on the refresh status button.
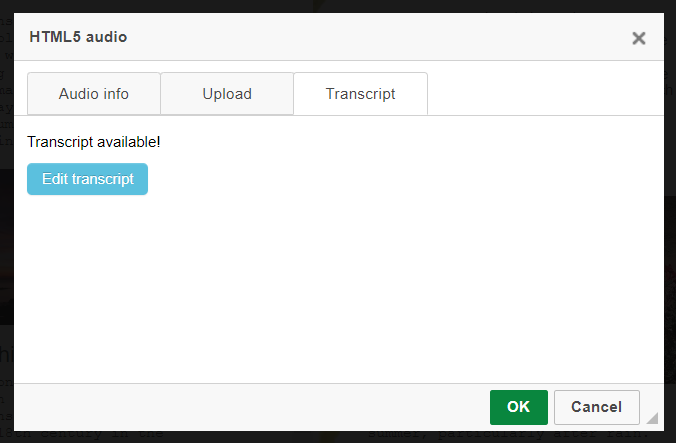
3. When the transcript is done the following screen will be shown. Click on ‘Edit transcript’ to make any adjustments to the text.
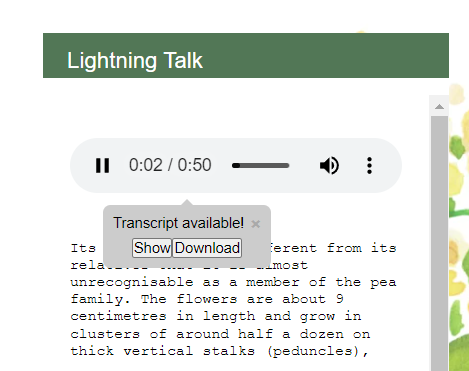
4. To check on your audio snippet transcript click on ‘Preview’ and click the play button on the snippet. A pop-up will show advising that there is a transcript available. Click on ‘Show’ to view the transcript or ‘Download’ to download it.
Add images to an iPoster in a couple of clicks using the Insert Image tool. You will find this tool on the toolbar of each content box as shown below.
General Image tips
The size of your images is important because it will impact the quality of your overall presentation. Ensure that your images are as large as possible so that they have maximum impact for the end viewer.
Images must be in JPG, PNG or GIF format. When inserting images, remember that they will expand to their full size when tapped or clicked on by visitors or by you during your presentation. So, make sure your images are as large as possible – up to 1920 x1080 pixels. And if available, use the original images for best quality. If they are not available, take screen shots of your images, but zoom in before you take them so that, again, they are as large as possible.
As you proceed, save your progress then check your work by clicking on the Preview button. You’ll get a close approximation of how your presentation will look on the HD screens, and can test all of the functionality: content boxes and images expand when clicked, videos play correctly, external links connect, etc…
Slideshow Images
The slide show window (available in some templates) has a minimum image size requirement of 960×360 pixels, but we recommend that you insert images up to 1920×1080 pixels.
When you look at the slide show in the condensed view any images larger than 960×360 will be cropped. However when you or an end viewer click or tap on the slide show in preview mode or at the conference, it will open up as an overlay and show all images at their full size.
Conference participants will then be able to flick through the slideshow as they wish. Having larger images will provide a more enjoyable and better quality viewing experience for them.
Diagrams, charts and tables
Diagrams, charts, tables, etc need to be inserted as images. Either export them from their source program as JPG or PNG, or take a screen shot. Make them as large as possible, and then import them into your content boxes. That way they will expand to make it easy for your visitors to view them.
Remember that an iPoster can contain so much more than an upload of a PDF or PowerPoint, so try to take advantage of this by including:
Videos
Sound files
Links to dynamic external information (e.g. online data sets, visualizations, etc…)
As much content as you feel is necessary to present your research with the detail it deserves. There are no content limits. As soon as you exceed the apparent physical space of a content box, it will scroll.
Adding an image to an iPoster content box
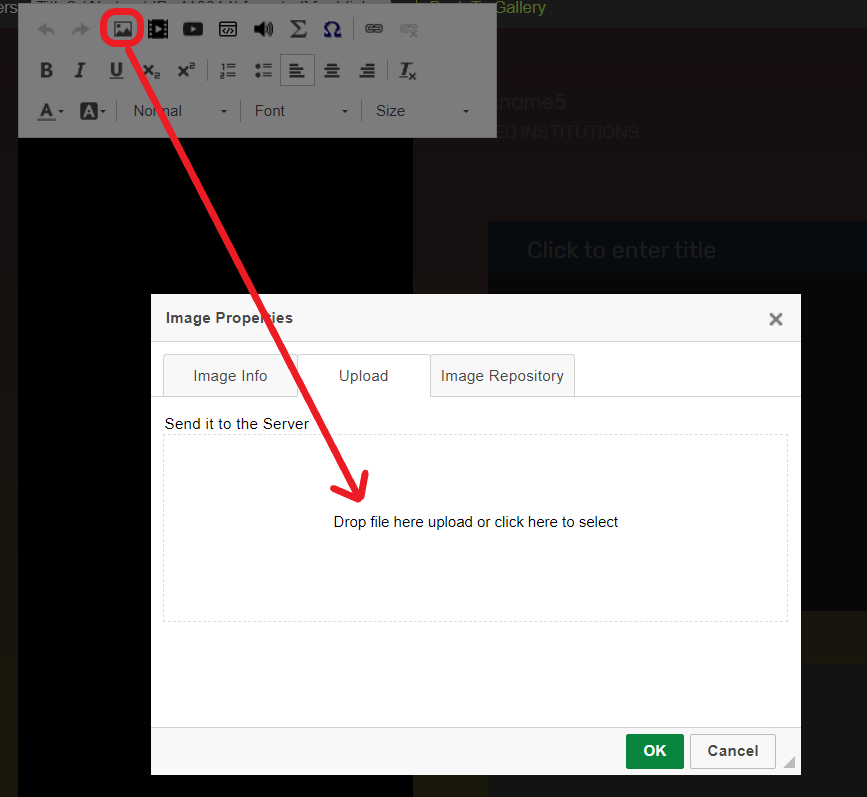
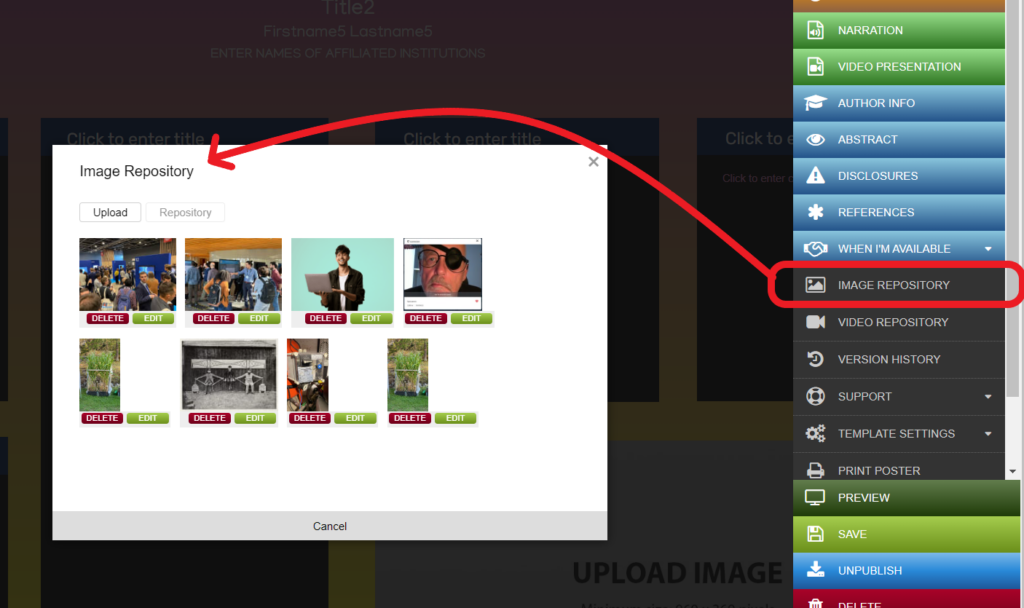
1. Either drag and drop your image into the upload box or click on the box to choose an image from your files. If you have previously uploaded images click on the ‘Image Repository’ tab to browse and select an existing image.
2. After dropping or selecting your image file allow approx. 10 seconds for it to upload. The Image Info tab will be displayed. You can choose to add captions or alternative text to your image or change the alignment using the options in this box. Click ‘Ok’.
3. The image is now inserted into the content box. You can double click on the image to return to the Image Info tab and change/update any of the settings here.
Accessing uploaded images
All uploaded images will be stored in the Image Repository on the main menu. When you click on the insert image tool you may choose to upload the image (as in the process outlined above) or you can insert an image that has already been uploaded. Simply click on the Image Repository tab to view your stored images.
Editing images
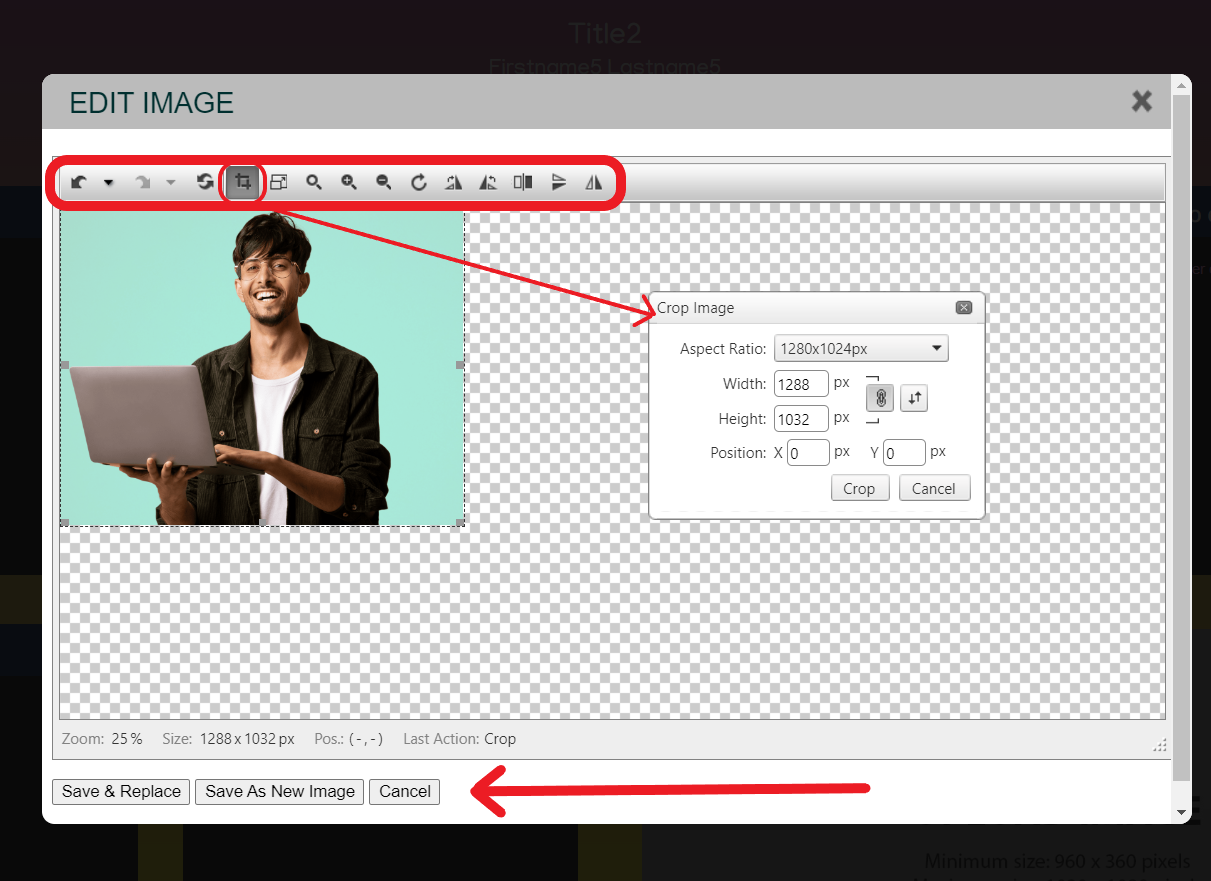
Images can be edited to some degree within the iPoster system. From the Image Repository click on the green edit button under the relevant image. You can crop, re-size, rotate, or flip the image using the controls in the top menu. The below example shows the cropping tool. You can also zoom in or out on the image to make it easier to see the edits you’re making.
When you’ve completed your edits you can either save the edited image as a new image or replace the original image with the edited one.
Be sure toview our tutorials, which will give you a broad overview of the how to create your presentations.
Need further assistance? Reach out to our support team; send a support request or email us at [email protected]. Don’t forget to let us know which conference you’re creating a presentation for.
By copying or making any use of the image below, you acknowledge that
you have read and understand, and agree to, the Image Usage Agreement
below that governs your use of the Image. If you do not agree to the
Agreement’s terms, do not copy or use the Image in any way, unless you
have written permission signed by "Company".
Usage Agreement
Subject to the terms of this Agreement, you may use the Image solely
in whole for editorial use by press and/or industry analysts. This right
to use is personal to you and is not transferable by you to another
party. The Image cannot be used to promote or sell any product or
technology (such as on advertising, brochures, book-covers, stock
photos, t-shirts, or other promotional merchandise). You may not alter,
or modify the Image, in whole or in part, for any reason.
As between you and "Company", "Company" is and shall remain the sole and
exclusive owner of the Image. You will not delete, alter, or obfuscate
any proprietary legends relating to the Image, and each use will be
accompanied by the applicable proprietary attribution shown next to the
Image.
I have read, understood, and agree to the Image Usage Agreement
We use cookies on our website. Some of these cookies are necessary for our site to function at all, while others are only required for user experience and our statistics. By clicking “Accept”, you consent to the use of ALL the cookies we use. You may also click on 'Cookie Settings' to provide controlled consent Read More.
This website uses cookies to improve your experience while you navigate through the website. Out of these, the cookies that are categorized as necessary are stored on your browser as they are essential for the working of basic functionalities of the website. We also use third-party cookies that help us analyze and understand how you use this website. These cookies will be stored in your browser only with your consent. You also have the option to opt-out of these cookies. But opting out of some of these cookies may affect your browsing experience.
Necessary cookies are absolutely essential for the website to function properly. These cookies ensure basic functionalities and security features of the website, anonymously.
Cookie
Duration
Description
cookielawinfo-checkbox-analytics
11 months
This cookie is set by GDPR Cookie Consent plugin. The cookie is used to store the user consent for the cookies in the category "Analytics".
cookielawinfo-checkbox-functional
11 months
The cookie is set by GDPR cookie consent to record the user consent for the cookies in the category "Functional".
cookielawinfo-checkbox-necessary
11 months
This cookie is set by GDPR Cookie Consent plugin. The cookies is used to store the user consent for the cookies in the category "Necessary".
cookielawinfo-checkbox-others
11 months
This cookie is set by GDPR Cookie Consent plugin. The cookie is used to store the user consent for the cookies in the category "Other.
cookielawinfo-checkbox-performance
11 months
This cookie is set by GDPR Cookie Consent plugin. The cookie is used to store the user consent for the cookies in the category "Performance".
viewed_cookie_policy
11 months
The cookie is set by the GDPR Cookie Consent plugin and is used to store whether or not user has consented to the use of cookies. It does not store any personal data.
Functional cookies help to perform certain functionalities like sharing the content of the website on social media platforms, collect feedbacks, and other third-party features.
Performance cookies are used to understand and analyze the key performance indexes of the website which helps in delivering a better user experience for the visitors.
Analytical cookies are used to understand how visitors interact with the website. These cookies help provide information on metrics the number of visitors, bounce rate, traffic source, etc.
Advertisement cookies are used to provide visitors with relevant ads and marketing campaigns. These cookies track visitors across websites and collect information to provide customized ads.